Remove Virtual Drive on Windows 10: 2 Simple Ways to Do It
Don't need one? You can easily delete Virtual Drives
- Virtual Drives function as regular drives except for the computing power and the slower performance, and you may often need to remove them in Windows 10.
- There are two ways to remove virtual drives, Disk Management and the Diskpart command.
- Uninstalling the driver for the virtual drive won't remove it, and it will reappear as soon as you restart the PC.
Virtual drives are virtualized hard drives that operate much the same as additional external hard disk drives with their partitions. Although they can be useful for virtual machines, some users remove virtual drives in Windows 10 when no longer needed.
The process of deleting a virtual drive is different from creating it. And to free up storage space if the virtual drive is not required, deleting it is the best way to proceed. So, let’s find out all about it.
What is a virtual drive?
A Virtual Drive is similar to a regular one and can be created on a connected storage drive. It usually has two extensions, .vhdx and .vhd, with distinct features and individual sets of pros and cons.
To any program or application on the PC, the virtual drive appears as a real/physical device and is used as such. Here are some of the key features of a virtual drive:
- Easy to create: Virtual drives are easy to create and can be built on an existing storage drive, all in a matter of minutes.
- Can be quickly moved: A major benefit of virtual drives is the enhanced portability, meaning they can be moved quickly and easily from one system to another.
- Used by Virtual Machines: Virtual Drives are mostly employed by Virtual Machines to store the OS, programs, and data. So, once done with the latter, you can remove the virtual drive in Windows 10.
- Slower than regular drives: One of the aspects users often complain about is the slow speed of drives that were created virtually. And there’s ain’t much you can do because that’s how the way it works.
How can I remove the virtual drive on Windows 10?
 Tip
Tip
1. Using Disk Management
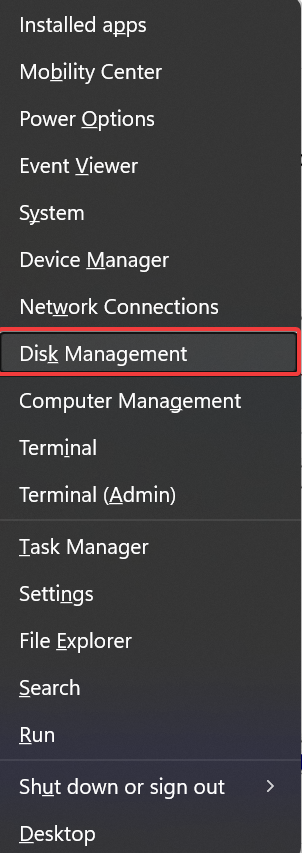
- Press Windows + X to open the Power User menu, and select Disk Management from the list.

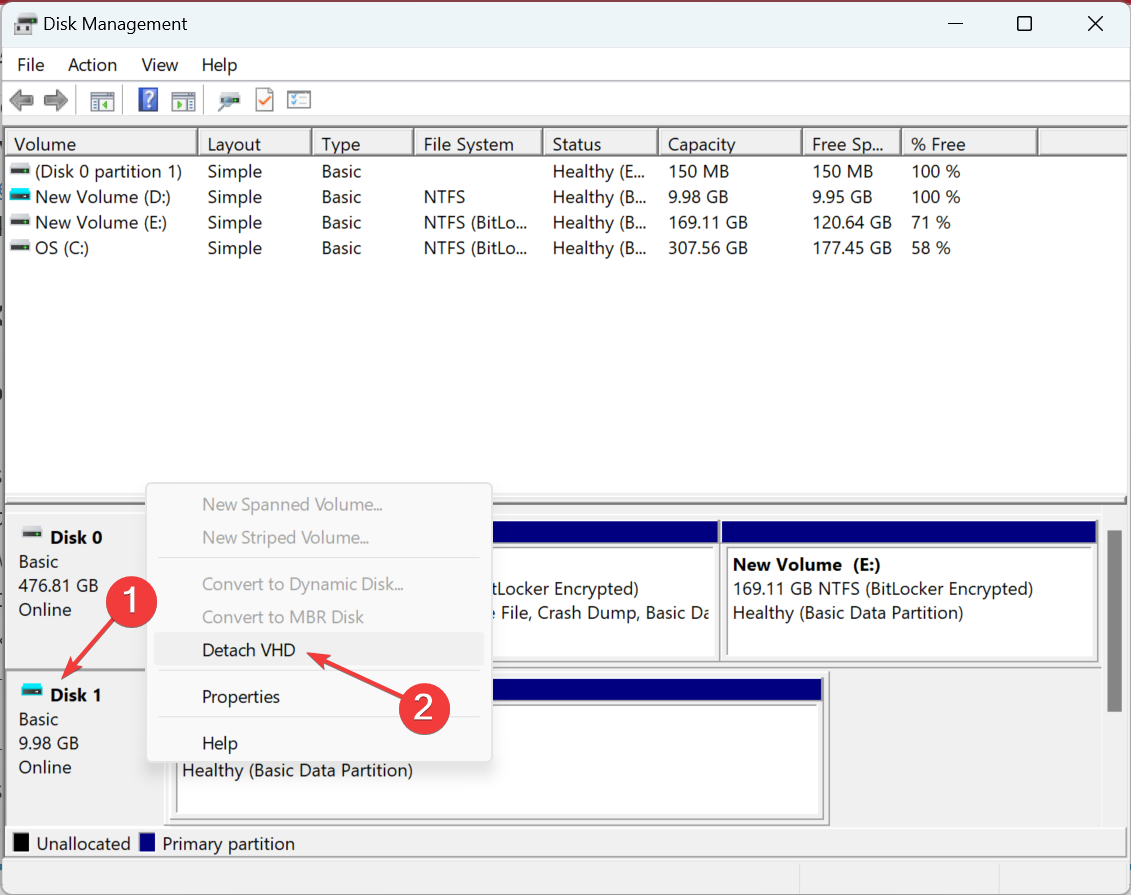
- In Disk Management, locate the Virtual Drive, right-click on it, and choose Detach VHD.

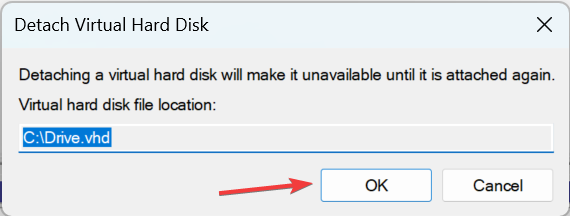
- Click OK in the confirmation prompt to remove the Virtual Disk in Windows 10.

This is the simplest method to remove the virtual drive in Windows 10, and it shouldn’t take more than a few seconds. But, if you prefer the command line over GUI, we have a solution for that as well.
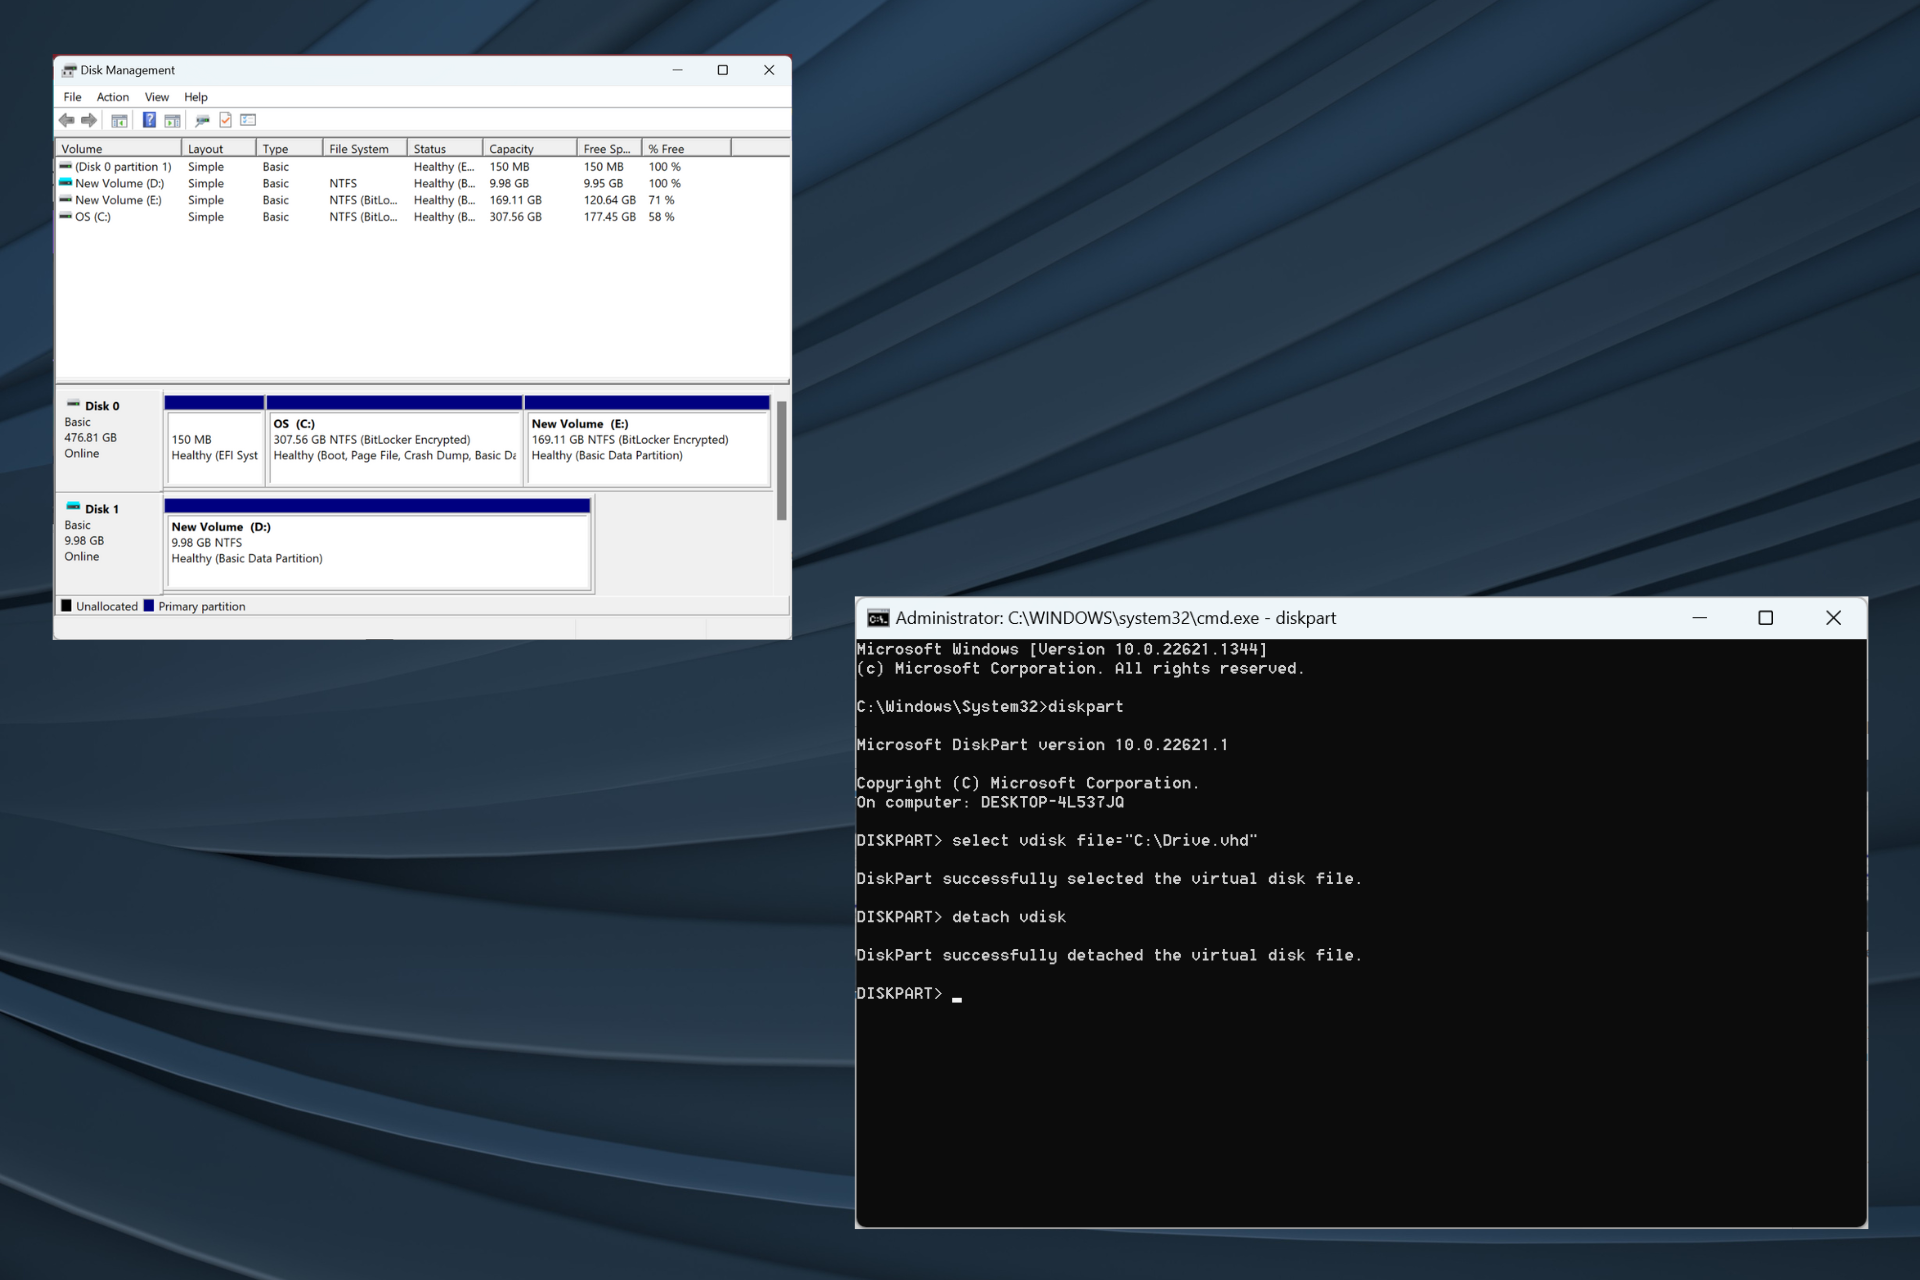
2. With Diskpart
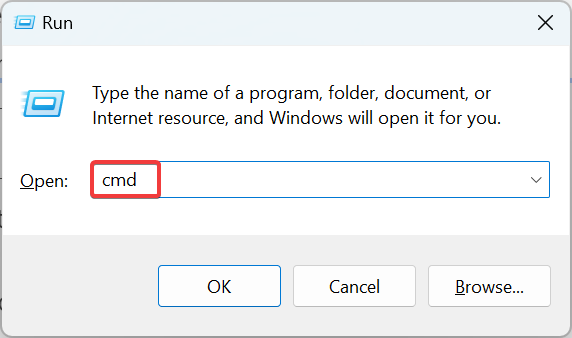
- Press Windows + R to open Run, type cmd, and hit Ctrl + Shift + Enter.

- Click Yes in the UAC prompt.
- Paste the following command and hit Enter:
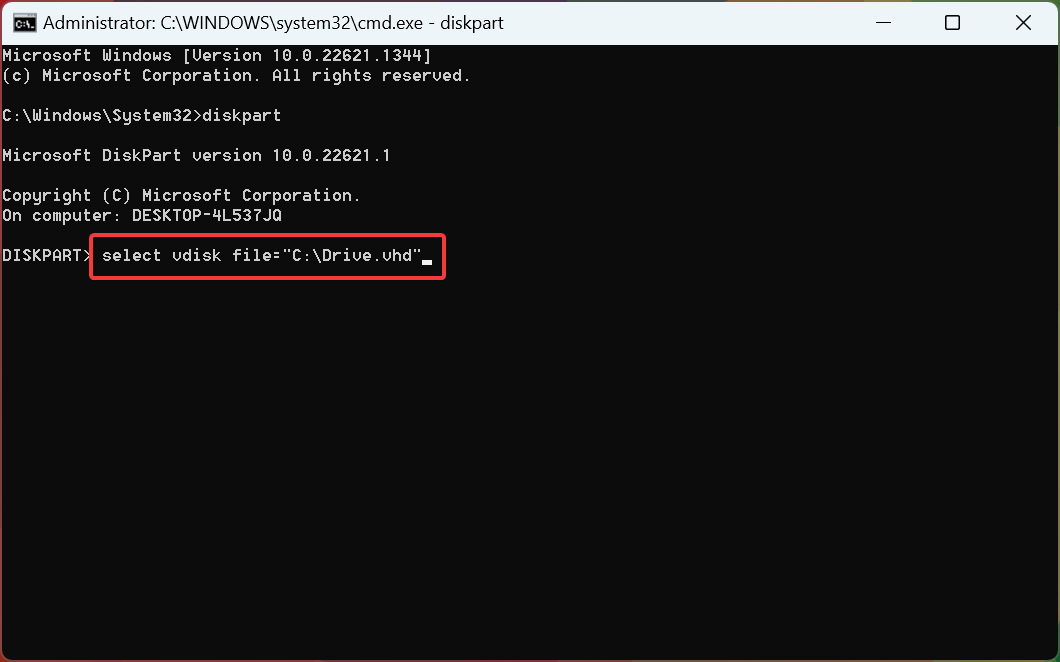
diskpart
- Next, execute this command while replacing Path of the VHD file with the actual one on your PC:
select vdisk file=”Path of the VHD file”
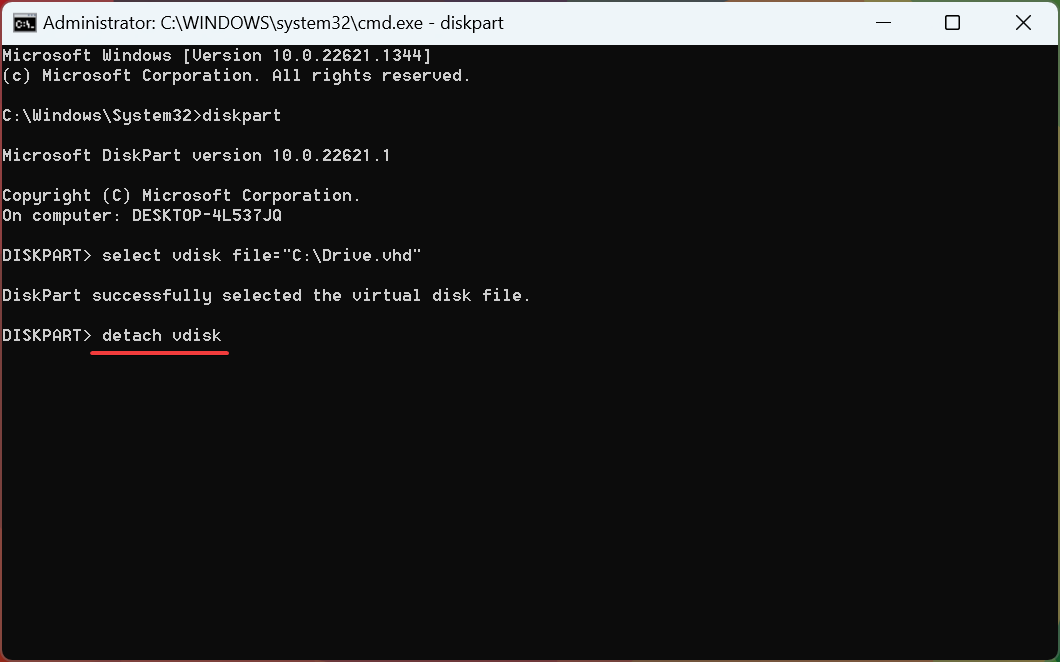
- Finally, run this command to delete Virtual Drive in Windows 10:
detach vdisk

Expert tip:
SPONSORED
Some PC issues are hard to tackle, especially when it comes to missing or corrupted system files and repositories of your Windows.
Be sure to use a dedicated tool, such as Fortect, which will scan and replace your broken files with their fresh versions from its repository.
The Virtual Drive has now been removed from Windows 10. Also, you could head over to the file path and delete the .vhd or .vhdx file to free up storage space in case there’s no data on the Virtual Drive.
Besides, if there’s critical data on the virtual drive, we recommend you use a reliable backup tool to store it and only then remove the drive.
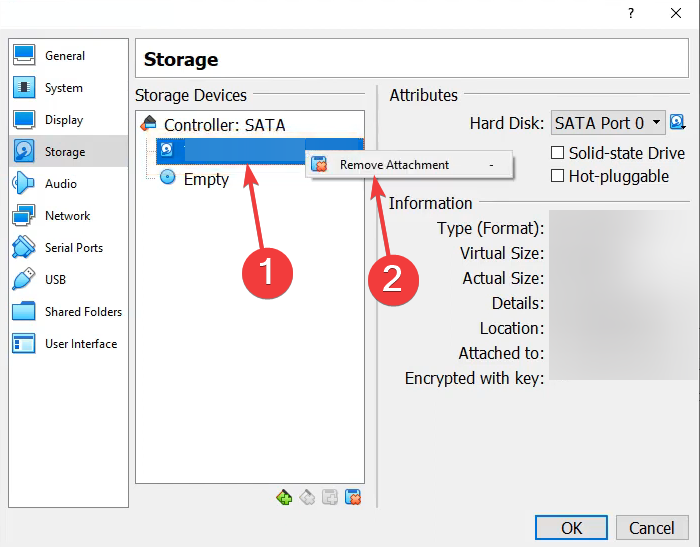
How to delete a virtual hard disk on VirtualBox?
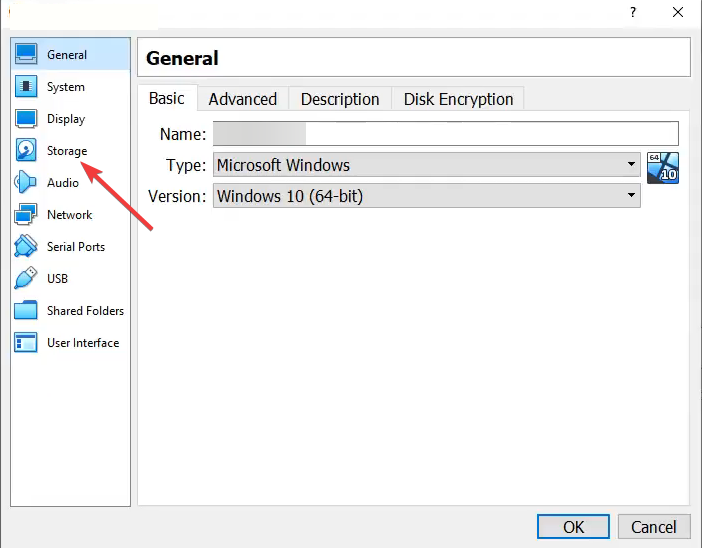
- Launch VirtualBox, right-click on the Virtual Machine, and select Settings.
- Now go to the Storage tab.

- Right-click on the virtual drive and select Remove Attachment from the context menu.

- Once done, click OK to save the changes.
If you were wondering how to remove the virtual CD drive, it could be done via the VirtualMachine settings in no time.
These are all the ways you can remove a Virtual Drive in Windows 10 and even on VirtualBox. And while we are on the subject, check our curated list of the best Virtual Machines in Windows.
If you have any queries or want to share additional information on the subject, comment below.
Still experiencing issues?
SPONSORED
If the above suggestions have not solved your problem, your computer may experience more severe Windows troubles. We suggest choosing an all-in-one solution like Fortect to fix problems efficiently. After installation, just click the View&Fix button and then press Start Repair.