Fix: Some Buttons are Missing in Epson Scan 2
Reinstall your Epson Scan 2 software for an updated version
- When scanning using Epson Scan 2, you'll need to see available options in case you need to make changes before printing.
- However, some buttons, like the add option, may be missing when you upgrade your OS without upgrading the Epson Scan 2 software.
- You need to ensure both versions are compatible with each other so that some features are not missing.
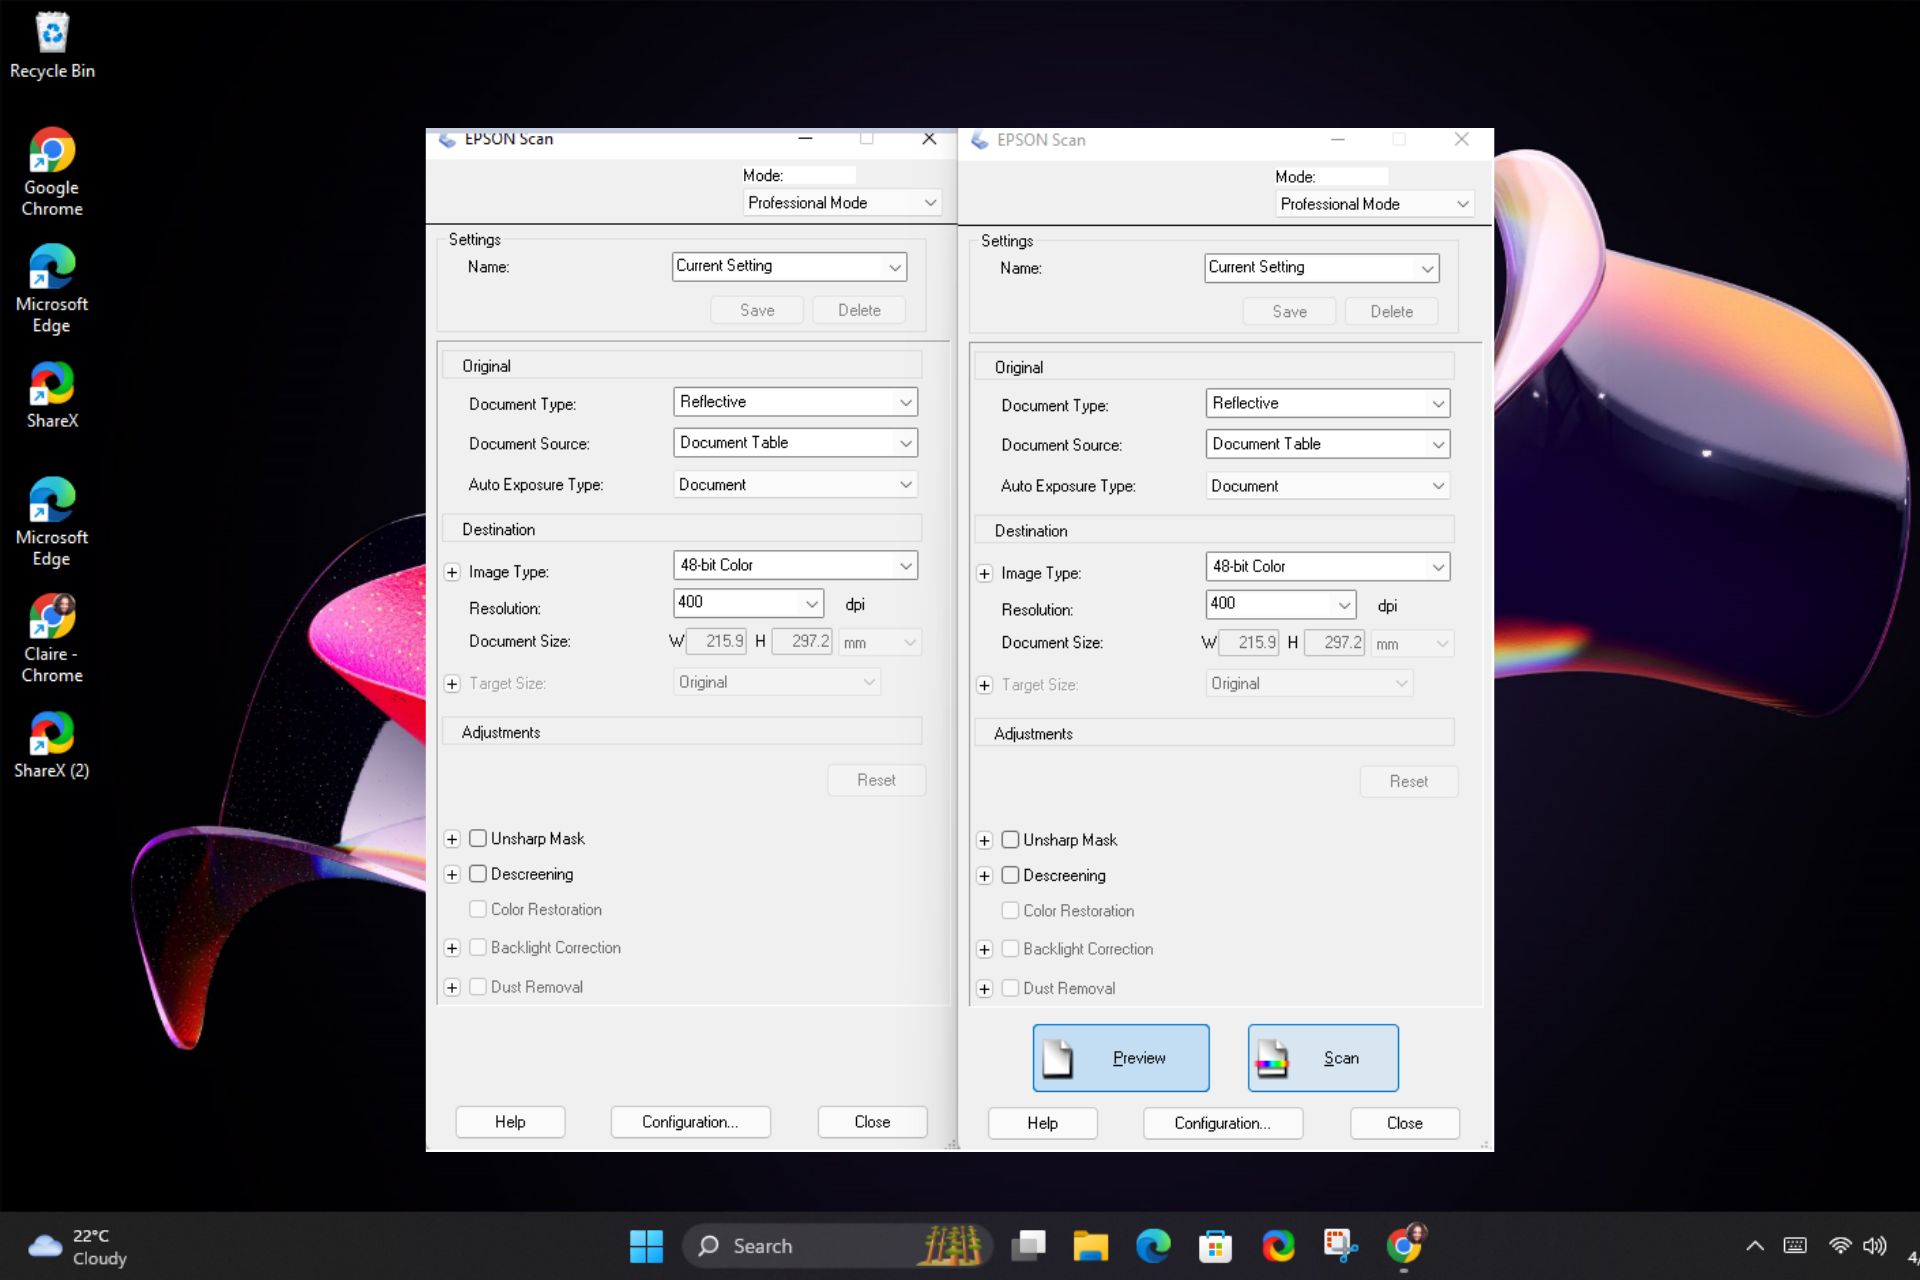
The Epson Scan 2 has some useful buttons on the print page, like add, scan, or preview. These allow you to make changes before you print or scan your document. However, they seem to be conspicuously missing from the print page.
If you’re in the same predicament, we’ve curated this article to help you resolve this issue.
Why is my Epson printer missing the add option?
If you are trying to print a document from your computer, and the printer is not showing the Add option, then this could be due to any of the following reasons:
- Recent upgrade – There may be a software compatibility issue, especially if you’ve just upgraded your operating system. One user said that the buttons disappeared as soon as they upgraded to Windows 11.
Recently upgrade to Win 11 and it generally seems ok. 1 issue though is that the action buttons on epson scan no longer show (preview, scan etc). If you click on the area they should be they still work and then appear- which is great if you know where all the buttons are! It worked perfectly fine the 10 min before i did the upgrade then had this issue immediately after. So far only found the issue on this one app.
- Outdated software – Some buttons may be missing if you’re not running the latest version of the Epson software.
- Missing drivers – If your Epson printer is missing some buttons, it’s a good chance that you accidentally uninstalled the driver for your printer.
What can I do if my Epson scan is missing some buttons?
Attempt the following basic steps before the more complex solutions:
- Press the ALT key when you open Epson Scan 2. This appears to be the most upvoted solution.
- Ensure you’re running an updated OS.
- Reboot your PC and try again.
1. Update the Printer drivers
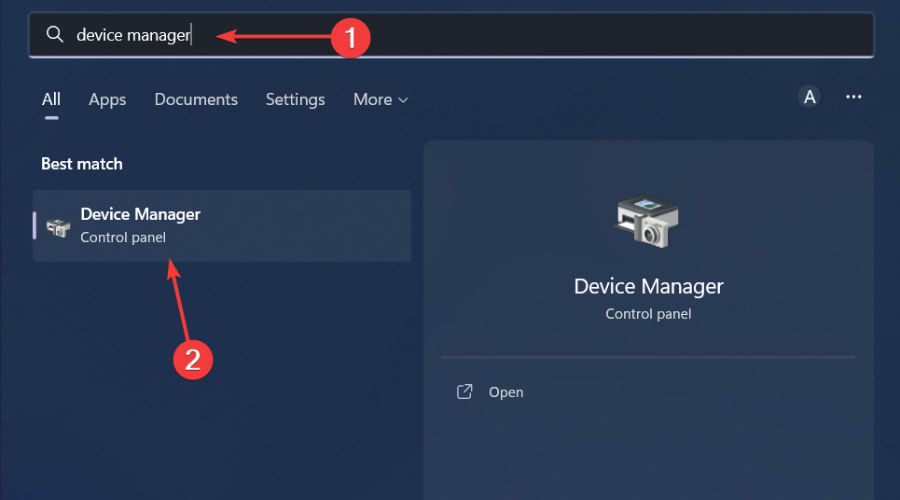
- Click on the Start Menu icon, type Device Manager in the search bar, and click Open.

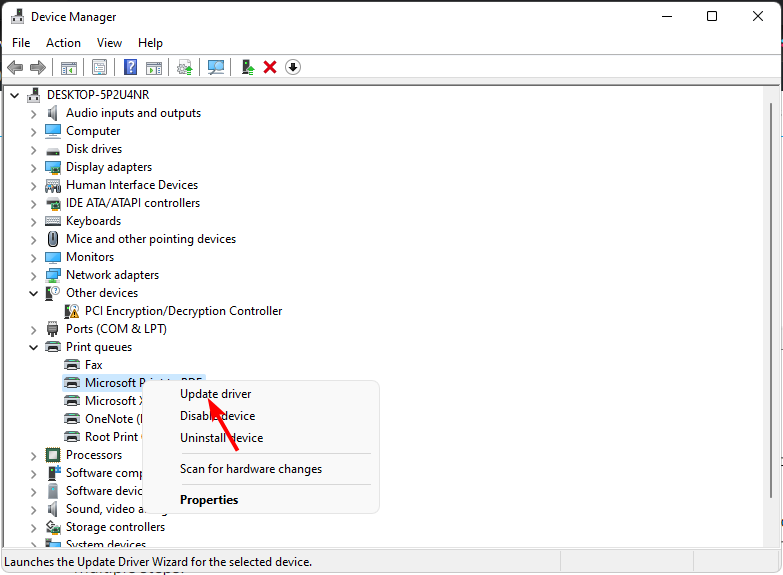
- Navigate to Printers and locate your printer.
- Right-click on it and select Update driver.

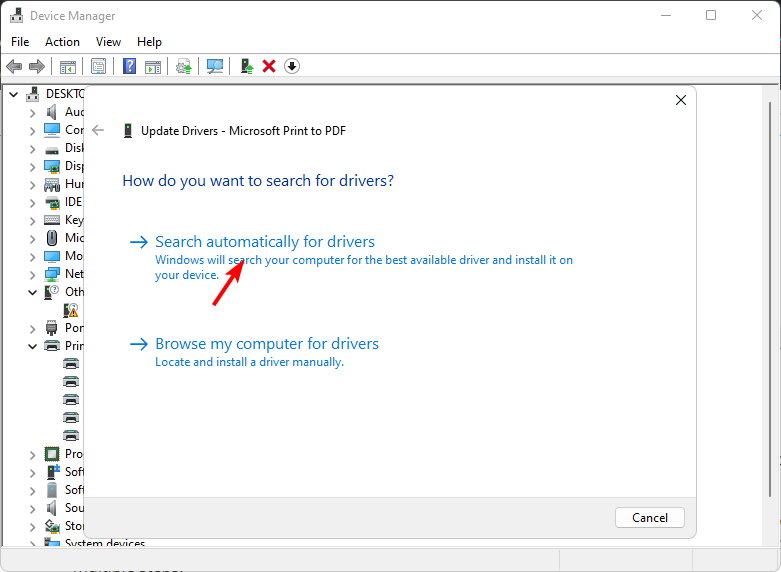
- Select Search automatically for updated drivers.

- Windows will find the most suitable driver and recommend you install it.
- Download and install the Outbyte Driver Updater app.
- Launch the software and wait for the app to detect all incompatible drivers.
- Now, it will show you a list of all outdated drivers to select the ones to Update or Ignore.

- Click on Update & Apply Selected to download and install the latest versions.
- Restart your PC to ensure the applied changes.


Outbyte Driver Updater
Maintain your device healthy by letting OutByte Driver Updater find the latest driver options.2. Reinstall the Epson Scan 2 software
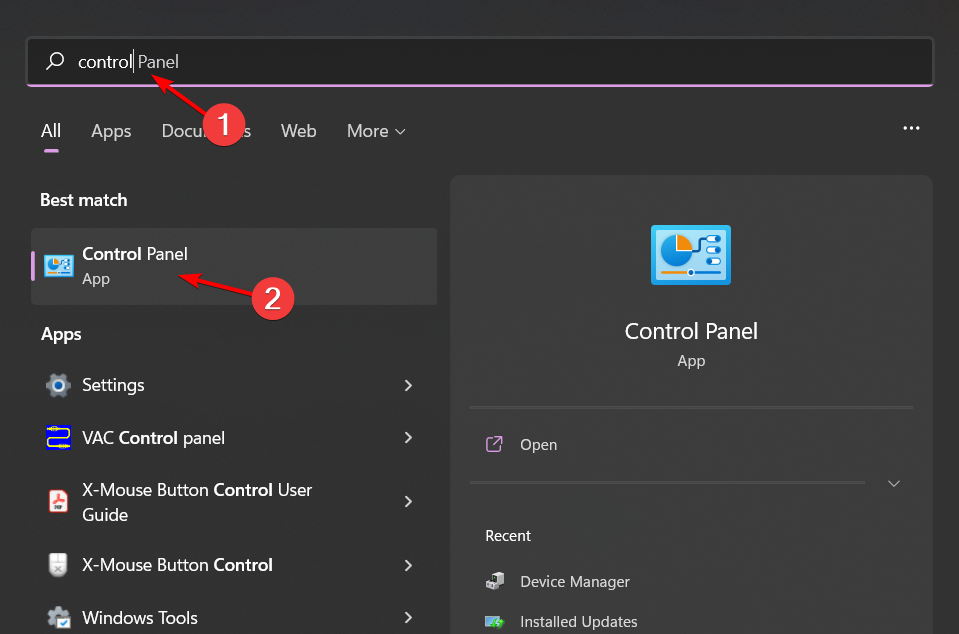
- Hit the Windows key, type Control Panel in the search bar, and click Open.

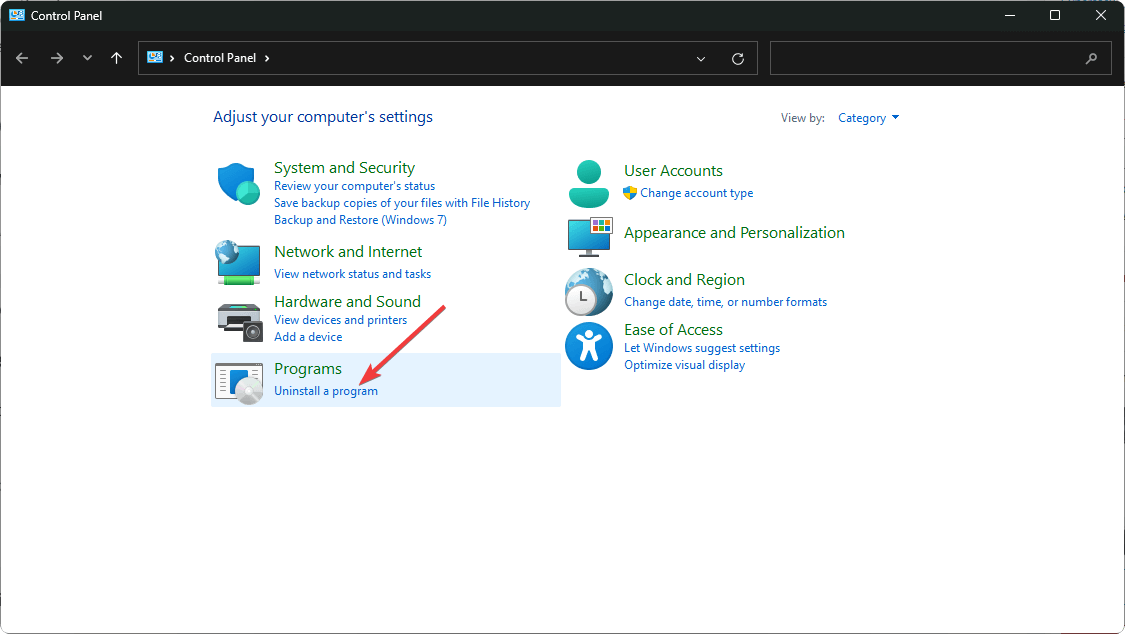
- Click on Uninstall a program under Programs.

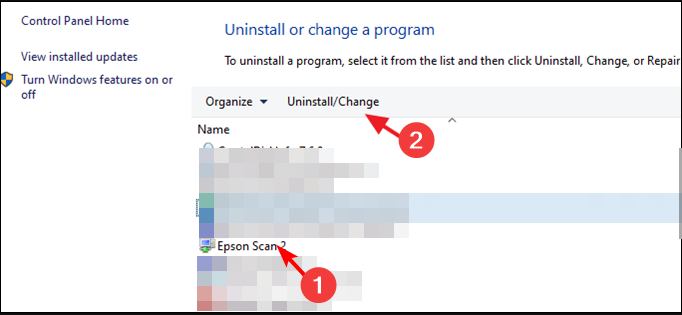
- Find the Epson Scan 2 software, click on it, and select Uninstall.

- Before you proceed to install the software, ensure you remove any software leftovers in case the earlier version was corrupt. Also, run a virus scan to weed out any malware.
- Next, navigate to your browser and go to the official Epson page.
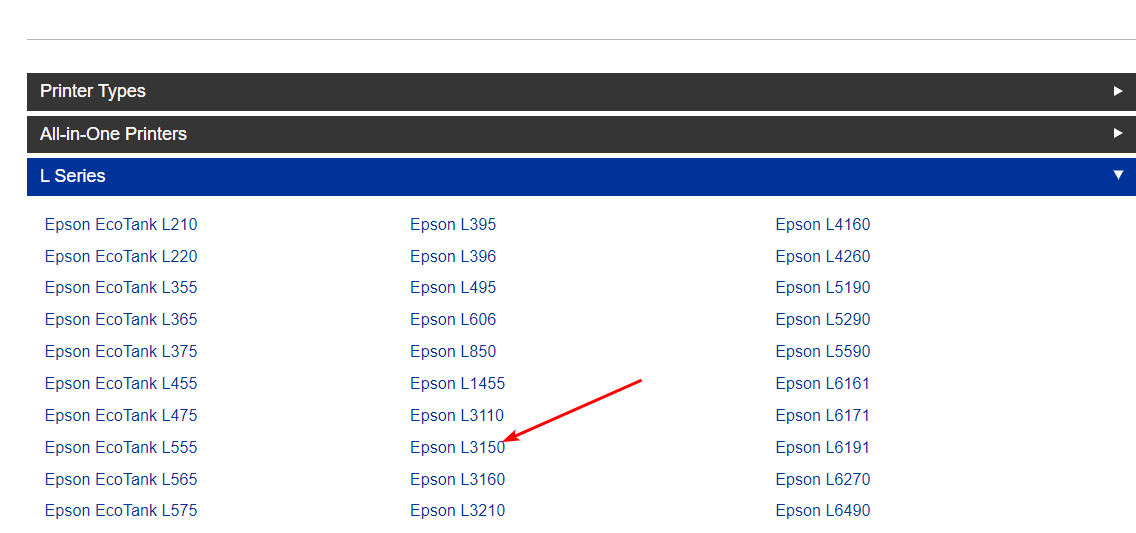
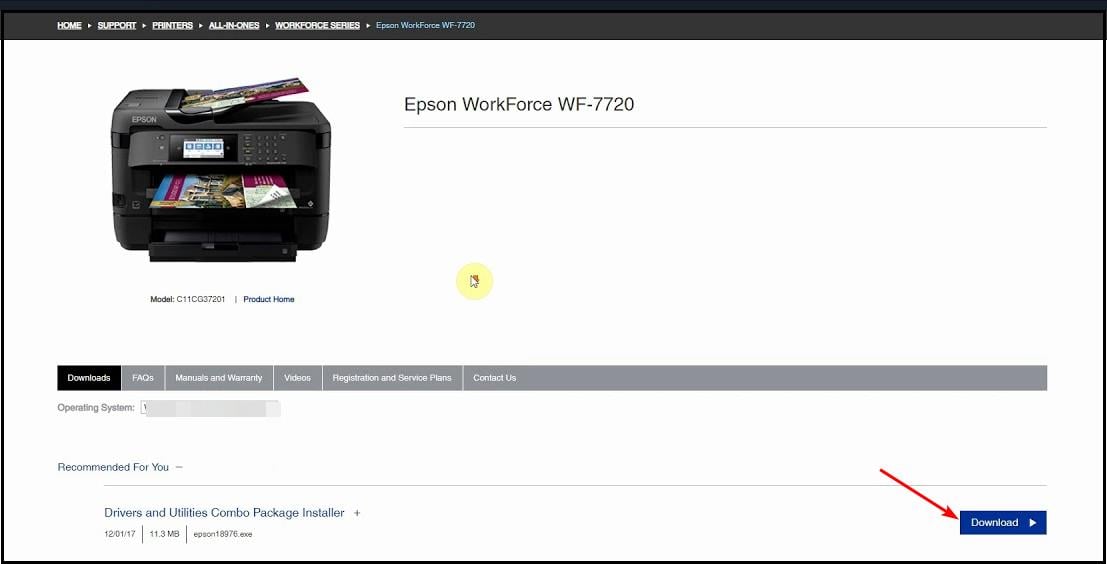
- Scroll down the list of printers and select your Epson printer.

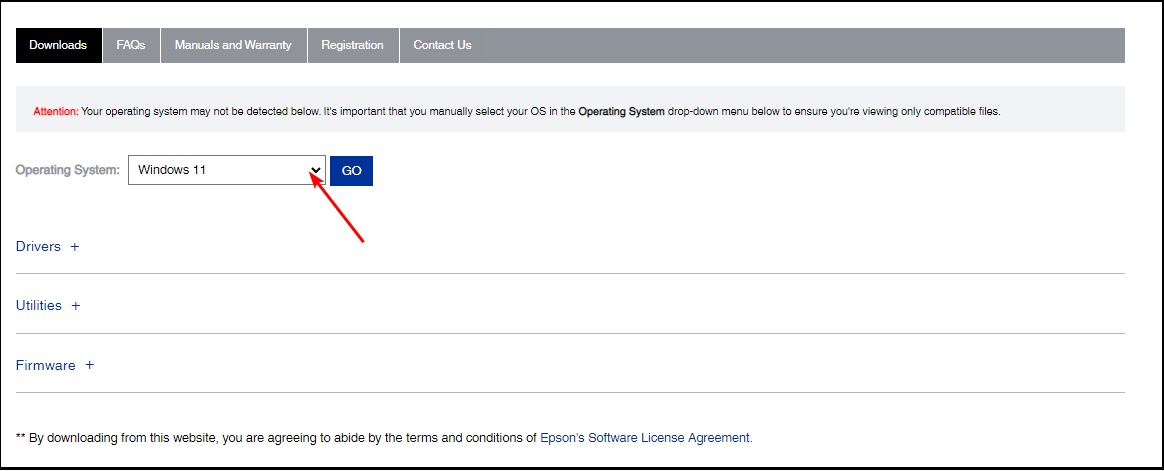
- The system will automatically detect your operating system. In case it doesn’t, you can select manually from the drop-down menu. This is one of the most important steps because some users found themselves with a version incompatible with their OS.

- You will then get a list of the Epson scan 2 packages: Drivers, Utilities, and Firmware. If you want the complete package, click on Download Drivers and Utilities Combo Package Installer.

- For select packages, click on each component to expand and only download what you’re interested in, especially if you’re limited in terms of space.
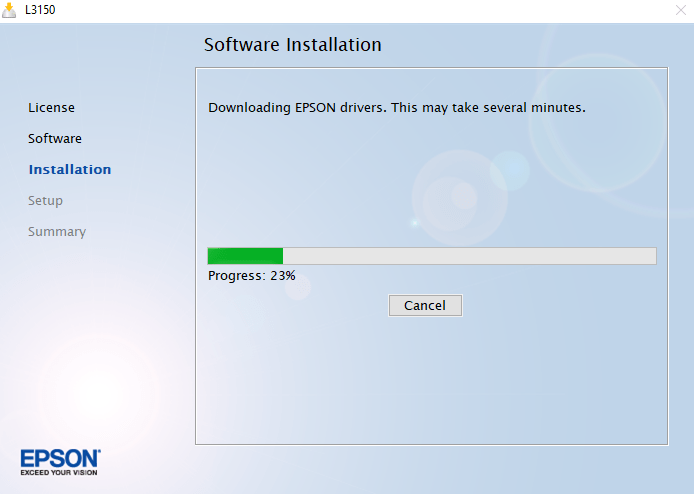
- Once the download file is complete, click to open and follow the on-screen instructions to install.
- Click on Accept to agree to the software license agreement.
- Click Install in the next prompt and wait for the installation to complete.

For the most part, you need to update your software to the latest version, and any missing buttons will reappear.
However, in some cases, if you’re operating an earlier version of Epson, you might need to use the Epson Scan Common Updater for Windows 11 software. Otherwise, keep using the ALT key to view the missing button.
If nothing works, try contacting the Epson support page and see if they offer more solutions.
That brings us to a close, but do leave a comment below if you tried any other solution we have not mentioned here.
Still experiencing issues?
SPONSORED
If the above suggestions have not solved your problem, your computer may experience more severe Windows troubles. We suggest choosing an all-in-one solution like Fortect to fix problems efficiently. After installation, just click the View&Fix button and then press Start Repair.