How to Reset the Wi-Fi Adapter in Windows 10
Explore the easiest methods to get this done
- To Reset the Wi-Fi Adapter in Windows 10, use Settings, network troubleshooter, or Command Prompt.
- You can disable and enable the Wi-Fi Adapter, or restart the Wi-Fi Adapter via Device Manager.

If you encounter network connectivity issues, you might want to reset the Wi-Fi adapter on Windows 10. It refreshes network settings and can resolve common issues such as limited connectivity, slow connection speeds, or drops.
Here are the step-by-step instructions to help you get your Wi-Fi connection back on track.
How can I reset the Wi-Fi adapter in Windows 10?
Before engaging in advanced troubleshooting steps, you should consider performing the following checks:
- Try power cycling the router. Sometimes, that is enough to restore the Wi-Fi connectivity.
- Make sure you installed all the Windows updates because they might have an update for the Wi-Fi adapter.
If these minor tweaks don’t help you, move to the detailed methods mentioned below.
1. Use the Network troubleshooter
- Press Windows + I to open the Settings app.
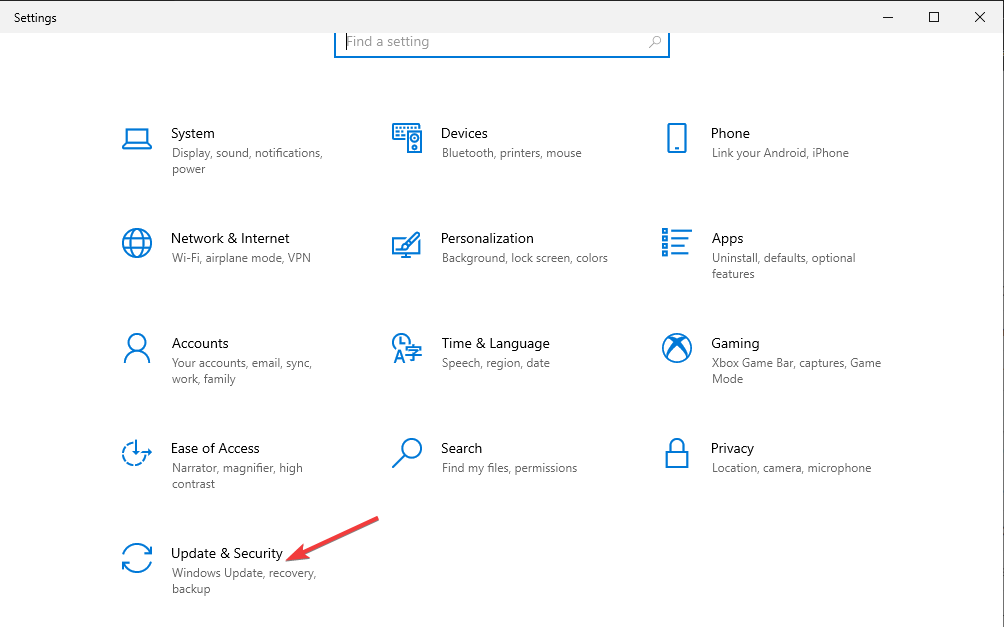
- Go to Update & Security.

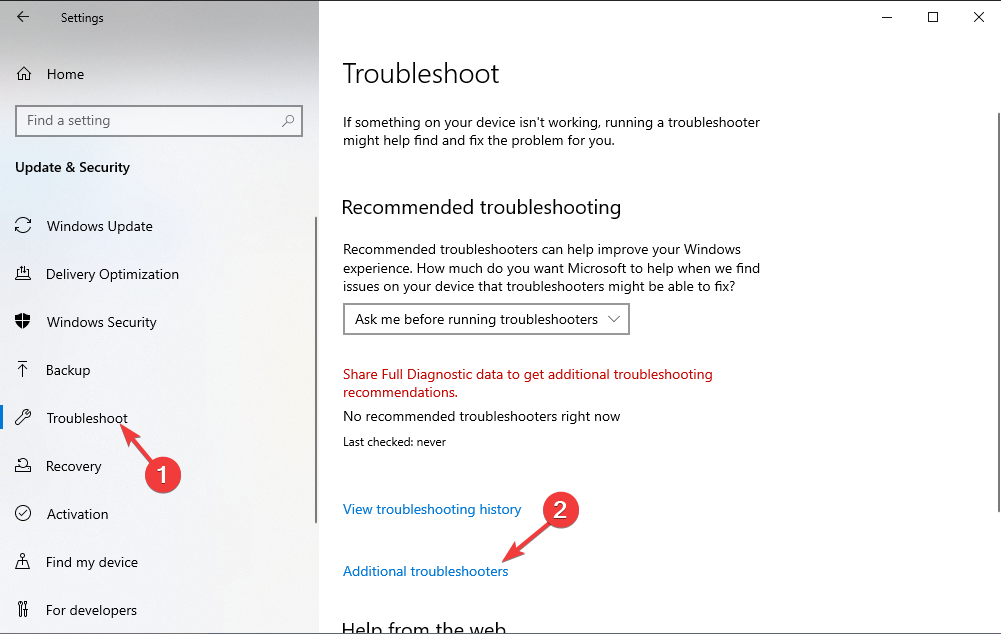
- Click Troubleshoot, then select Additional troubleshooters.

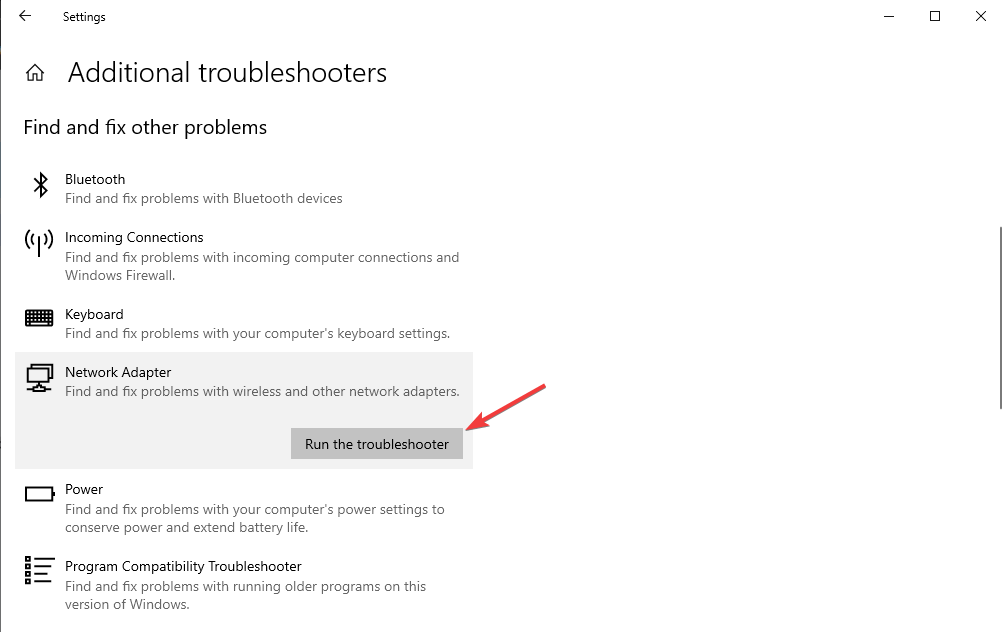
- Locate Network Adapter and click Run the troubleshooter.

- Follow the onscreen instructions to complete the process.
2. Disable/Enable the Wi-Fi Adapter
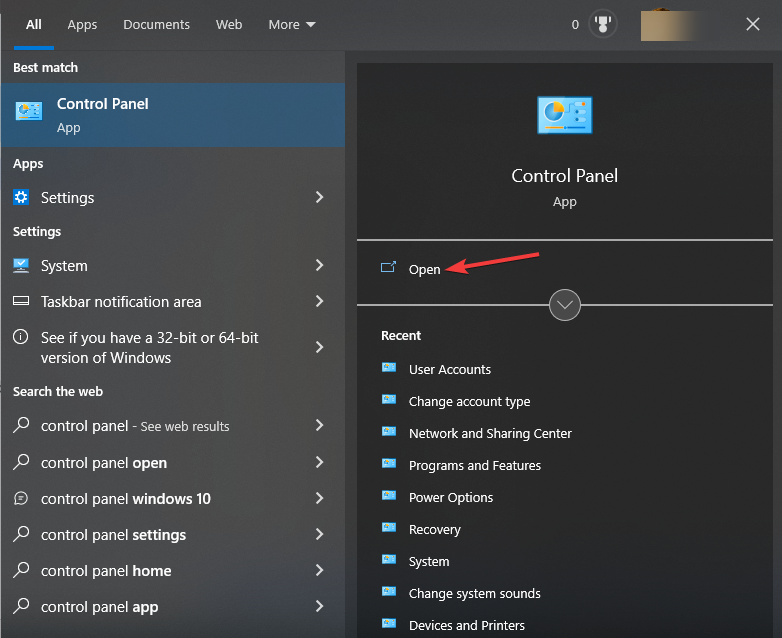
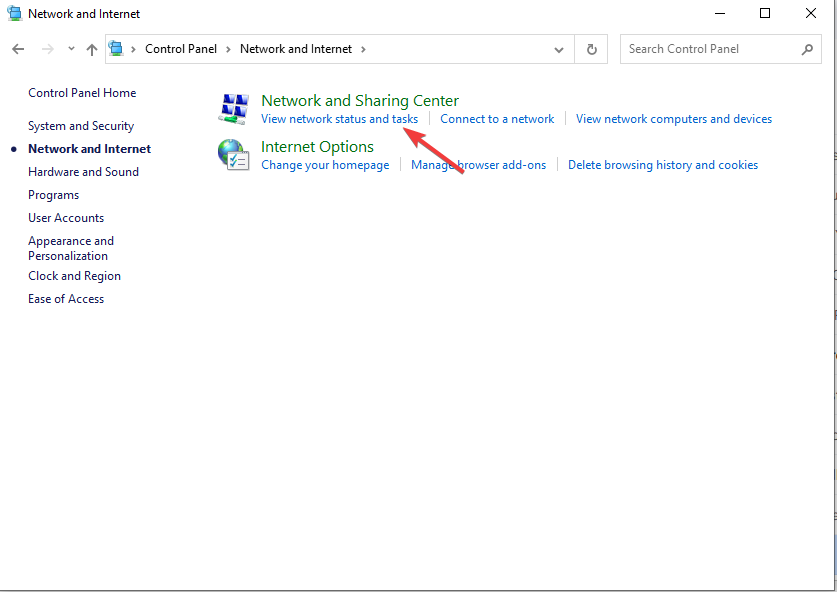
- Press the Windows key, type control panel, and click Open.

- Select View by as Category and click Network and Internet.

- Click View network status and tasks.

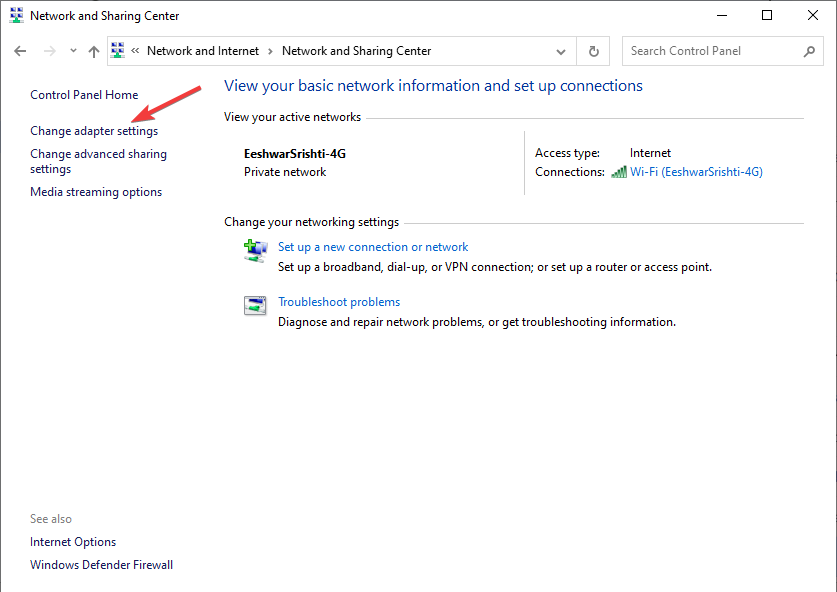
- Select Change adapter settings.
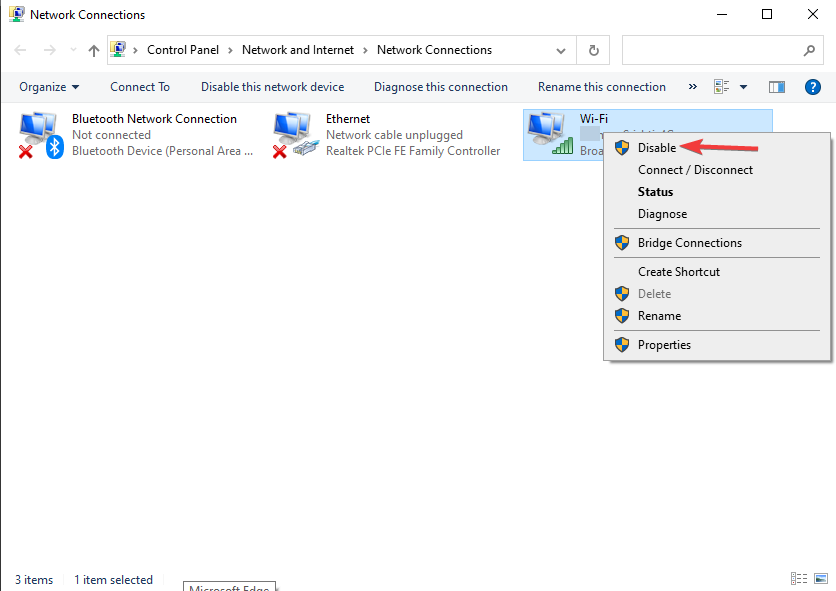
- Locate and right-click the Wi-Fi connection and select Disable from the context menu.

- Restart your computer

3. Restart the Wi-Fi Adapter in Device Manager
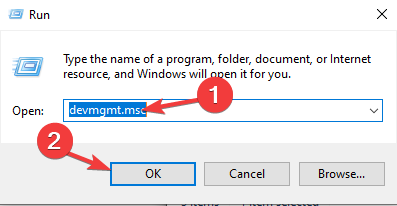
- Press Windows + R to open the Run dialog box.

- Type devmgmt.msc and click OK to open Device Manager.
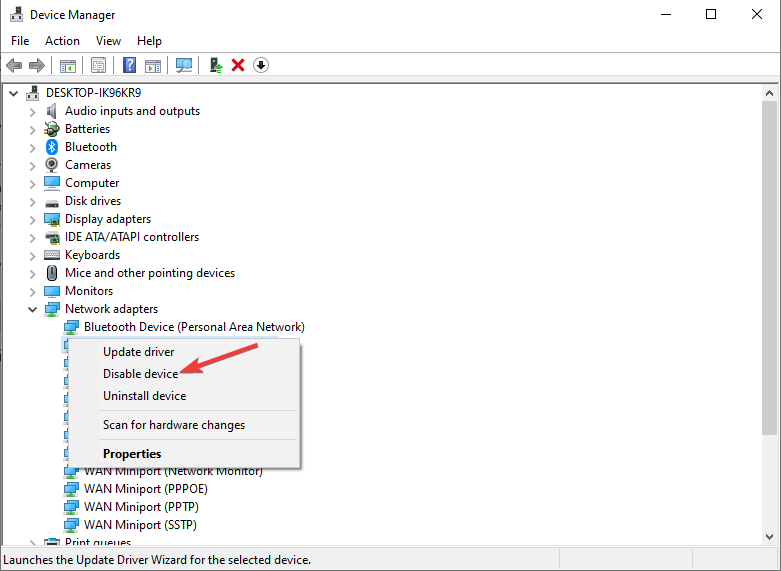
- Locate and expand the Network adapters.
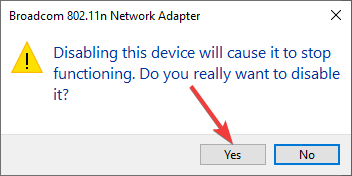
- Right-click the Wi-Fi adapter and choose Disable device.

- Click Yes to confirm.

- Now, right-click it again and select Enable device from the context menu.

4. Resetting TCP/IP Configuration
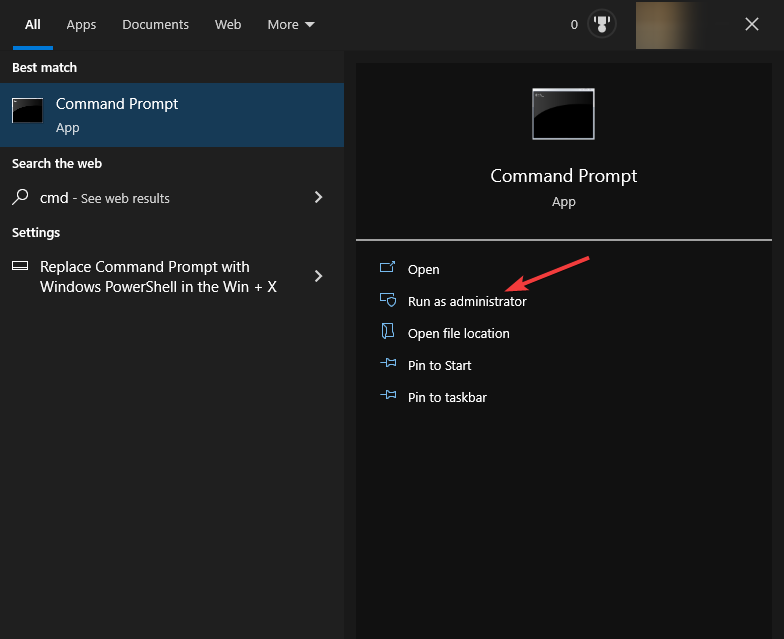
- Press the Windows key, type cmd, and click Run as administrator.

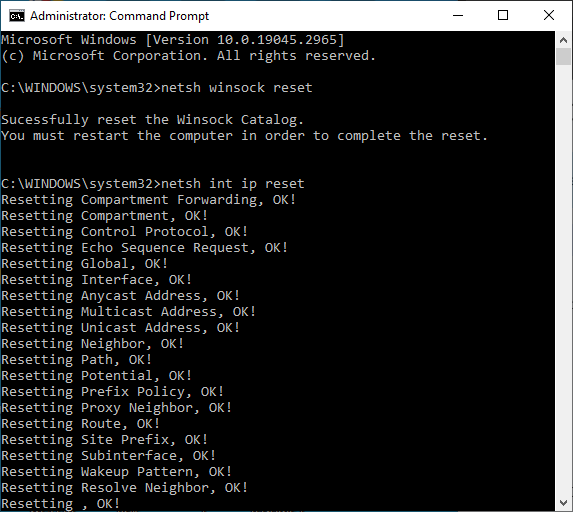
- Copy & paste the following commands one by one and press Enter after every command:
netsh winsock reset
netsh int ip reset
ipconfig /release
ipconfig /renew
- Once the commands are executed, restart your computer.
5. Use the Settings app
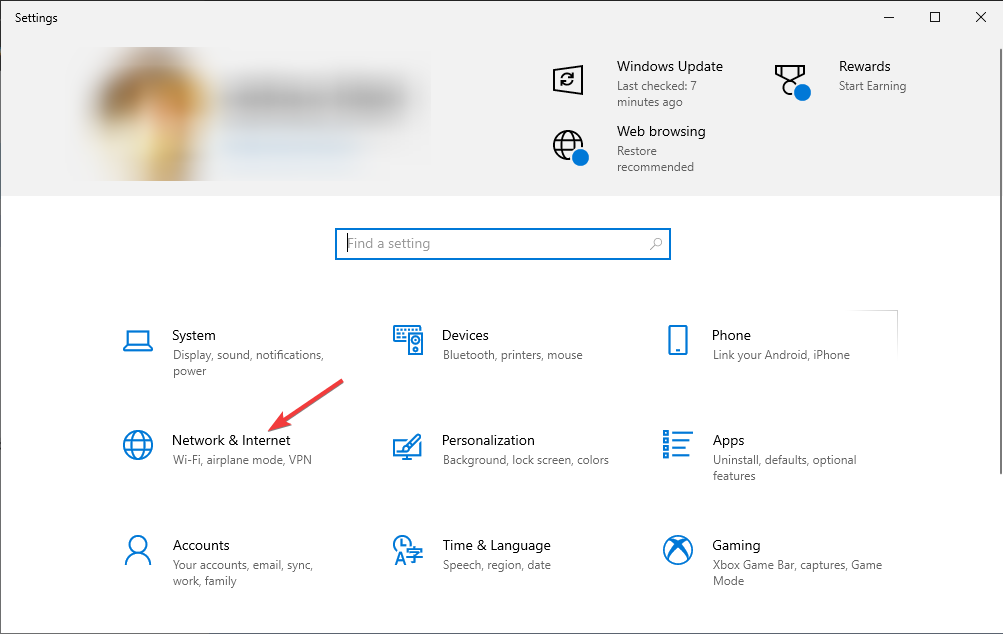
- Press Windows + I to open the Settings app.
- Go to Network & Internet.

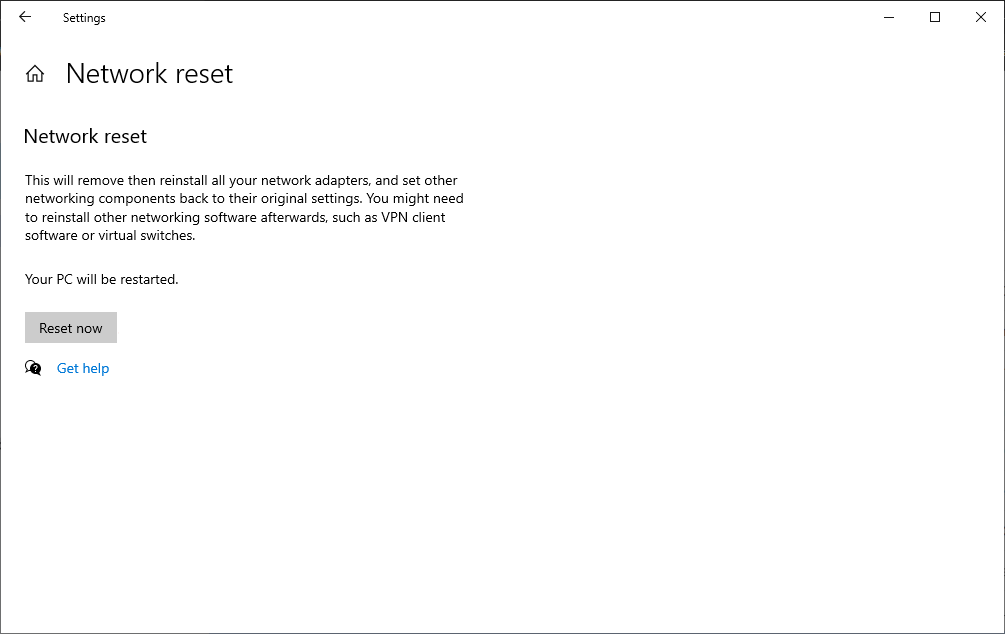
- Click Advanced network settings and click Network reset.

- Locate the Network reset and click the Reset now button.

- Reboot your PC to confirm the changes.

6. Reinstall the Wi-Fi adapter
- Press Windows + R to open the Run dialog box.
- Type devmgmt.msc and click OK to open Device Manager.
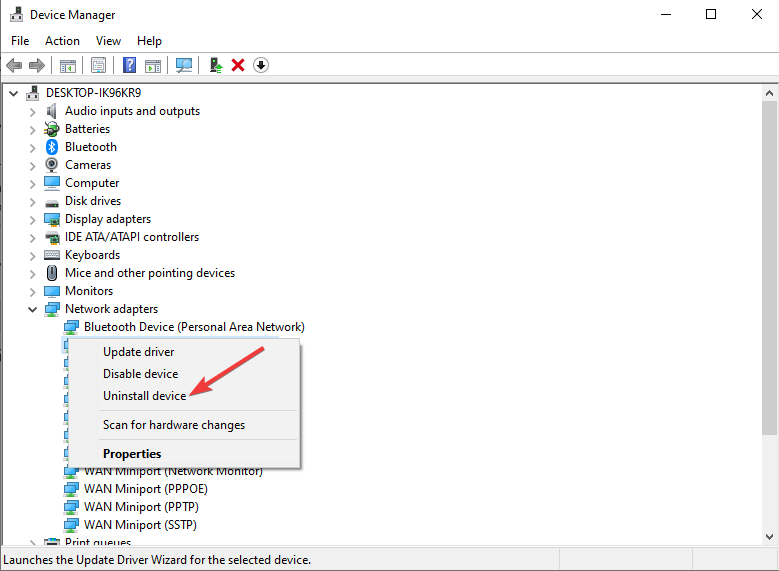
- Locate and expand the Network adapters.
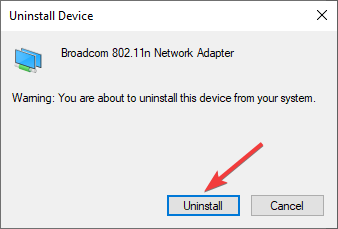
- Right-click the Wi-Fi adapter and select Uninstall device.

- Click Uninstall and follow the onscreen prompts, if any.

- Now click Action, then select Scan for hardware changes.

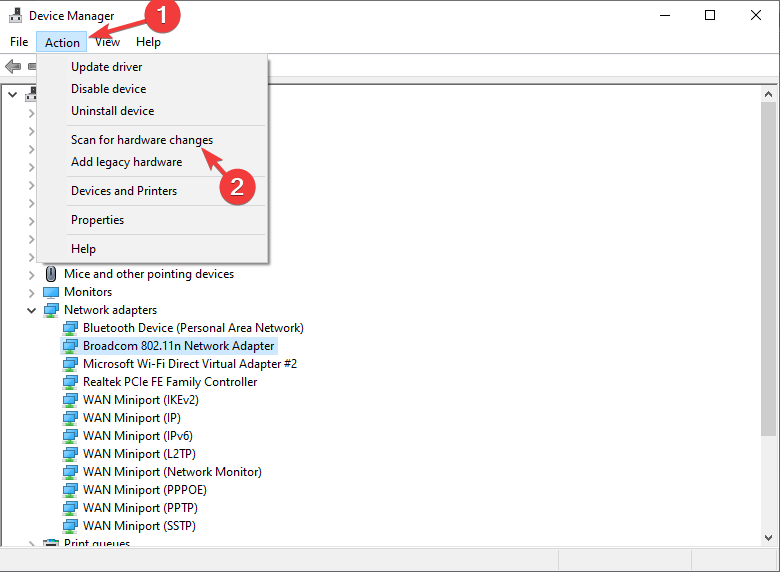
Now your Windows will scan and reinstall the driver. Once done, reboot your computer to save the changes.
In case nothing worked, you may also restore your computer to a point when the Wi-Fi adapter was functioning correctly.
If you are facing other issues with the Wi-Fi adapter, we suggest you read this guide to find the solutions.
So, these are methods that you can follow to reset the Wi-Fi network adapter on Windows 10. If you have any questions or suggestions, feel free to mention them in the comments section below.
Still experiencing issues?
SPONSORED
If the above suggestions have not solved your problem, your computer may experience more severe Windows troubles. We suggest choosing an all-in-one solution like Fortect to fix problems efficiently. After installation, just click the View&Fix button and then press Start Repair.