PC not Using all RAM: Fix It with These Simple 9 Solutions
Ensure your PC uses all available RAM by turning off Virtualization
- If Windows 10 isn't using all RAM, make sure that you have the right version installed.
- Checking that the existing memory is compatible with the motherboard is crucial.
- Tweaking some BIOS settings and testing your RAM can help if you're having this issue.

In some instances, Windows 10 isn’t using all RAM, and this can be a major problem because you have a memory that won’t ever be accessed.
This means that you’re not using your computer to its full potential and utilizing its resources properly. Luckily, you may use a RAM cleaner optimizer and in today’s guide, we’re going to show you how to fix the problem.
What happens when the PC isn’t using all of my RAM?
If your PC isn’t using all your RAM, you’ll have fewer resources to work with and you’ll experience a performance drop.
Let’s say you have 16GB of RAM, but your PC just detects 8 GB. You’ll have twice as little memory to work with, and you’ll experience issues when multitasking or when using more demanding applications.
Why is my PC not using all of my RAM?
This issue can be caused by many different things such as:
- 32-bit version of Windows – There are several reasons for this, but chances are you’re using an improper version of Windows. You need to use the 64-bit version, as detailed below.
- Incompatible or improperly arranged RAM – Some of our preliminary checks will help you in that regard, so don’t hesitate to take a closer look.
- Integrated graphics issues – Our advice is to locate your graphics card and see if it’s integrated or dedicated, to rule out this possibility.
How do I make sure my computer is using all of my RAM?
- Why is my PC not using all of my RAM?
- How do I make sure my computer is using all of my RAM?
- 1. Use the 64-bit version of Windows
- 2. Turn off Auto RAM Virtualization
- 3. Check if your RAM is faulty
- 4. Change your BIOS settings
- 5. Use msconfig
- 6. Modify your registry
- 7. Update your BIOS
- 8. Check if you have integrated graphics
- 9. Check if BIOS recognizes your RAM
As much as this guide is filled with surefire fixes for this issue, we like you to perform the following preliminary checks before delving into the solutions:
- Rearrange RAM modules order (change their positions).
- Check if your RAM is properly seated.
- Confirm that your RAM is compatible with the motherboard.
- Ensure to use the official BIOS.
1. Use the 64-bit version of Windows
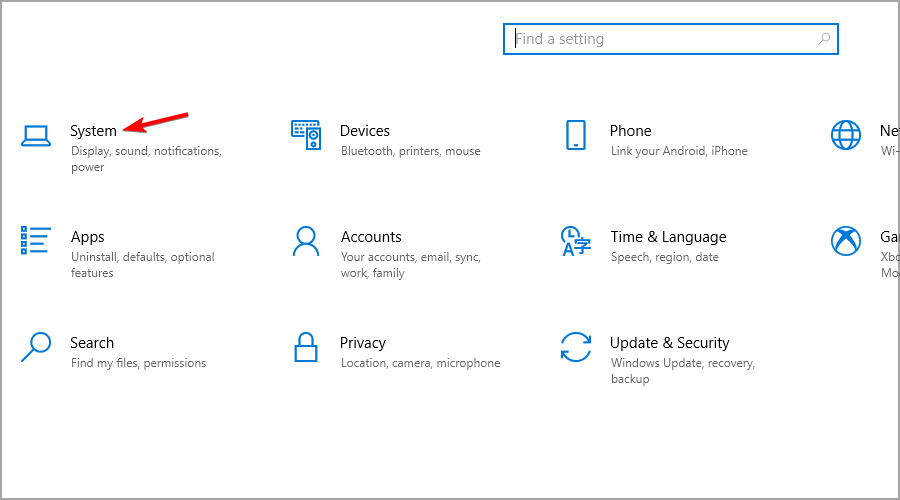
- Press the Windows key + I to open the Settings app.
- Head over to the System section.

- Select About from the left pane. In the right pane locate System type.

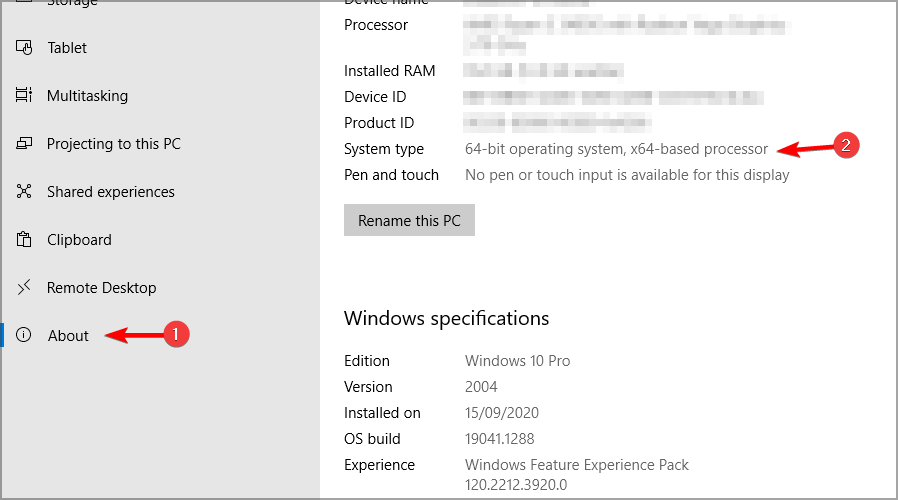
If the PC is not using all RAM and you’re not using the 64-bit version of Windows, you’ll have to perform a clean install of Windows 10 with Refresh Tool. Keep in mind that this version requires a 64-bit processor.
The process will remove all files from your system partition, so be sure to back them up beforehand. After you install the 64-bit version of Windows, your PC should utilize all your available RAM.
Quick warning, if you already have a 64-bit version and Windows isn’t using all your RAM, there’s no need to reinstall it. Instead, try one of our other solutions.
2. Turn off Auto RAM Virtualization
You can bypass this unpleasant error by simply turning off the auto RAM Virtualization option and resolve PC not using all RAM issue.
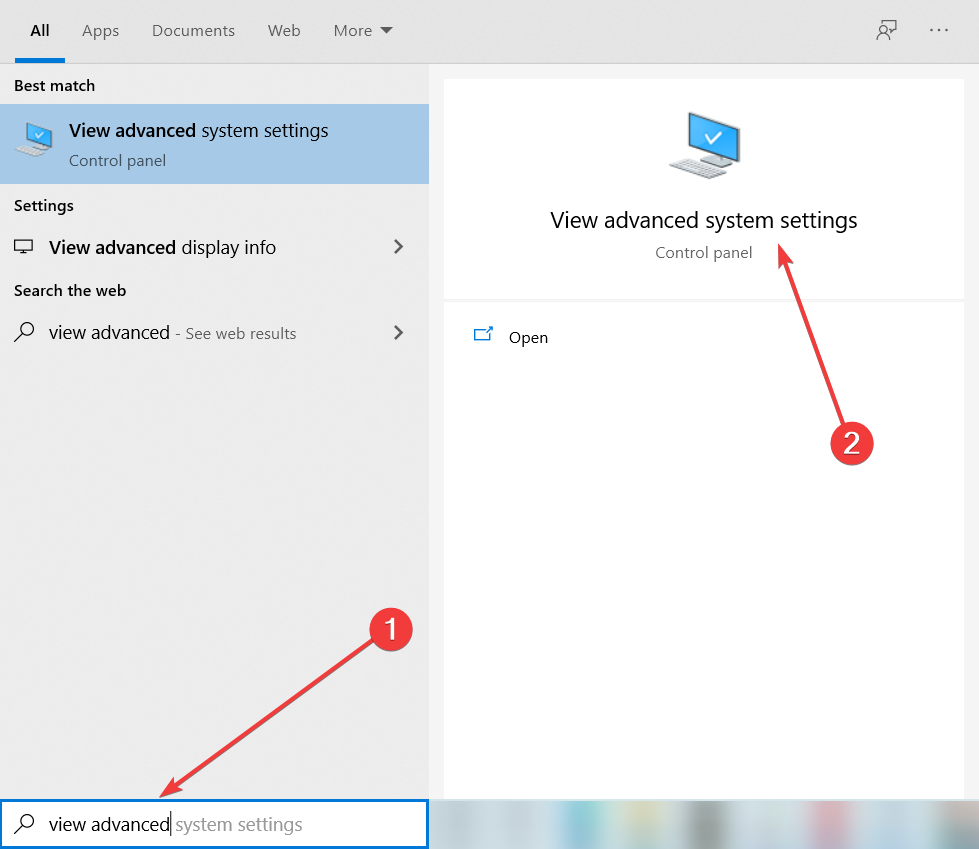
1. Press the Windows key + S and enter advanced. Choose View advanced system settings from the menu.
Expert tip:
SPONSORED
Some PC issues are hard to tackle, especially when it comes to missing or corrupted system files and repositories of your Windows.
Be sure to use a dedicated tool, such as Fortect, which will scan and replace your broken files with their fresh versions from its repository.
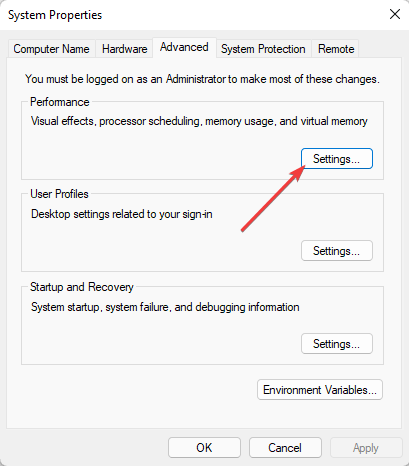
2. When System Properties window opens, click the Settings button in the Performance section.
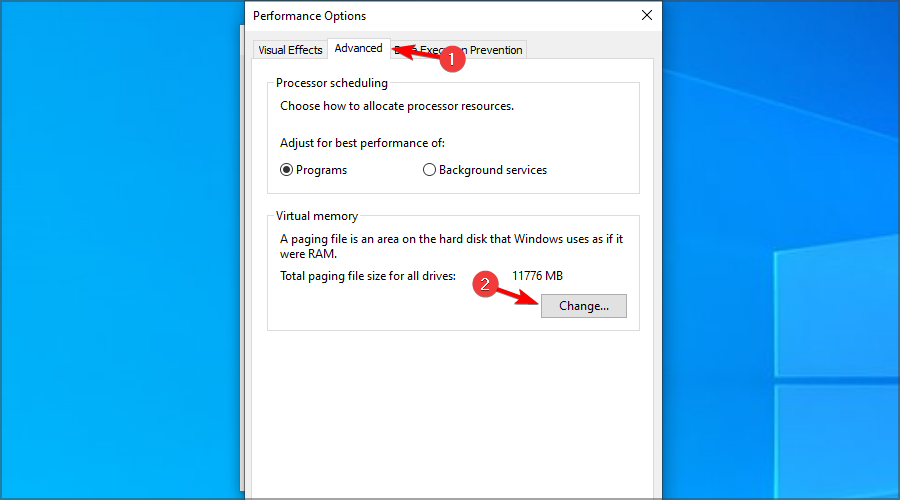
3. Performance Options window will appear. Go to the Advanced tab and click on Change.
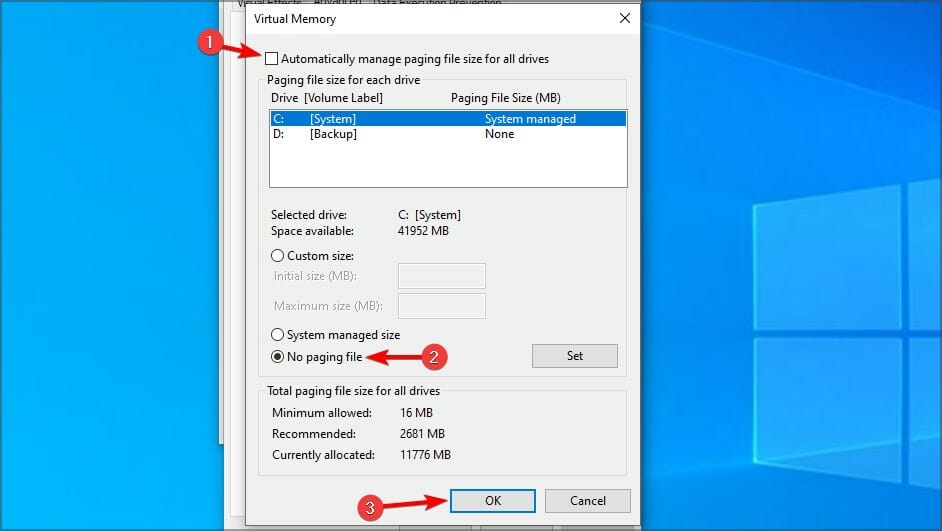
4. In the Virtual Memory window, uncheck Automatically manage paging file size for all drives option. Now select each drive on the list and choose No paging file option. Click OK to save changes.
After you make the necessary changes, restart your PC. Up next, check if the problem still appears. If not, you can enable Automatically manage paging file size for all drives feature again.
3. Check if your RAM is faulty
- Download MemTest86 tool and create a bootable media.
- Restart your PC and boot from the bootable media.
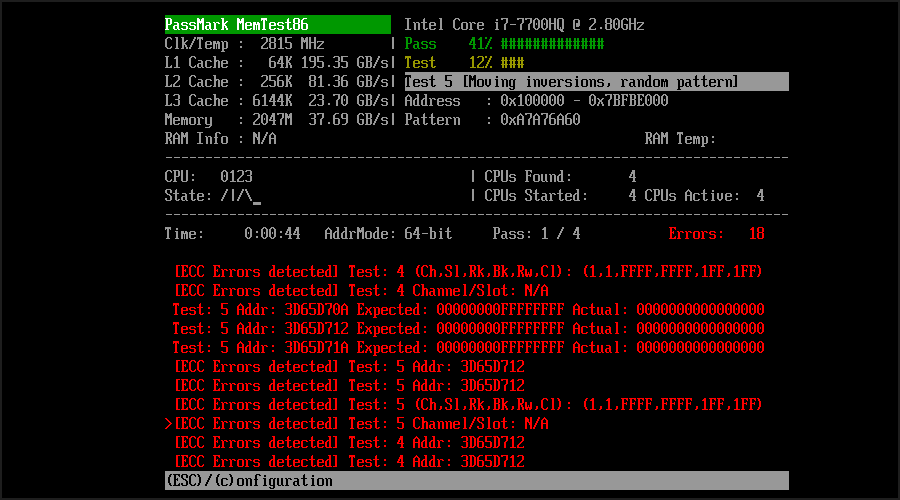
- MemTest will automatically start scanning your RAM.
- Leave it running for a few hours.
- If an issue is detected, it means that one of your modules is damaged and in need of replacement.
- To find out the damaged module, scan one memory at a time until you do.
4. Change your BIOS settings
- Press F2 or Del key while your system boots to access BIOS.
- Change the following values:
- Vitualization – ON.
- iGPU – OFF.
- Render Stability – Enabled
- iGPU memory – Auto
- Multimonitor – Disabled
- Frame Buffer Location – Below 4G
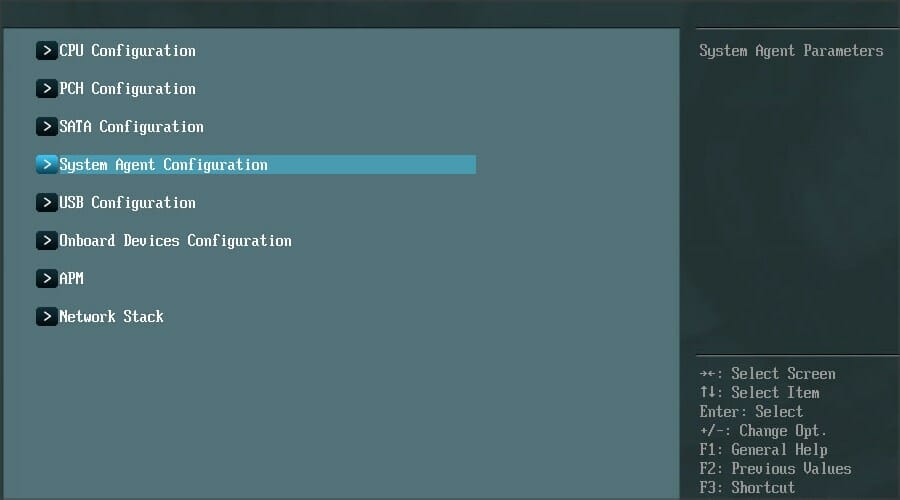
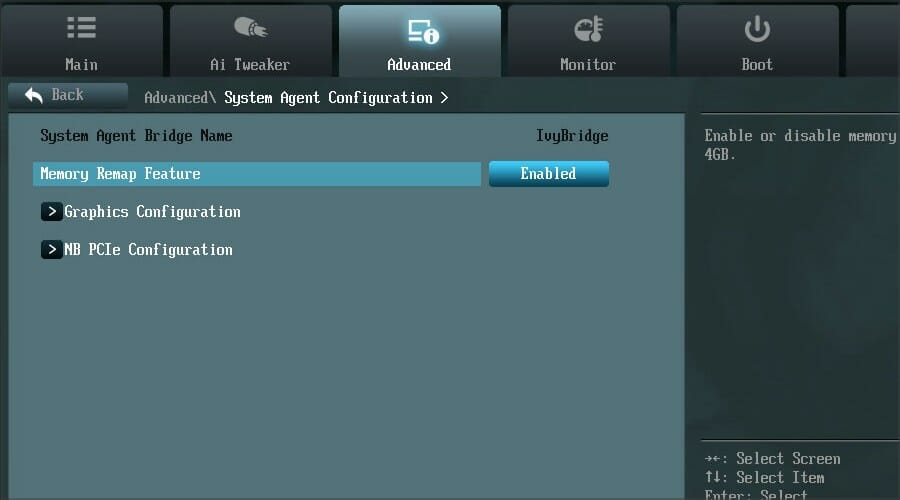
- Navigate to the Advanced section and select System Agent Configuration.
- Select Memory Remap and set it to Enabled.
5. Use msconfig
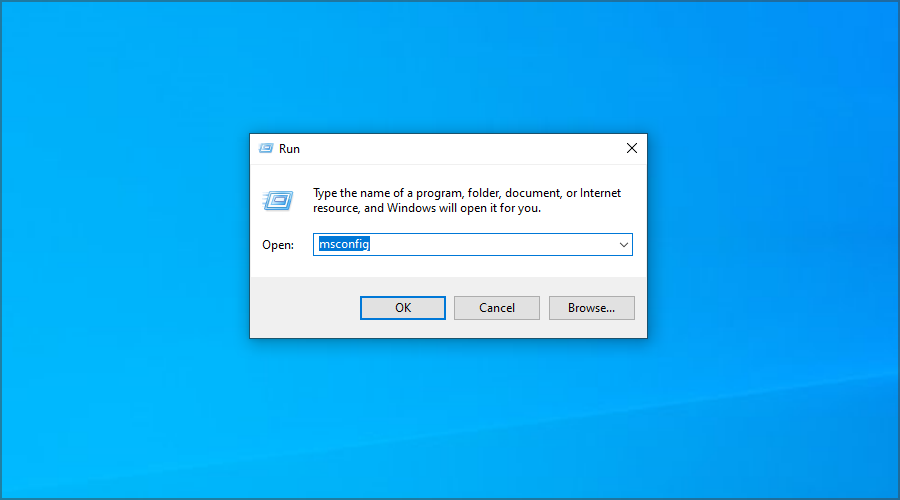
- Press the Windows key + R, type msconfig, and press Enter.
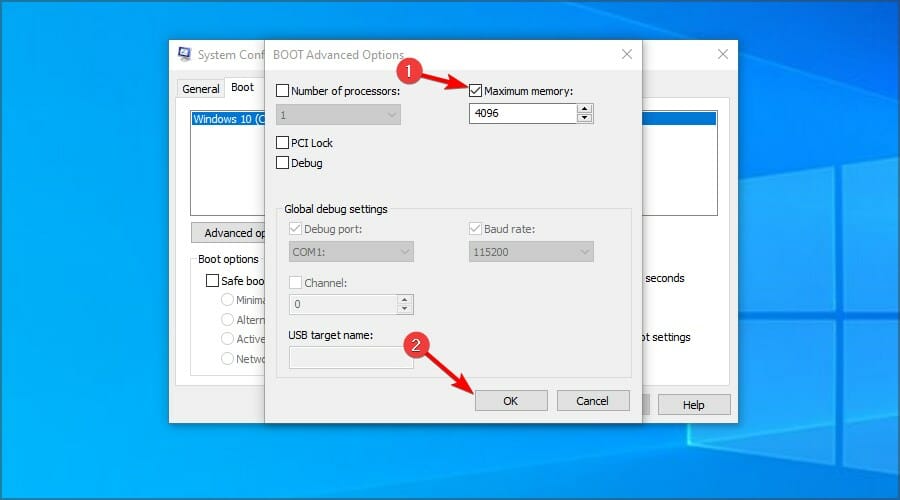
- System Configuration window will now appear. Navigate to the Boot tab and click on Advanced options.
- Check the Maximum memory option and enter the amount you have in MB. 1GB is 1024MB, and since we have 4GB RAM on our PC, that’s 4096MB. For your PC, be sure to enter the correct amount of RAM in MB. After you’re done, click on OK.
- Save changes and restart the computer.

If you have 16GB RAM installed and only 8GB is usable on Windows 10, you can use the maximum memory feature to set it right.
6. Modify your registry
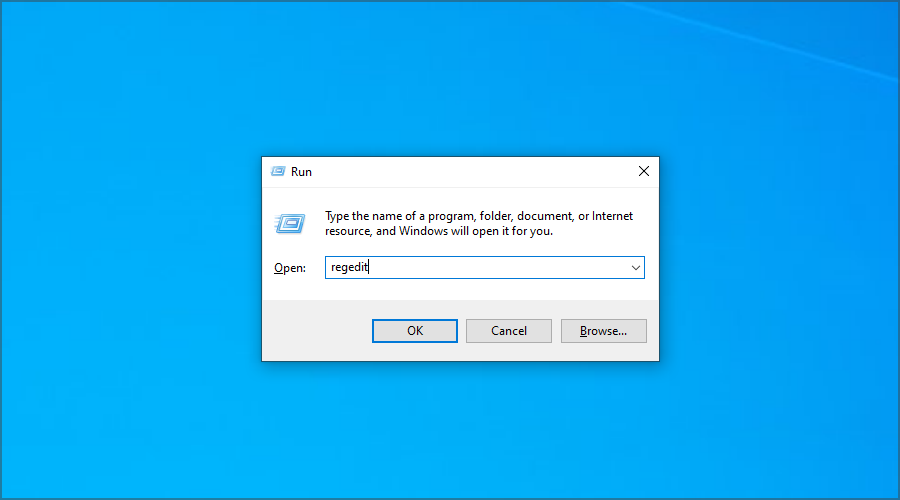
- Press the Windows key + R, type regedit, and press Enter.
- In the left pane navigate to the following key:
HKEY_LOCAL_MACHINE\SYSTEM\CurrentControlSet\Control\Session Manager\Memory Management - In the right pane, double-click the ClearPageFileAtShutdown DWORD to open its properties.
- Set the Value data to 1 and click on OK.
- Optional: Several users claim that you need to set Value data for ClearPageFileAtShutdown DWORD to 2 and save changes. After doing that, set the Value data for the same DWORD to 0 and save changes.
Many users reported error when accessing Registry, but that can be easily fixed.
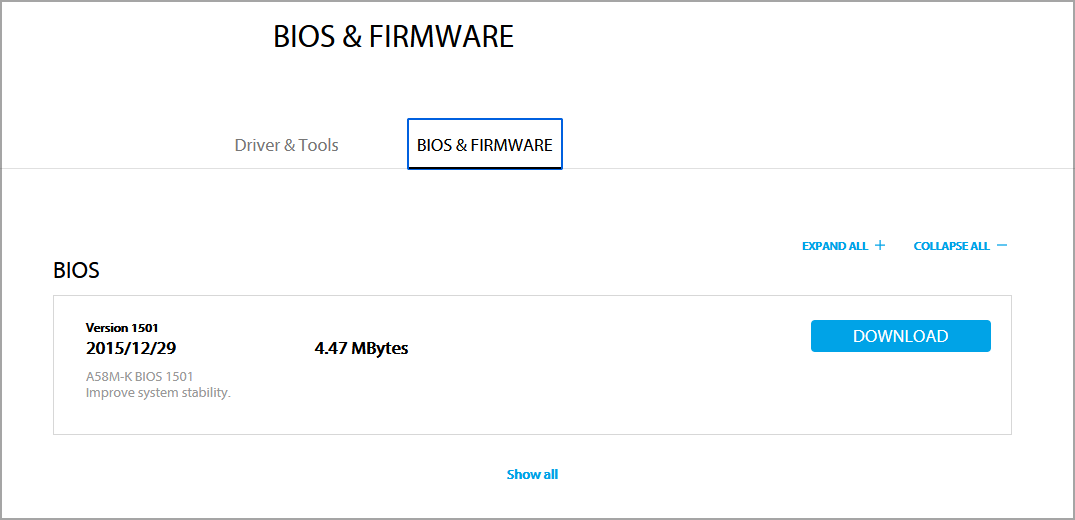
7. Update your BIOS
- Visit your motherboard manufacturer’s website.
- Go to select your motherboard model and the Driver & Utility section.

- Head over to the BIOS section, locate the latest version, and click on Download.

- Once the files are downloaded, extract them to a USB flash drive.
- Restart your PC and keep pressing F2 or Del to enter BIOS.
- Select the Update option.
- Now choose the files from your flash drive.

- Wait for the process to finish.


For more information, be sure to visit our guide on how to flash BIOS.
8. Check if you have integrated graphics
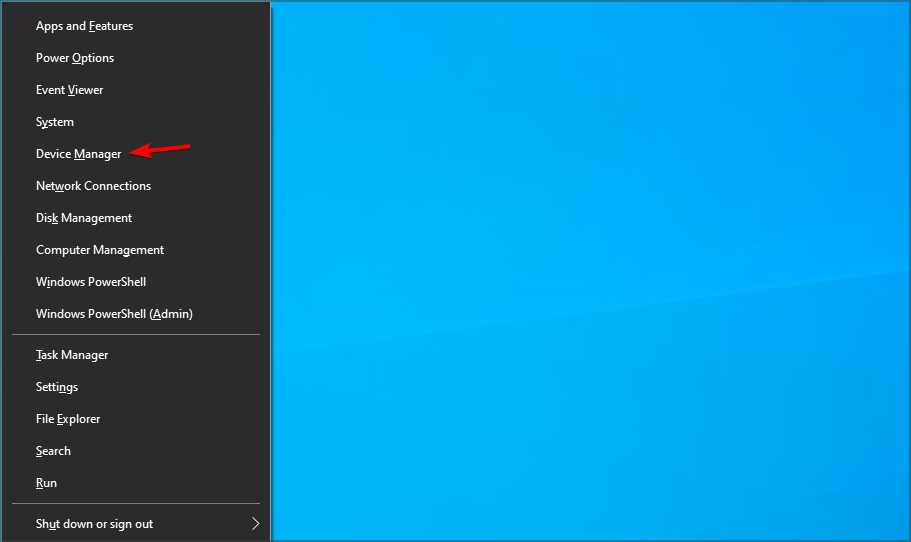
- Press the Windows key + X and choose Device Manager.

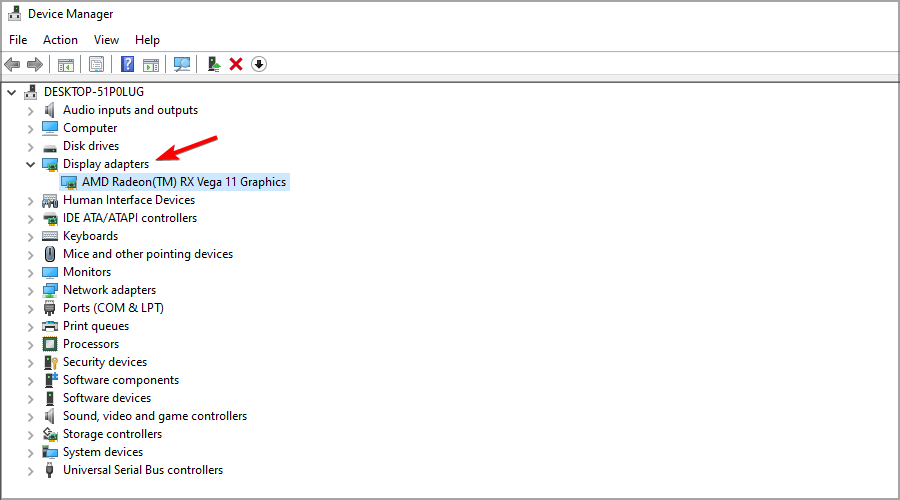
- Expand the Display adapters section.
- Locate your graphics card.
- Google it, and see if it’s integrated or dedicated.
To see how much memory your graphics card use, and other important information, try using video card information software.
9. Check if BIOS recognizes your RAM
- Restart your PC.
- While it boots, keep pressing F2 or Del.
- Once you enter UEFI, you’ll see all installed modules on your computer.

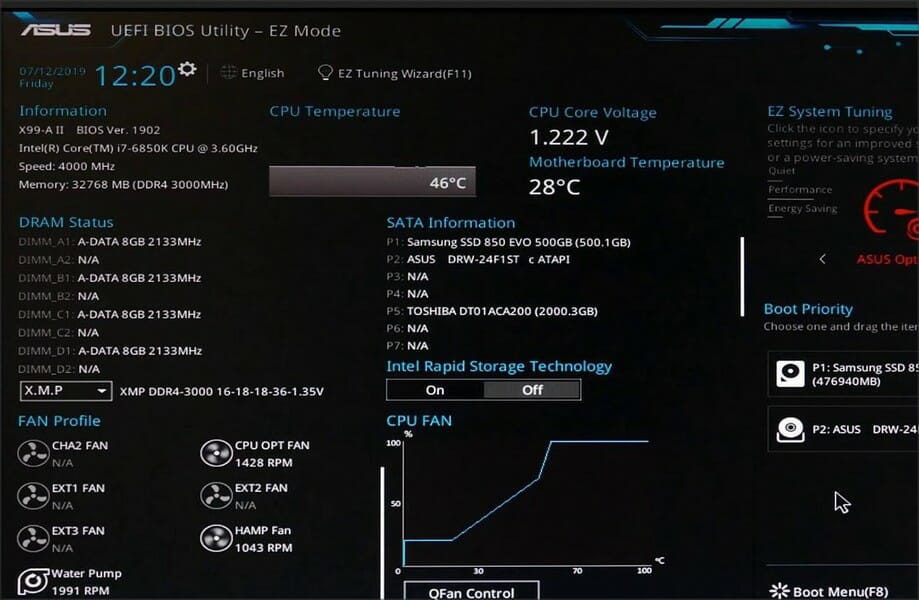
In case you can’t find a certain module, there might a problem with it, or you might’ve exceeded the RAM limit on your motherboard. Keep in mind that the latter only affects older devices.
If Windows 10 isn’t using all RAM, you might experience performance issues, but hopefully, these solutions should help you fix the problem.
There are several ways to address this issue, but if you didn’t manage to solve it, you can also limit RAM usage on your PC to optimize it.
Did we miss any of the solutions for this problem? If we have, let us know in the comments section below.