chrome //net-internals/#dns mobile [What is it?]
Check out the method to clear DNS cache in Google Chrome
- If you are unable to access a website, it could be because the website has changed the DNS entry.
- In such a case, you need to clear or flush the DNS cache.
- Since Chrome comes in-built DNS cache, you can follow this guide to check out the method to do so.
The Windows Domain Name System (DNS) allows you to convert a human-readable website (for example, www.windowsreport.com) to a machine-readable IP address.
This allows browsers to connect to send the data to the CDN (Content Delivery Network) allowing the users to access the content on a website.
With DNS, users can easily enter the website name using normal words into their browsers and access the website without worrying about the IP address of the website.
In order for you to access the Internet, your DNS has to work without any problems. If you are facing issues with the DNS cache on your PC, then you can check out our guide on how to fix DNS issues on Windows 10/11.
But what if you run into an error on your favorite Google Chrome browser? Interestingly, you might not be aware that Google Chrome does come with a DNS and proxy caching server built-in.
And in this guide, we will show you the process you can follow to clear the Chrome DNS cache. Let us check it out.
What is net internals/# DNS?
To clear the DNS cache from Google Chrome, you need to access the chrome://net-internals/#dns command in the URL.
Before you run the command on your PC, it is very important to know what command you will be running and what each component means.
The net internals # dns, also known as the Net-internals, is a NetLog event stream visualizer. You can view both the real-time log or also load post-dated NetLog dumps.
A NetLog dump is a log file that keeps the browser’s network-related events and state. This NetLog in Chrome also helps in troubleshooting and debugging problems. You will be asked to provide the NetLog file when you come across page load or performance problems.
Does Chrome have a DNS cache?
As already mentioned, Google Chrome does come with a built-in DNS and proxy caching server. Clearing the cache helps improve the performance as it cleans the DNS entries on the browser.
Clearing the DNS cache also refreshes the DNS records stored in your web browser. Since Chrome stores up to 1,000 records of DNS cache in a minute, clearing the cache will help improve the performance.
Quick Tip:
Avoid cache and cookies congestion in Chrome, and have a backup using the Opera One browser. You will be prompted to import stored data such as bookmarks, passwords, and extensions when you install it.
It’s based on the same Chromium engine, but Opera One has a more structured design and better speed. The ad blocker prevents tracking and does not save unnecessary cookies and cached files.

Opera One
Reliable alternative to Chrome to avoid unnecessary stored cached data.How do I clear my DNS cache?
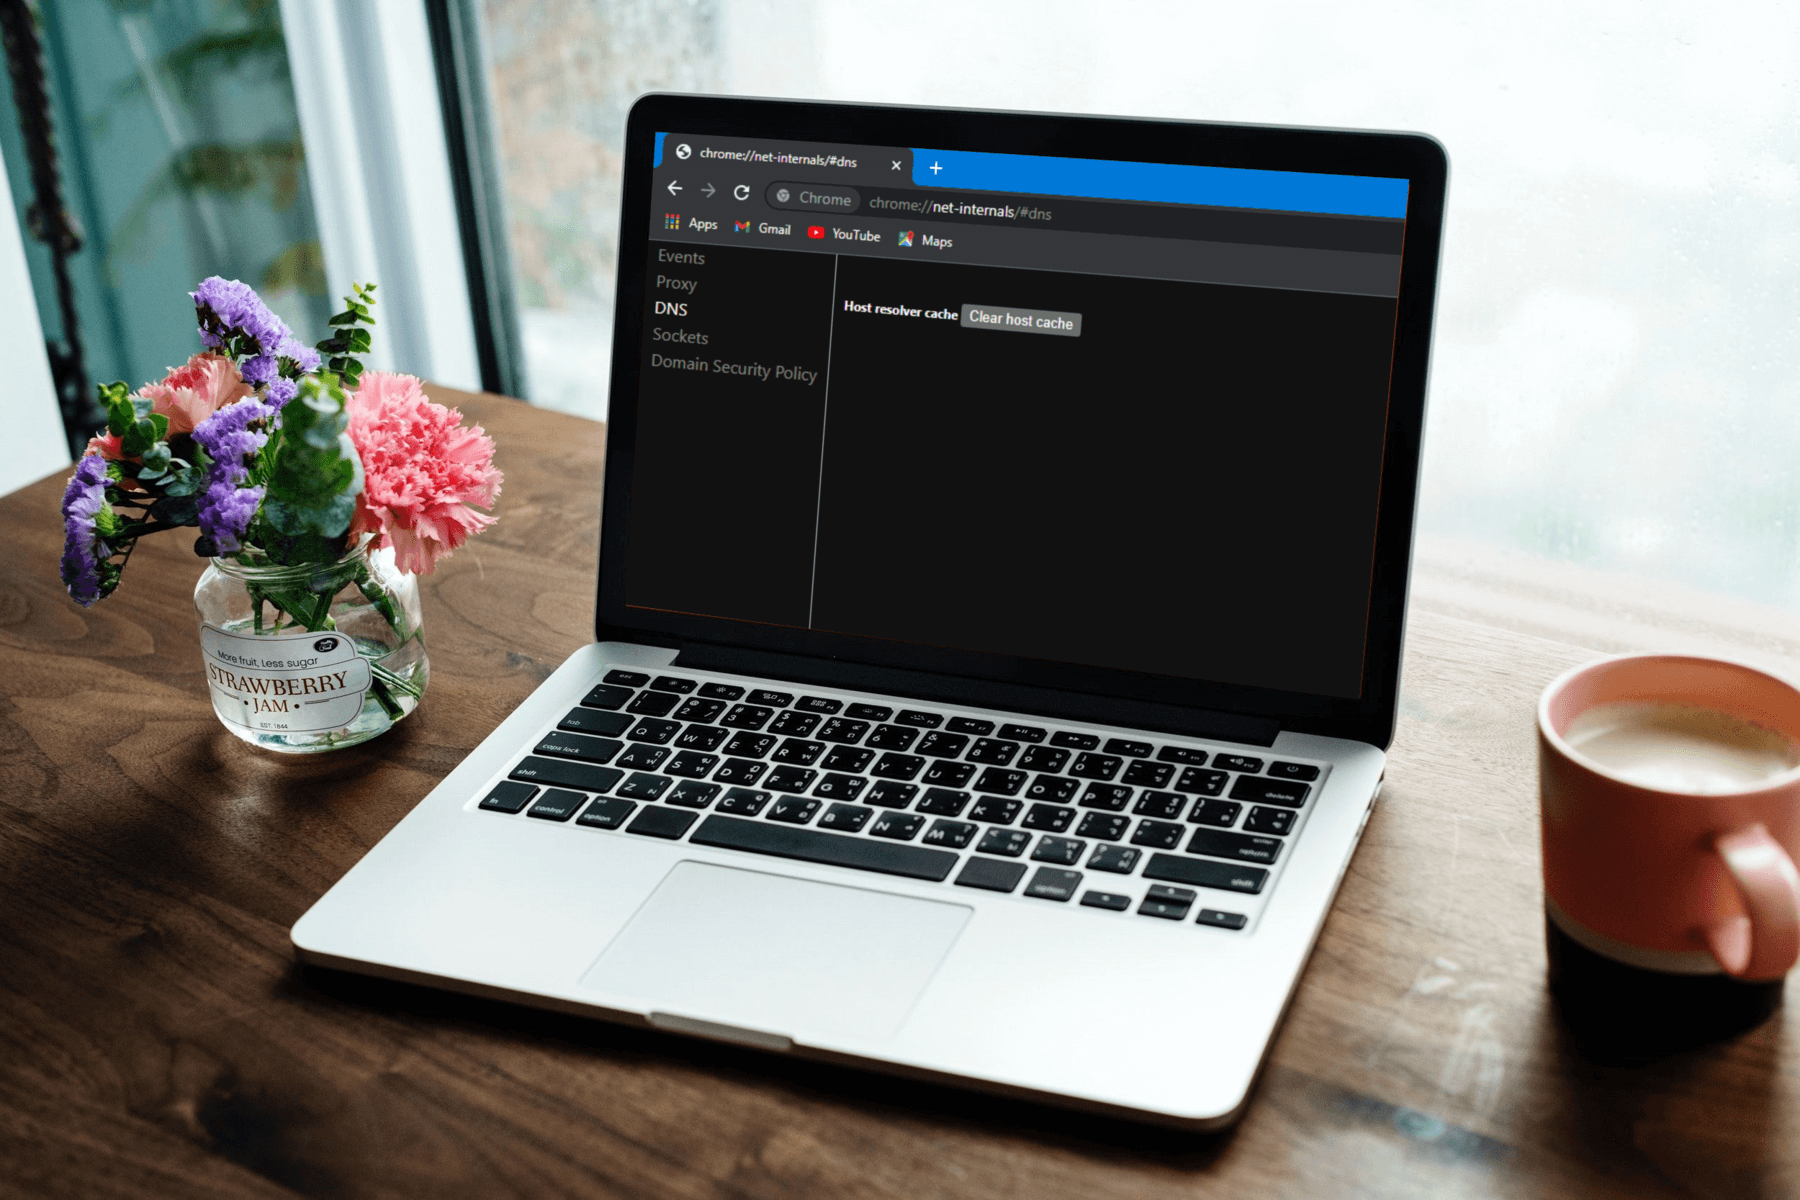
- Launch the Chrome browser.
- In the address bar, type the below address and press Enter.
chrome://net-internals/#dns - On the page that opens, hit the Clear host cache button.

- This will clear the browser’s DNS cache. Do note that no prompt or message will be shown, but the click of the button actually clears the browser cache.
- Restart your browser.

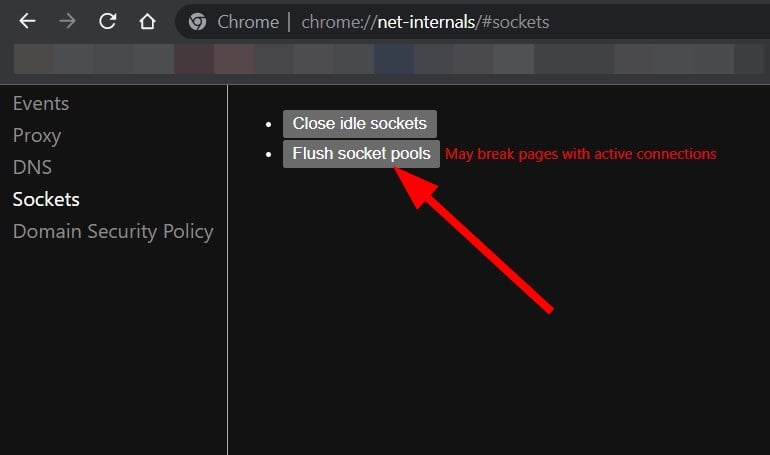
DNS cache is not only stored by your Windows operating system but by your browser as well. Moreover, you might also have to flush the socket pools too, which you can do by following the steps below:
- Type the below in the address bar of Chrome and press Enter.
chrome://net-internals/#sockets - Hit the Flush socket pools button.

- Restart your browser.
How can I fix chrome://net-internals/#dns not working?
While the above steps seem simple, and they are, there are several users for whom the chrome://net-internals/#dns isn’t working.
If you are one of such users, then here are some of our recommended solutions that will help you fix the error, and flush out Chrome DNS.
1. Release a new IP address
- Open the Start menu.
- Search for command prompt and open it as an administrator.
- Type the below command and hit Enter.
ipconfig /release
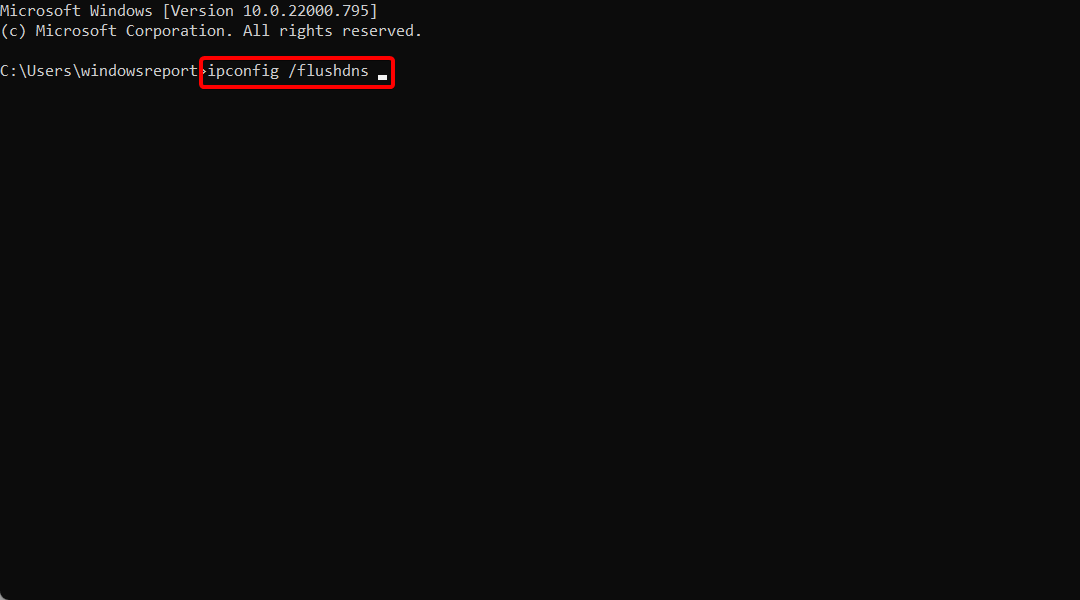
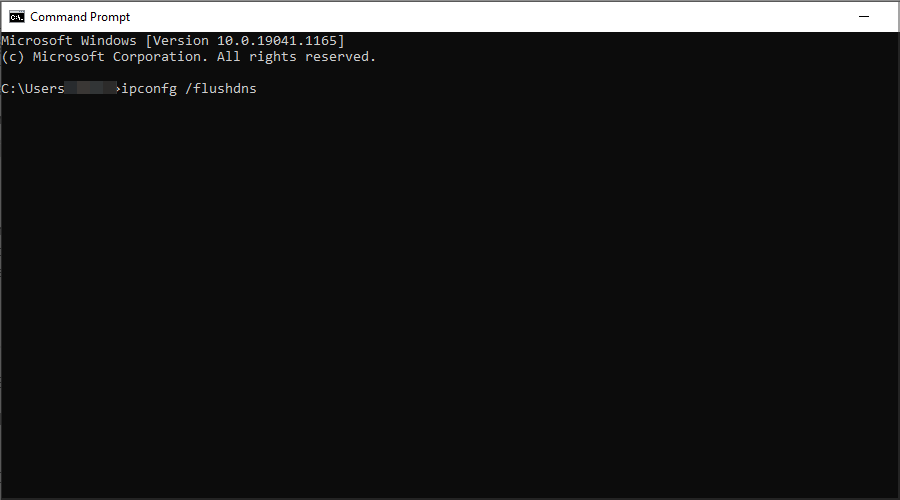
- Then type the below to flush your DNS cache and press Enter.
ipconfig /flushdns
- Now, type the below to renew your IP address and press Enter.
ipconfig /renew
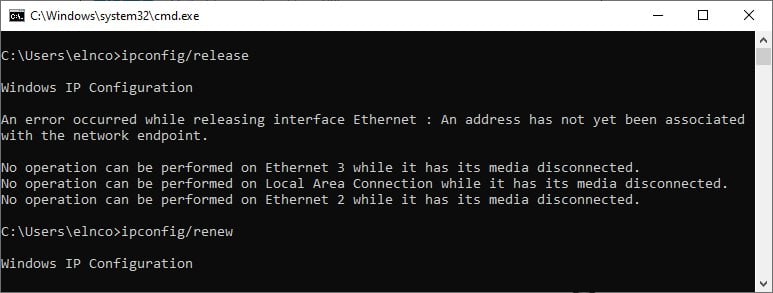
When you execute the above command, your PC will release your current IP address. Now, you can head back to Chrome and check if the chrome://net-internals/#dns is working or not.
2. Restart the DNS service
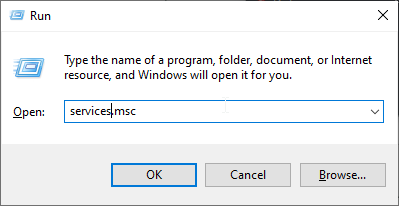
- Press the Win + R keys together to open the Run dialogue.
- Type the below command and press Enter.
services.msc
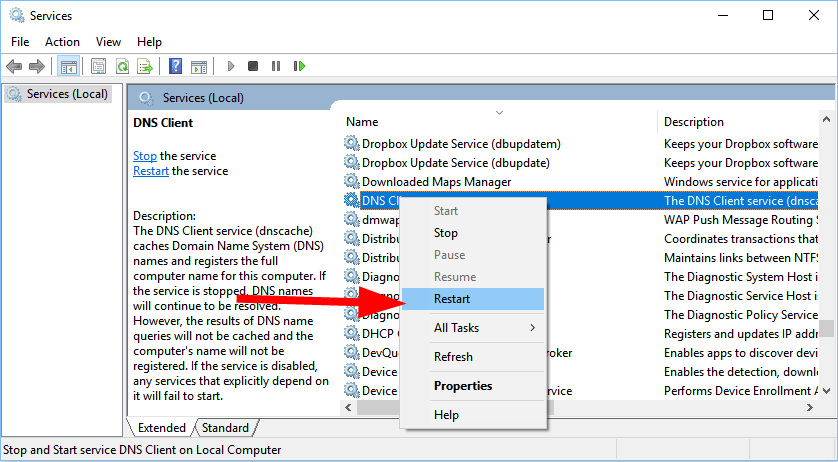
- Scroll down and locate DNS Client.
- Right-click on it and select Restart.

- In case the Restart option is greyed out, you need to open the command prompt.
- Type the following commands and press Enter.
net stop dnscachenet start dnscache
3. Reset Chrome flags
- Open Chrome.
- Type the below command in the address box and press Enter.
chrome://flags - At the top, click on the Reset all button.

- Restart your browser.
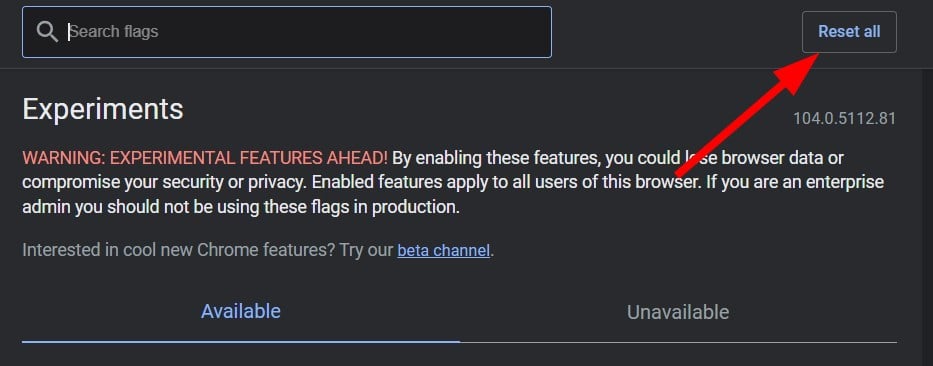
Often, when you turn on certain Chrome flags, they can mess up the in-browser settings and cause issues such as chrome://net-internal not working. In such a case, we would suggest you reset all flags in the browser and check if the problem is resolved or not.
4. Disable the VPN
A VPN allows you to connect to a server located in a different country. The main benefit of this is that you can access the restricted websites in your country by using a VPN, and also, it can help you access websites faster.
However, VPNs can also cause the chrome://net-internal not working problem since they can override your network settings, including your DNS servers. Simply disable the VPN app that you are using and check if this fixes the issue or not.
That is it from us in this guide. We hope that the solutions in this guide helped you understand how you can clear the DNS cache on your Google Chrome browser.
Still experiencing issues?
SPONSORED
If the above suggestions have not solved your problem, your computer may experience more severe Windows troubles. We suggest choosing an all-in-one solution like Fortect to fix problems efficiently. After installation, just click the View&Fix button and then press Start Repair.