How to Rollback NVIDIA Drivers in Windows 10/11
Follow the step-by-step instructions to get it done
- If you are facing compatibility and stability issues after installing the NVIDIA driver's latest version, you might want to roll back to the previous version.
- You can use either access the driver's properties via Device Manager to get it done or uninstall the driver & install the previous version manually.
Whether you are experiencing compatibility issues, stability problems or prefer an older driver version for your NVIDIA graphics driver, this guide can help!
We will walk you through the step-by-step instructions to safely and effectively roll back your NVIDIA graphics driver in Windows 10 and 11.
How can I roll back NVIDIA drivers in Windows 11?
Before diving into the rollback process, go through the following preliminary checks:
- Create a restore point.
- Restart your computer.
- Back up your important data.
Once you have checked all these, let us move to the solutions.
1. Use the Device Manager
1.1 If the Roll Back Driver option is available
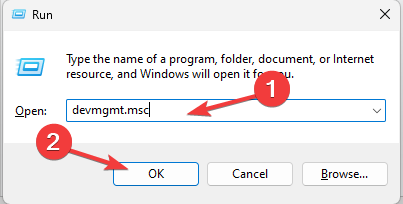
- Press Windows + R to open the Run dialog box.

- Type devmgmt.msc and click OK to open the Device Manager.
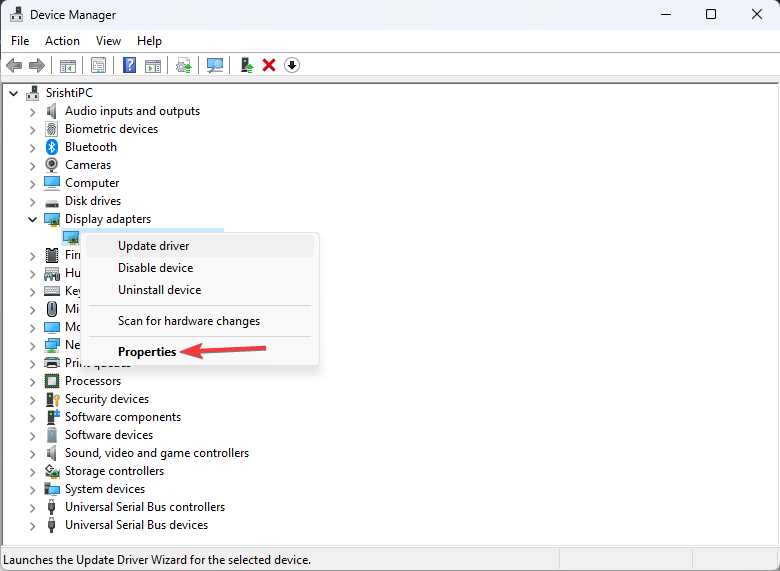
- Locate and click Display adapters to expand it.
- Right-click the NVIDIA driver and choose Properties.

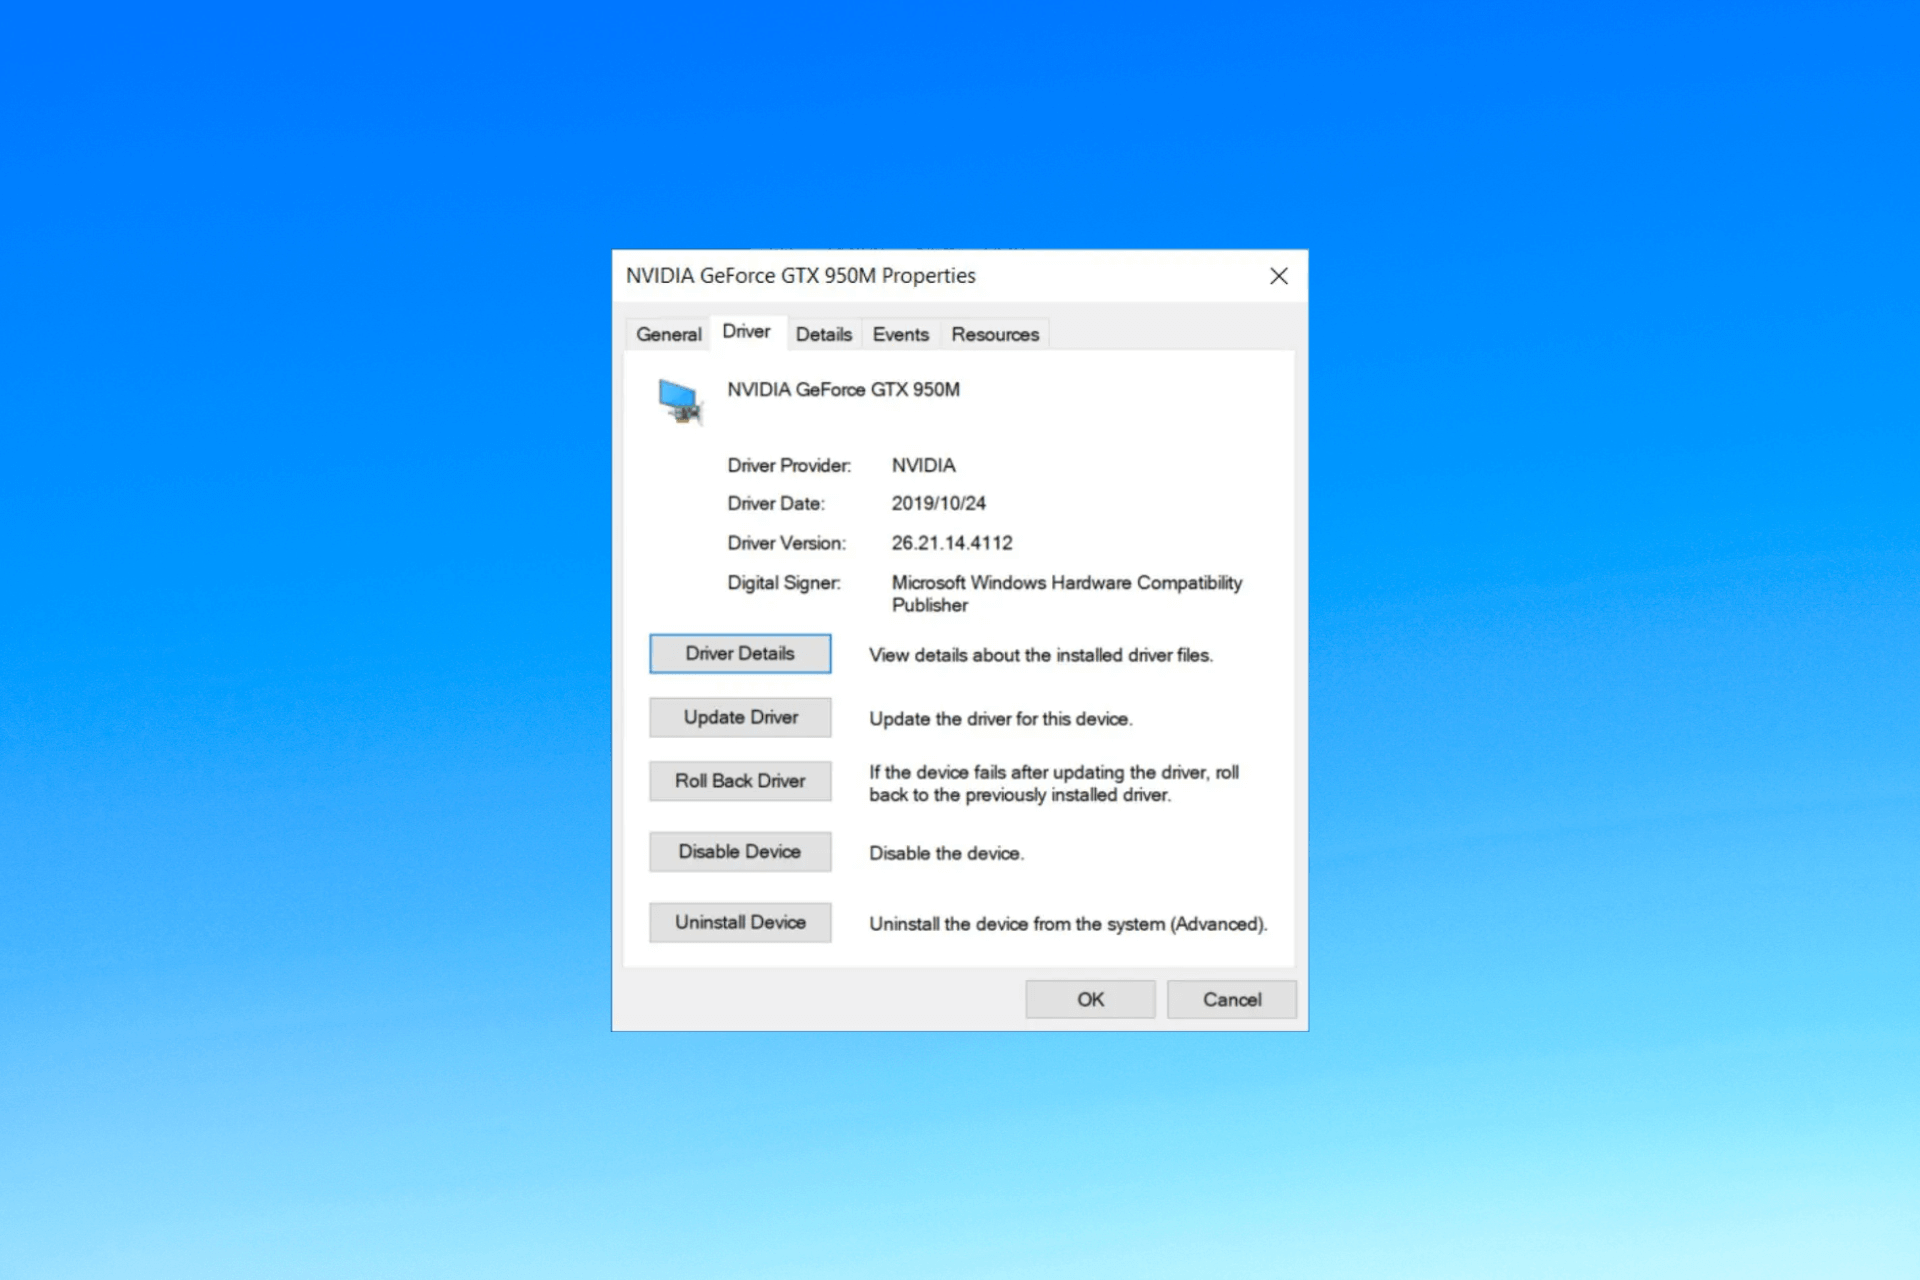
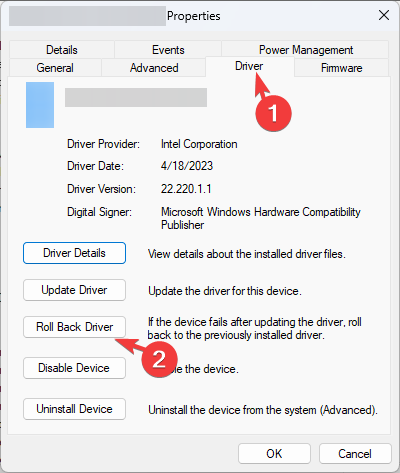
- Go to the Driver tab, and select the Roll Back Driver option.

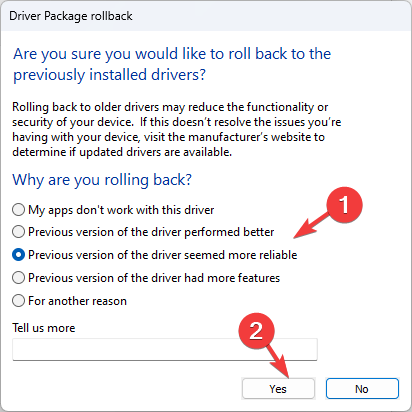
- On the Driver Package rollback page, select the reason for the rollback and click Yes.

- Restart your computer to complete the process.
If the Roll Back Driver button is greyed out in Device Manager, Windows can’t find any NVIDIA driver to which it can roll back.
In this case, you need to download and install the older version of an NVIDIA driver manually; follow the steps mentioned below.
1.2 If the Roll Back Driver option is greyed out
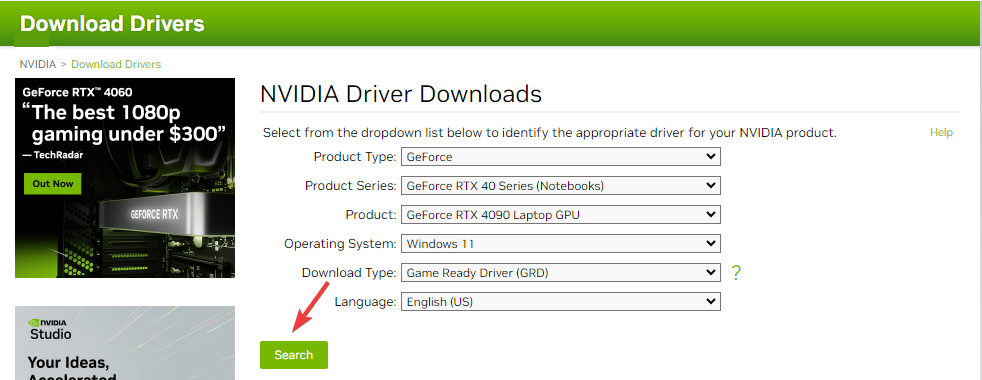
- Go to the NVIDIA official website and download the desired version of the NVIDIA driver at the desired location.

- Press Windows + R to open the Run dialog box.

- Type devmgmt.msc and click OK to open the Device Manager.
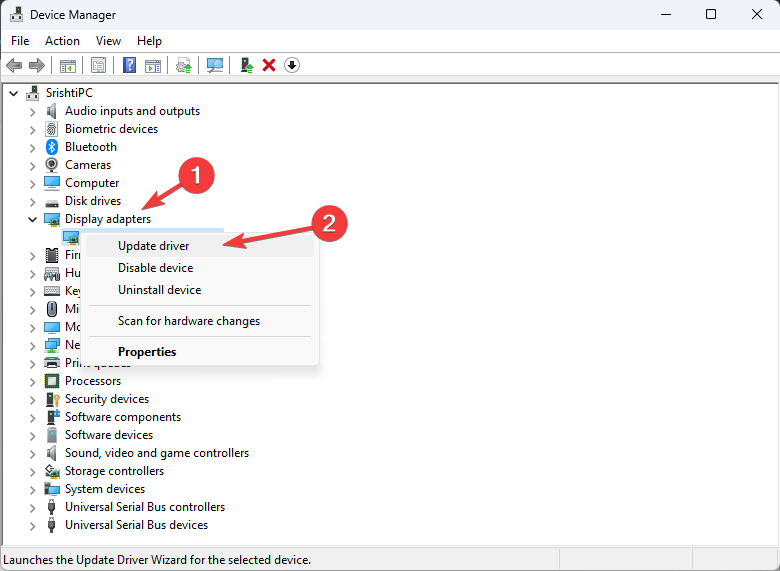
- Locate and click Display adapters to expand it.
- Right-click the NVIDIA driver and choose Update driver.

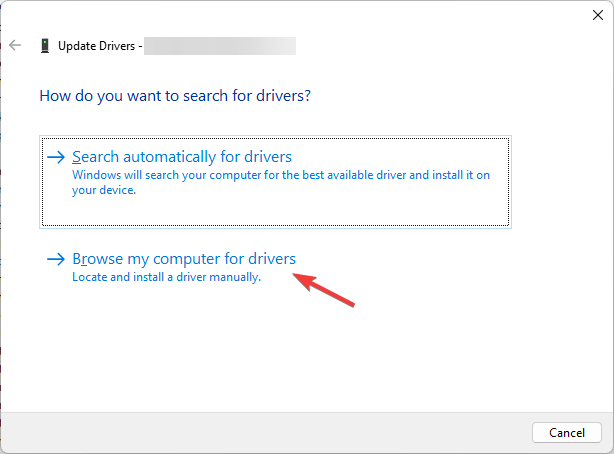
- Click Browse my computer for drivers.

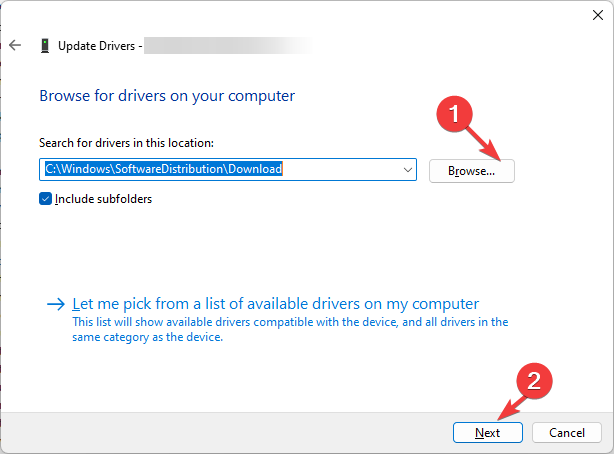
- On the Update drivers window, click Browse, navigate to the folder where you saved the downloaded file, and click Next.
- Follow the onscreen instructions to complete the process.
2. Use the Display Driver utility
 NOTE
NOTE
- Go to the NVIDIA official website and download the desired version of the NVIDIA driver at the desired location.
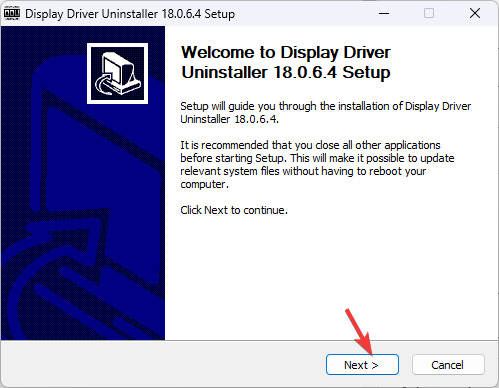
- Download the Display Driver Uninstaller and double-click the installer file to run the setup.
- On the Installer wizard, click Next to initiate the installation.

- Follow the onscreen prompts to complete the process.
- Once it is installed, the app will launch.
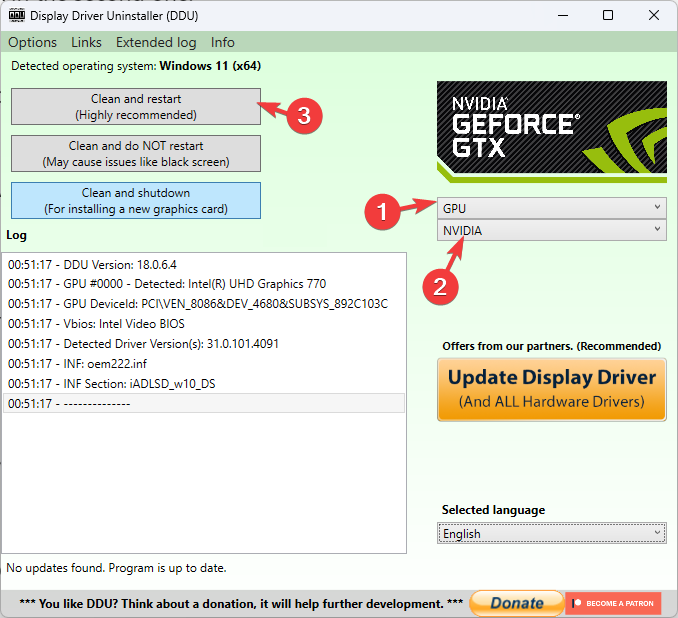
- From the right side, from the first drop-down, select GPU and choose NVIDIA in the second one.
- Now click the Clean and restart button. The tool will remove the NVIDIA driver and restart your computer.

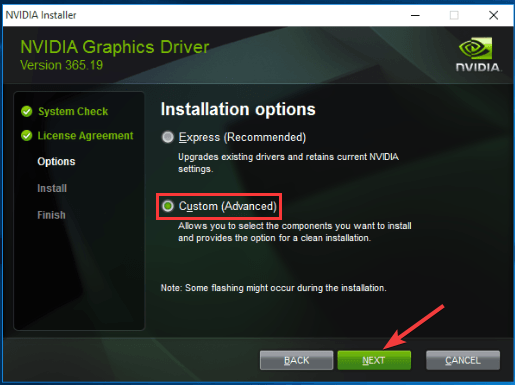
- Now go to the downloaded driver and double-click it to initiate the installation.
- Choose Custom (Advanced), then click NEXT. Follow the onscreen instructions to complete the installation.

Once the process is complete, restart your computer and check if the installed driver works fine.
What can I do to roll back the NVIDIA drivers on Windows 10?
To roll back drivers on Windows 10, first, ensure you have an extra copy of your important data and create a restore point. Then use the user account with admin rights and follow the same methods mentioned for Windows 11 to complete the job.
So, this is how you can roll back NVIDIA drivers on your Windows 10/11 computer and restore stability and compatibility to your NVIDIA graphics card!
If you are facing problems downloading NVIDIA drivers on a Windows computer, we recommend you check out this guide for quick solutions.
Please feel free to give us any information, tips, and your experience with the subject in the comments section below.
Still experiencing troubles? Fix them with this tool:
SPONSORED
Some driver-related issues can be solved faster by using a tailored driver solution. If you're still having problems with your drivers, simply install OutByte Driver Updater and get it up and running immediately. Thus, let it update all drivers and fix other PC issues in no time!