Windows 11 Laptop Close Lid Settings to Know
- It's possible to have your laptop continue working even when it's closed.
- You will have to open the Control Panel and changes its configurations there.
- This guide will show how you can to do this, plus what to do if the options aren't there.
Whenever you close the lid on any kind of laptop, it will automatically go to sleep. And whenever you open it up, the laptop will turn on again and you can continue using it right where you left off.
This is a very common feature that’s available on all kinds of laptops. However, it’s entirely possible to do away with that feature and have your laptop stay on even with the display closed. That way, you can continue doing certain actions.
Why would I want to change the lid close action on my laptop?
There are cases where you don’t want your laptop to go to sleep whenever you close the lid. Case in point, whenever you are downloading a massive file onto your laptop and you don’t want the laptop to stay open.
There could be an instance where you want to go to sleep but don’t want the glaring glow of the display disturbing you. You may also be recording something or want some other feature to continue working while you take a break.
This guide will show you how you can change the close lid action on your Windows 11 computer so that it continues to work even after you close the device. It will show you what to do if the action isn’t available on your computer.
Expert tip:
SPONSORED
Some PC issues are hard to tackle, especially when it comes to missing or corrupted system files and repositories of your Windows.
Be sure to use a dedicated tool, such as Fortect, which will scan and replace your broken files with their fresh versions from its repository.
Note that these solutions are for the Home version of Windows 11. There exist another solution that requires you to open the Group Policy Editor and change the configuration there, but that app only exists on non-Home versions, like Windows 11 Enterprise.
How to change what closing the lid does?
1. Use the Control Panel
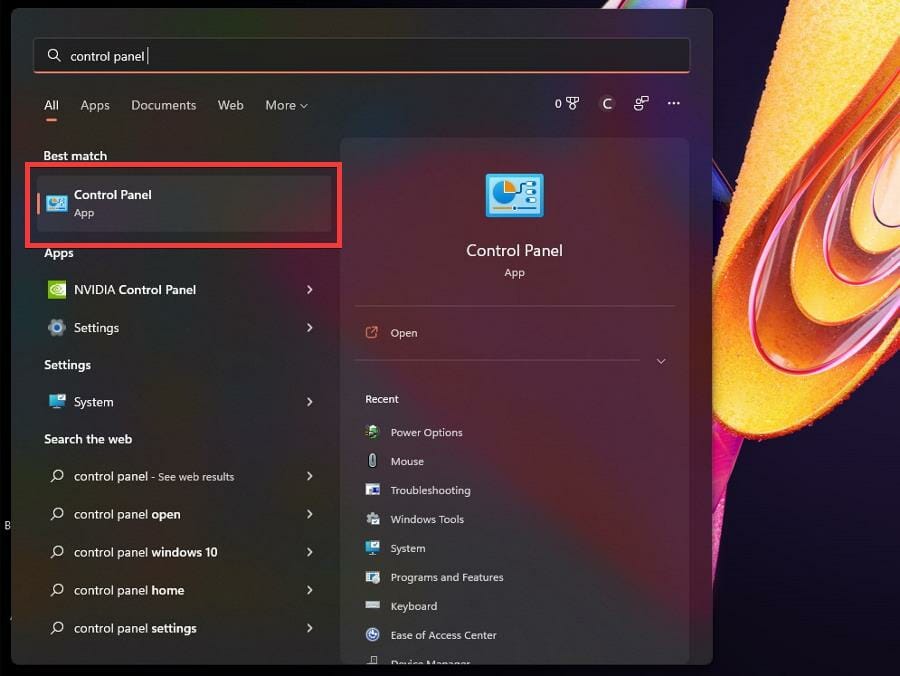
- Click on the magnifying glass icon in the taskbar.
- In the Search bar, search for the Control Panel.

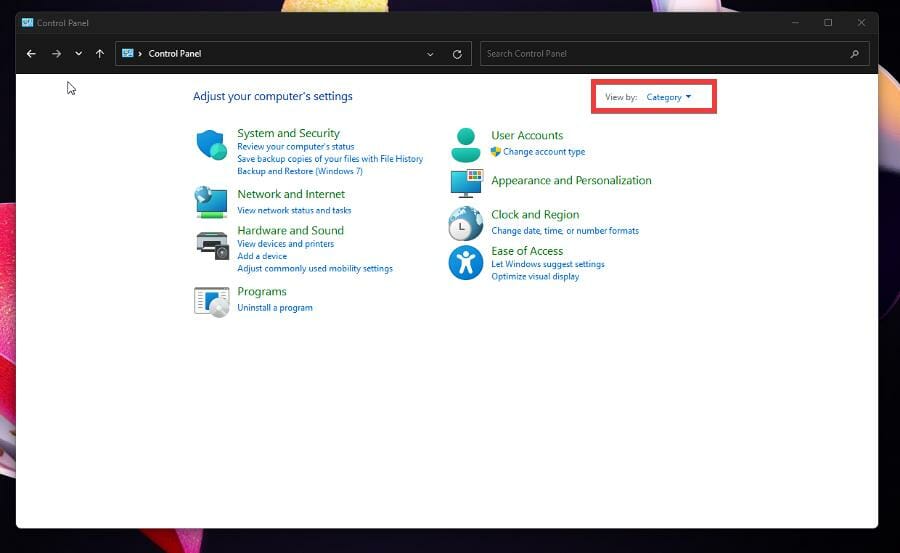
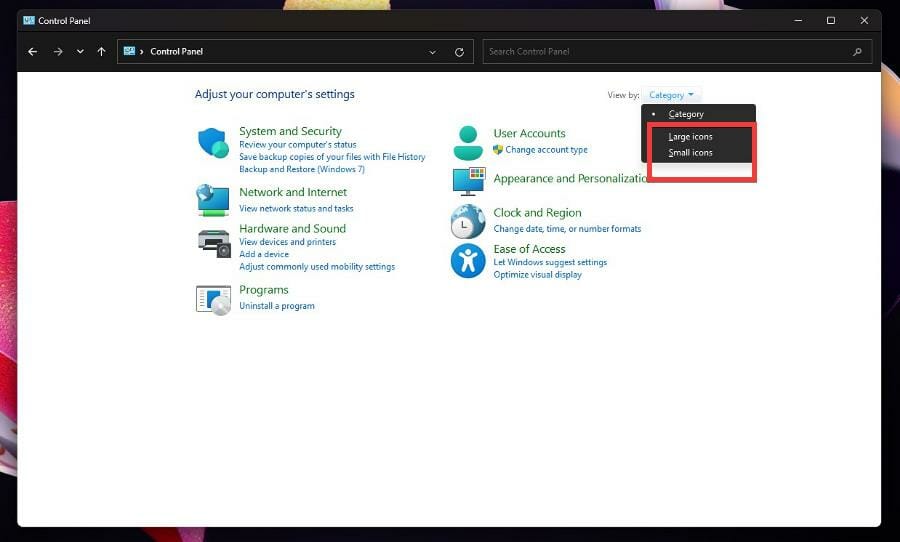
- The Control Panel should have its View by set to Large or Small. If it’s on Category, click it.

- In the drop down menu, select either Large or Small icons.

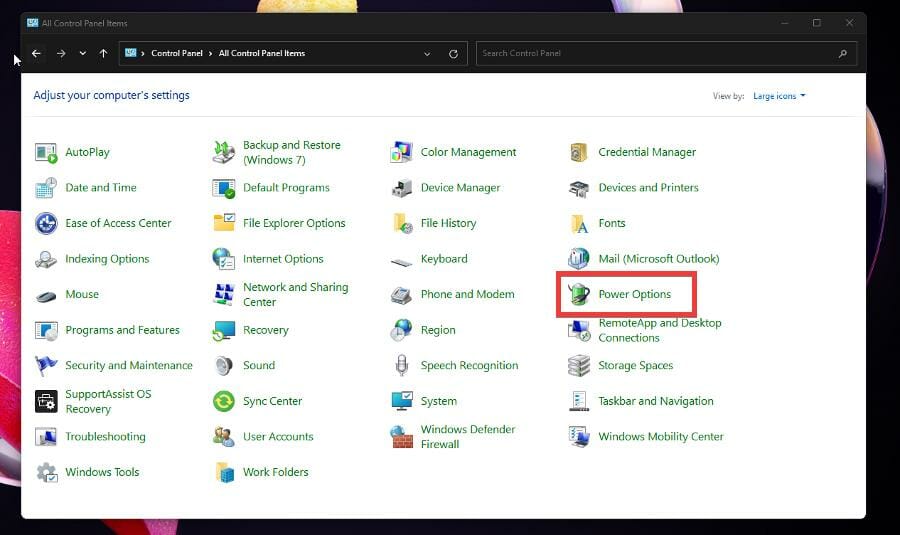
- Select Power Options.

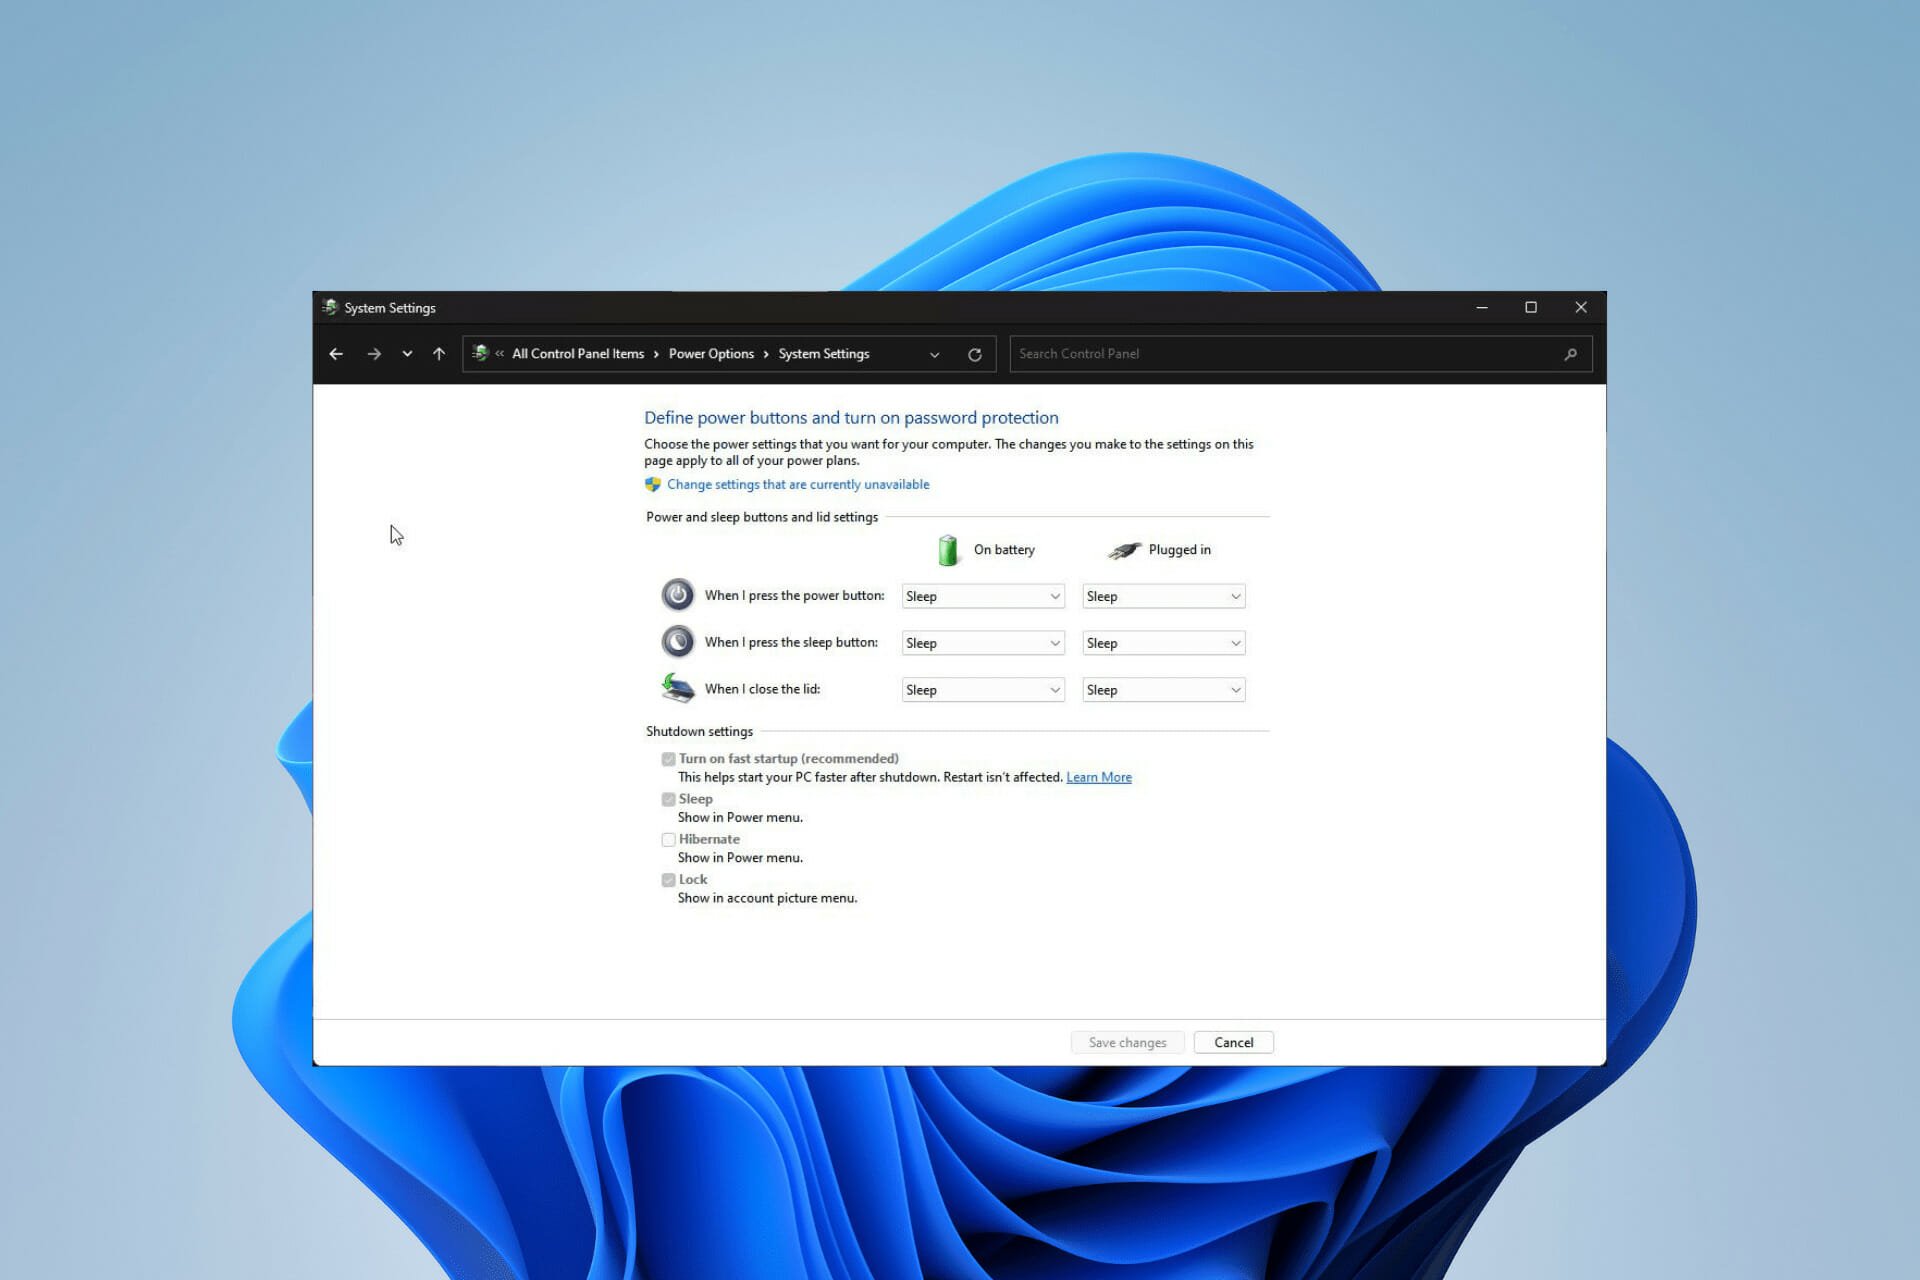
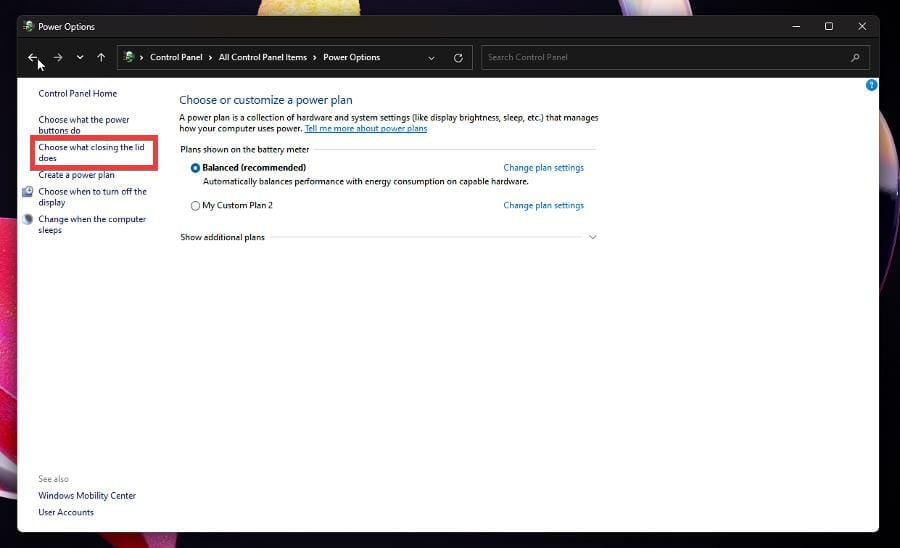
- In this new window, click on Choose what closing the lid does on the left-hand side.

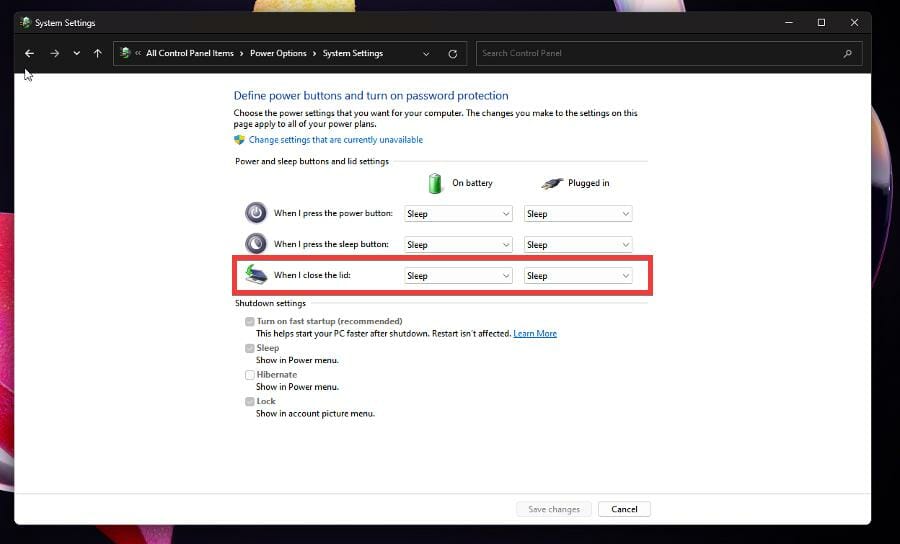
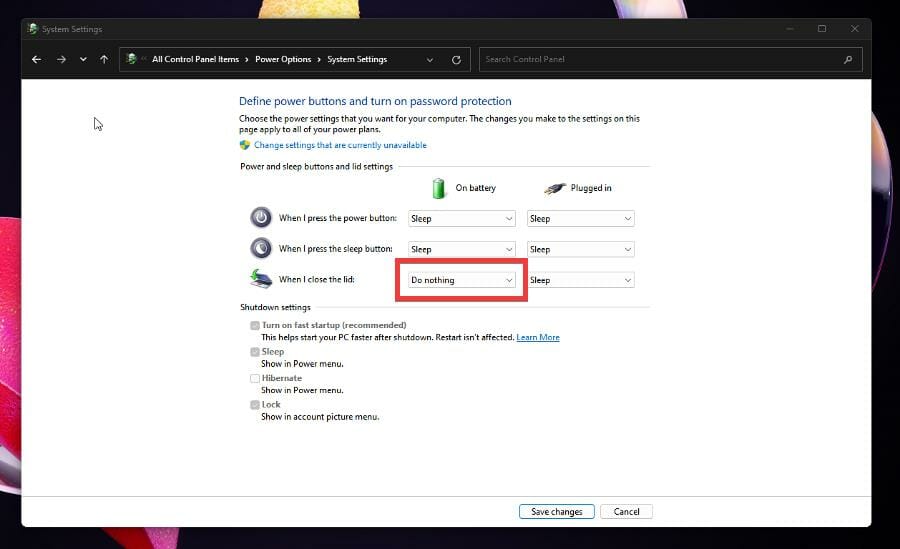
- Locate the When I close the lid option on the window.

- Click the drop-down menu for On battery.
- Select the Do Nothing option.

- Do the same for the Plugged in option.
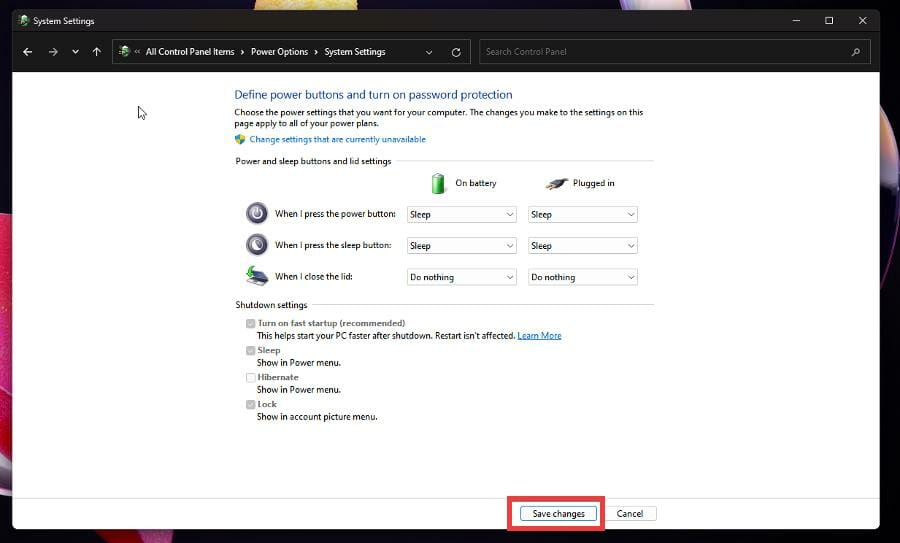
- Click the Save changes button at the bottom.

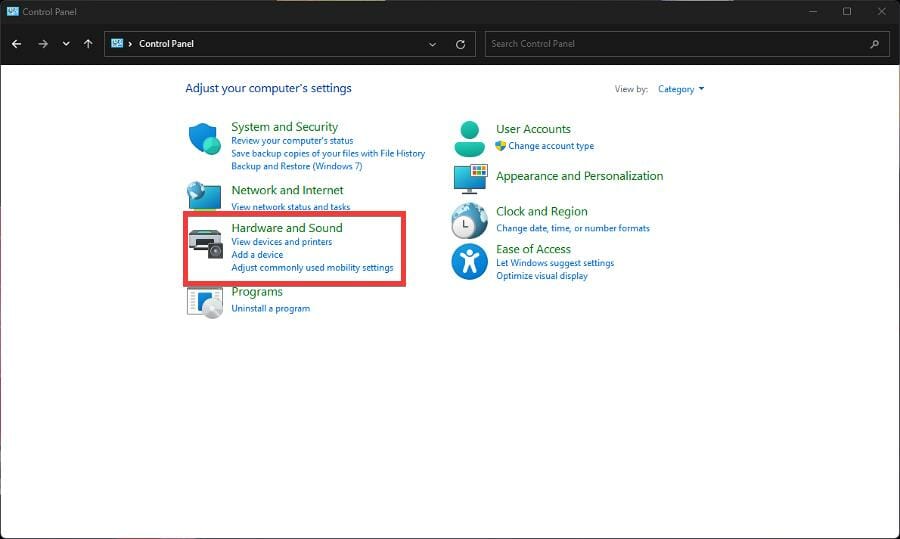
- Conversely, you can stay on Category in View by and select Hardware and Sound.

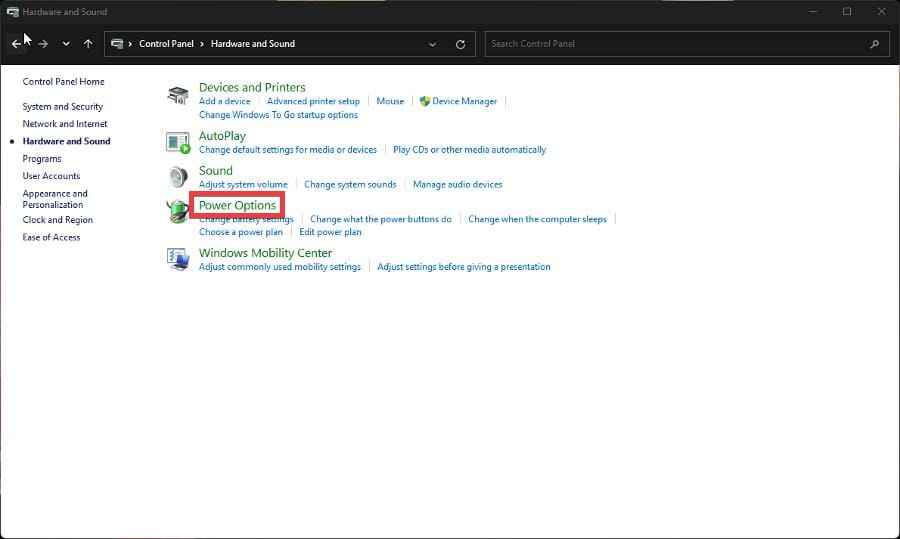
- Click on Power Options in the next window.
- Then click on Choose what closing the lid does and follow the process as listed above.
2. Change plan settings
- If the Choose what closing the lid option isn’t available, you can change the plan settings.
- Go back to the Control Panel and select Power Options again.
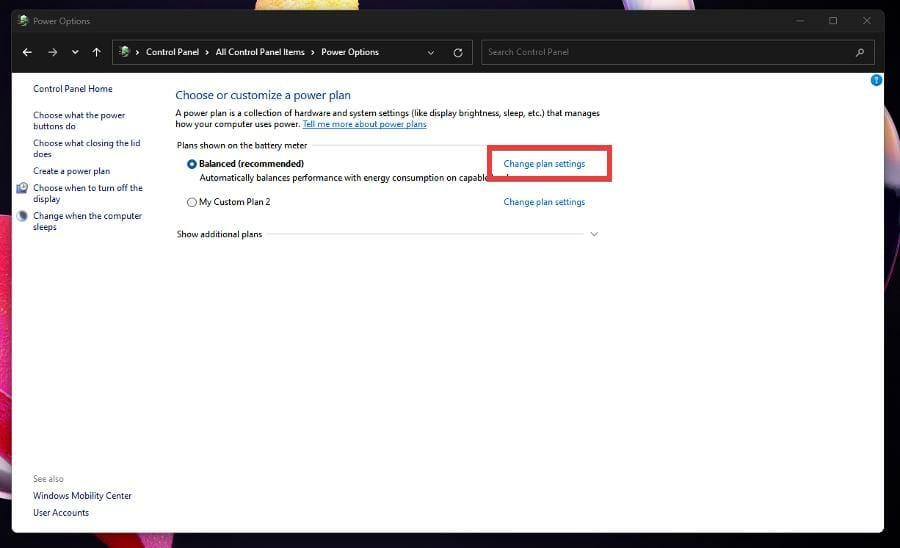
- In this window, select Change plan settings next to Balanced (recommended).
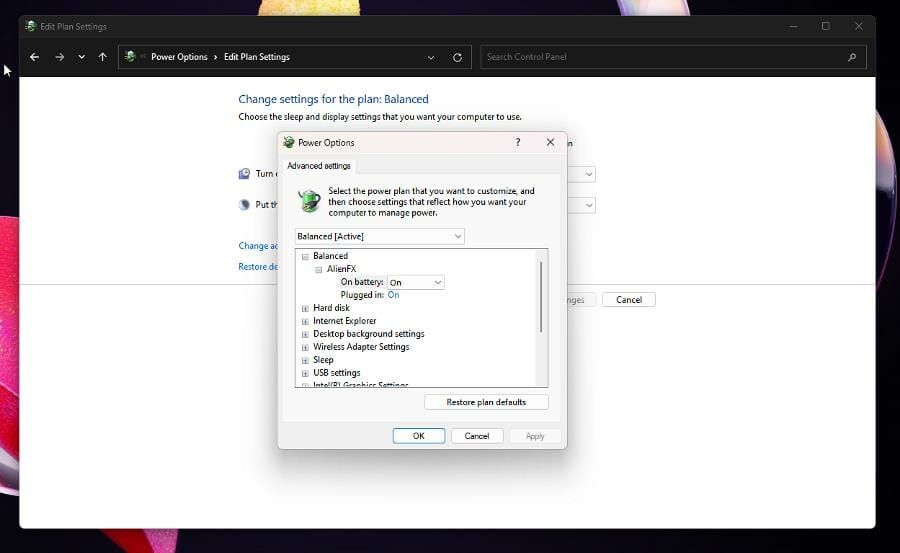
- Next click Change advanced power settings to open a new small window.
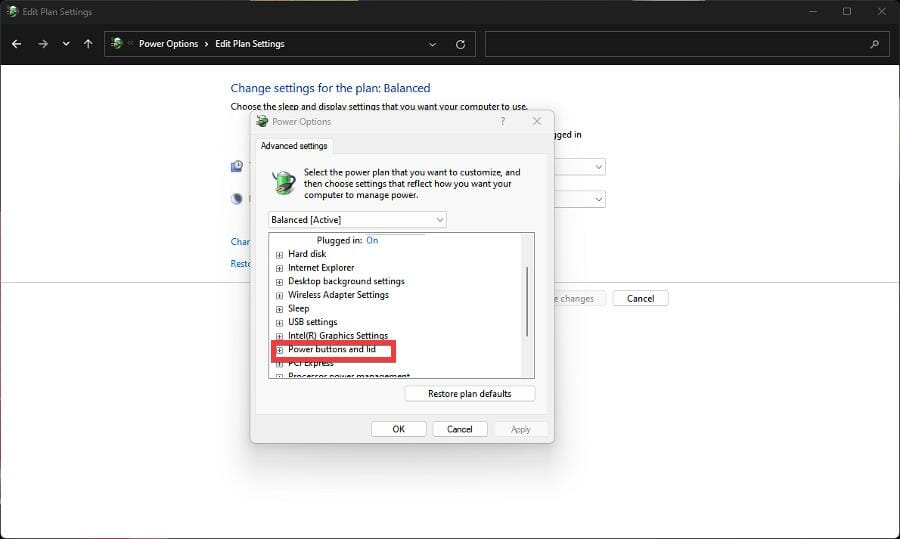
- In this new Power Options menu, click on the Power buttons and lid option.
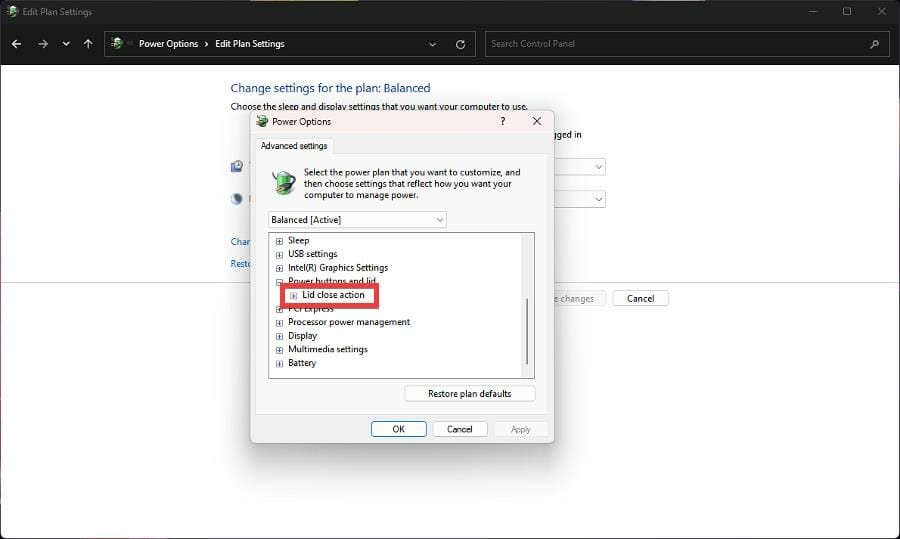
- Then click on Lid close action.
- Like before, click both On battery and Plugged in.
- Select Do nothing for both entries.
- Click Apply and then select OK.
- Lid close action may not appear in the Power Options menu found in the Control Panel.
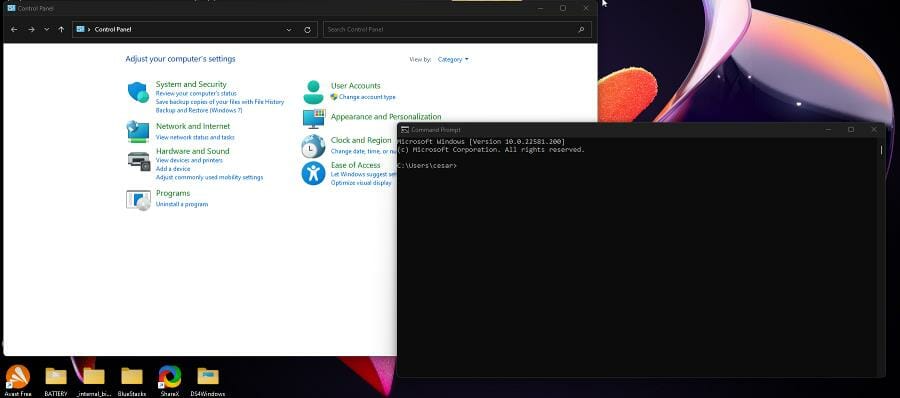
- You can fix this by going to the Command Prompt.

3. Enable Lid close action in Power Options
- Start by clicking on the magnifying glass icon on your taskbar to bring up the search bar.
- Search for the Command Prompt.
- Click Run as administrator.

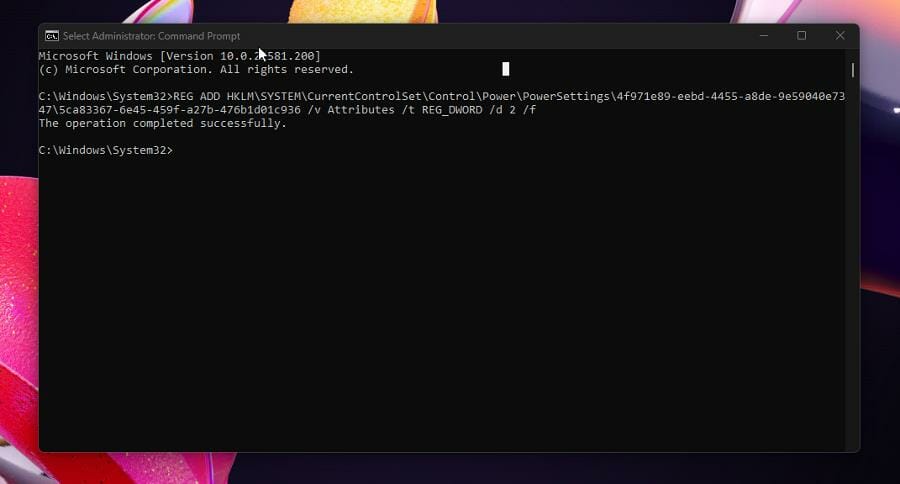
- In the Command Prompt, write the following command in the app:
REG ADD HKLM\SYSTEM\CurrentControlSet\Control\Power\PowerSettings\4f971e89-eebd-4455-a8de-9e59040e7347\5ca83367-6e45-459f-a27b-476b1d01c936 /v Attributes /t REG_DWORD /d 2 /f
- Hit Enter on your keyboard. This will restore the Lid close action in the Power Options of the Control Panel.
- Restart your computer to finish the process.
- If for whatever reason you want to remove the Lid close action in Power Options, type in the following command in the Command Prompt:
powercfg -attributes SUB_BUTTONS 5ca83367-6e45-459f-a27b-476b1d01c936 +ATTRIB_HIDE - Hit Enter on your keyboard.
- Restart your computer.
- Lid close action has now been removed from the Power Options menu in the Control Panel.

4. Enable Lid close action with the Registry Editor
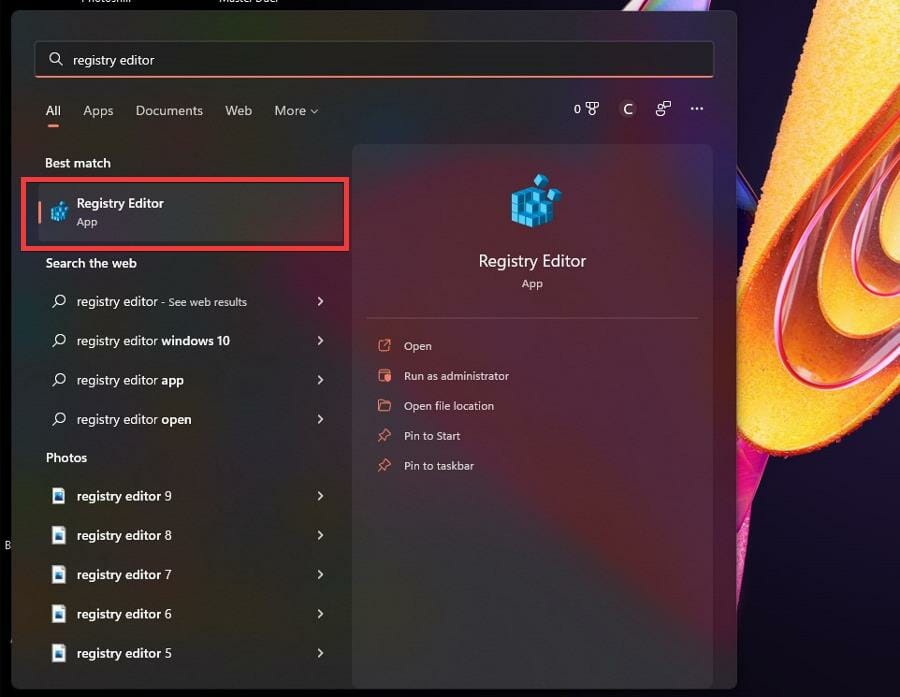
- Click on the magnifying glass icon to bring up the search bar.
- Search for the Registry Editor and click it when it appears.

- Select Yes on the window that appears.
- You will need to go to a specific folder in the Registry Editor.
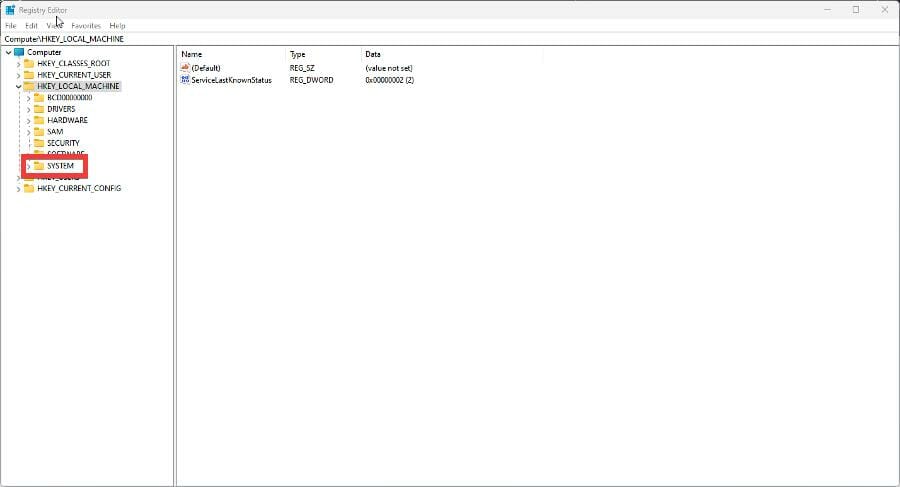
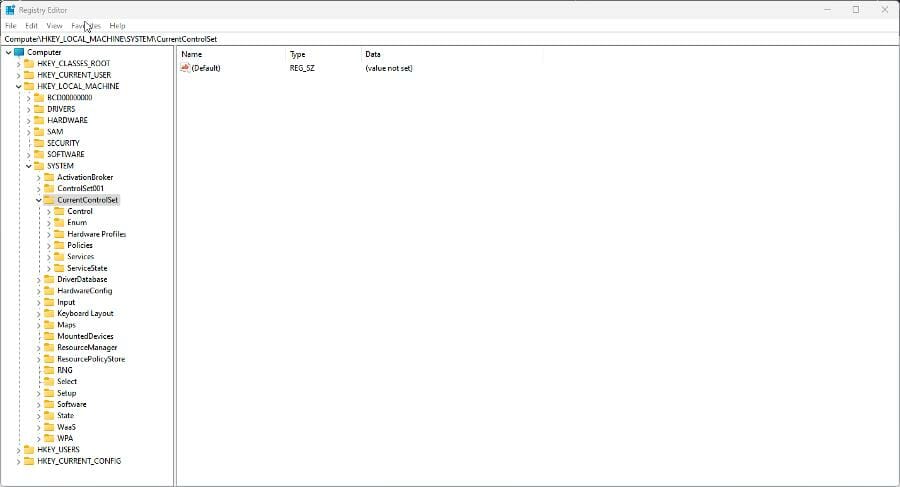
- Start by clicking on KEY_LOCAL_MACHINE.

- Click on SYSTEM to bring down another drop-down menu.
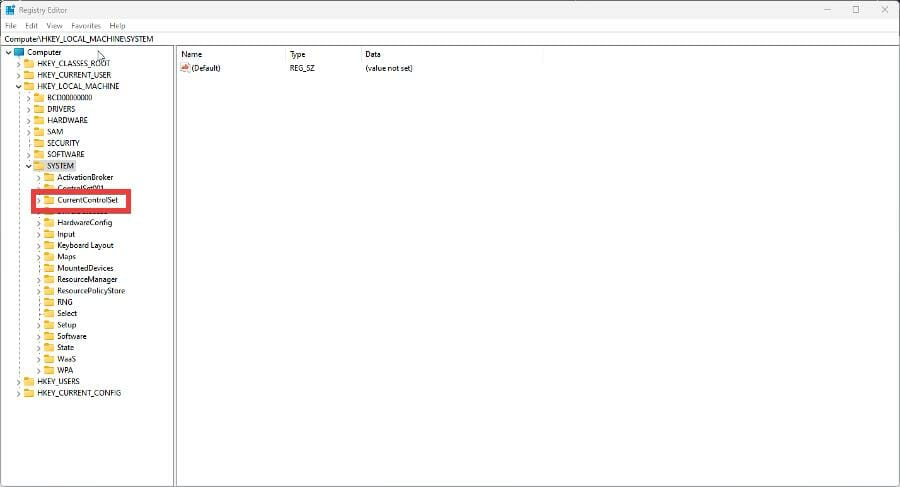
- Select CurrentControlSet.
- Click Control.
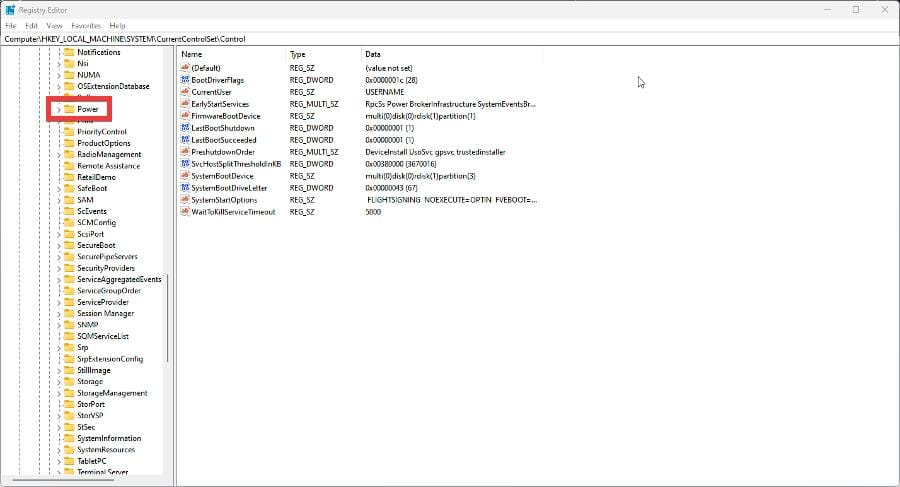
- In this massive list, scroll down and locate Power. Click it to bring down another drop-down menu.
- Click PowerSettings.
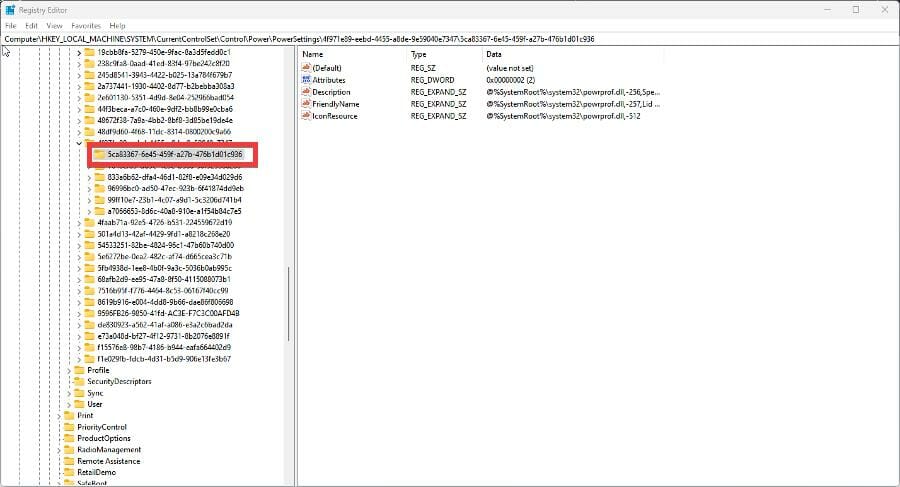
- Click on the folder highlighted in the following image. This brings down yet another drop-down menu.
- Click on the folder highlighted in the following image. This is the folder that will be altered for this guide.
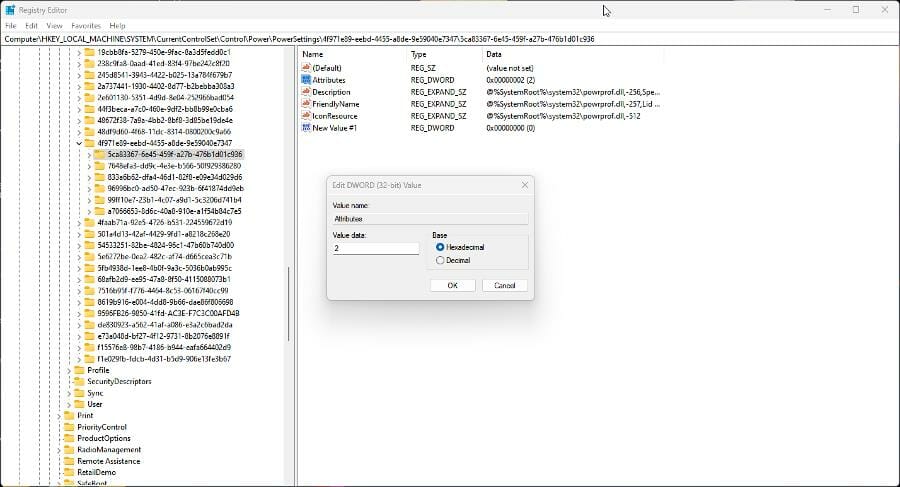
- Right-click on the right side menu. New will appear.
- Hover over it and select DWORD (32-bit value).
- A new entry will appear on the right-hand side. Name it Attributes.
- Double-click it so you can edit the value.
- Set the value data to 2. Click OK.
- The Lid close action option should appear in the Power Options menu found in the Control Panel.


Are there other laptop fixes I should know about?
There have been instances of laptops not locking when closed. This problem is the opposite of this guide where your laptop doesn’t go to sleep when closed. However, you can’t work your way back to fix this issue.
You have to do different steps and go into your Settings to fix your laptop not locking properly. You also may be interested to know what to do if your laptop makes a strange clicking noise. This could be the result of a faulty hard drive or malware.
It’s also worth pointing out that it’s possible to fix your device’s power jack without knowing anything about soldering. No extra expertise is necessary other than booting up the Command Prompt and running some commands.
We have a dedicated article on how to keep the monitor on when the laptop is closed on Windows 11.
Feel free to leave a comment below if you have any questions on other Windows 11 apps. Also, leave comments about reviews that you’d like to see or information on other Windows 11 features.