How to Connect to Exchange Online in PowerShell?
Explore two simple ways to get this done
- Batch-processing using PowerShell simplifies some of our administration work.
- This guide will discuss step-by-step instructions to connect Exchange Online in PowerShell.
To perform PowerShell cmdlets to execute some operations in the Exchange Online environment, it is essential to connect Exchange Online in PowerShell.
Here in this blog, we have mentioned two different methods with step-by-step instructions to get it done. Let’s get started!
How do I connect to Exchange Online in PowerShell?
Before moving to the detailed steps, make sure you perform these preparatory checks:
- You must have PowerShell on Windows 7 SP1 or more recent desktop Windows versions and Windows Server 2008 R2 SP1 or newer server Windows versions.
- The latest version of Windows Management Framework 3.0, 4.0, or 5.1.
- .NET Framework 4.5 or above Installed.
- Stable internet connection with TCP port 80 opened to connect from local machine to host.
- You must have access to Exchange Online PowerShell enabled for the existing user.
1. Connect to Exchange Online in PowerShell – Classic way
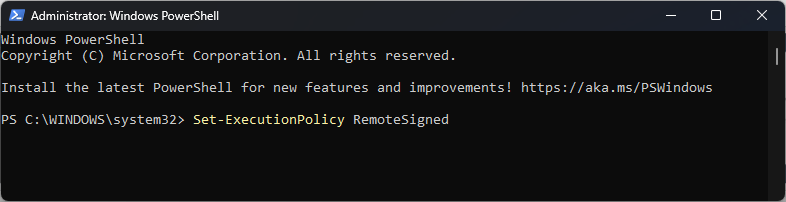
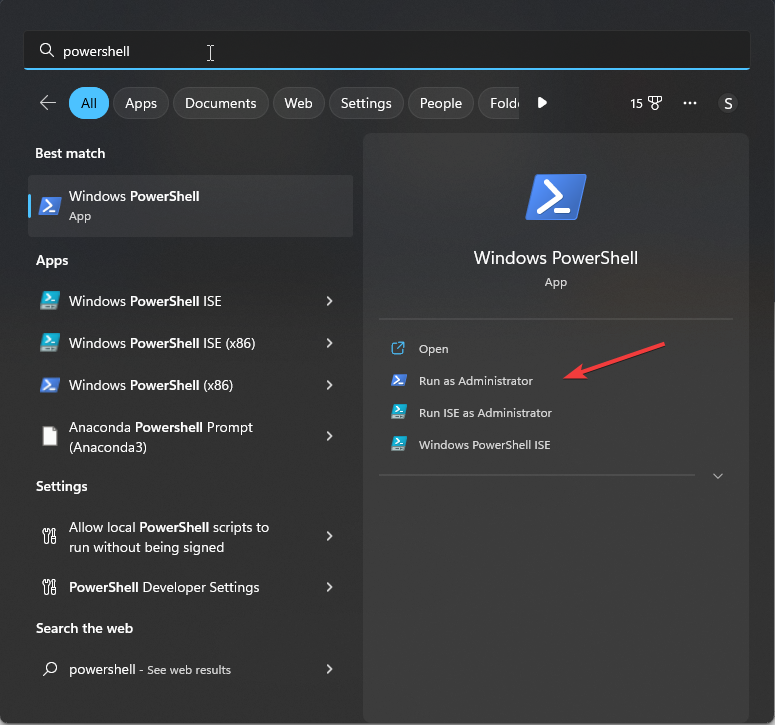
- Press the Windows key, type PowerShell, and click Run as administrator.

- Copy and paste the following command and press Enter:
Set-ExecutionPolicy RemoteSigned
- Type Y when prompted.
- Type the following command and press Enter:
$UserCredential = Get-Credential - You will get a pop-up to enter your username and password. Input the credentials and press OK.
- Input the following commands one by one and press Enter after every command: $
Session = New-PSSession -ConfigurationName Microsoft.Exchange -ConnectionUri https://outlook.office365.com/powershell-liveid/ -Credential $UserCredential -Authentication Basic -AllowRedirectionImport-PSSession $SessionGet-Mailbox -Filter '(RecipientTypeDetails -eq "RoomMailBox")'

2. Connect to Exchange Online in PowerShell – Alternative method
2.1 Install Exchange Online PowerShell module
- Press the Windows key, type PowerShell, and click Run as administrator.
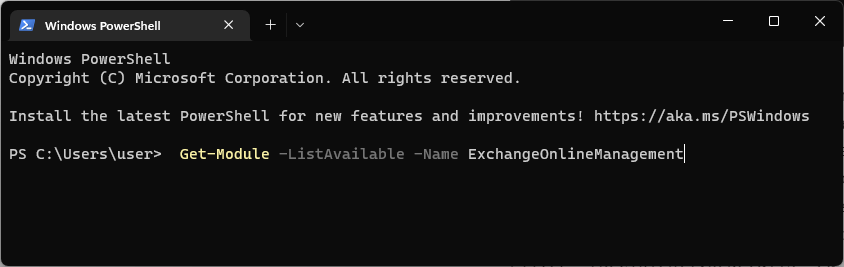
- To check if the Exchange Online PowerShell module is already installed, type the below-mentioned cmdlet and press Enter:
Get-Module -ListAvailable -Name ExchangeOnlineManagement
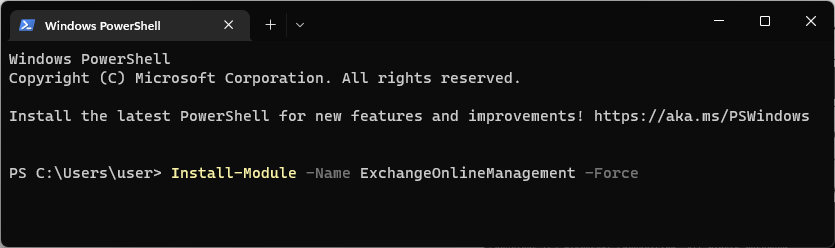
- If it is not installed, copy and paste the following command and press Enter:
Install-Module -Name ExchangeOnlineManagement -Force
- Input the following command and press Enter if you have an outdated version installed:
Update-Module ExchangeOnlineManagement
2.2 Connect to Exchange Online PowerShell
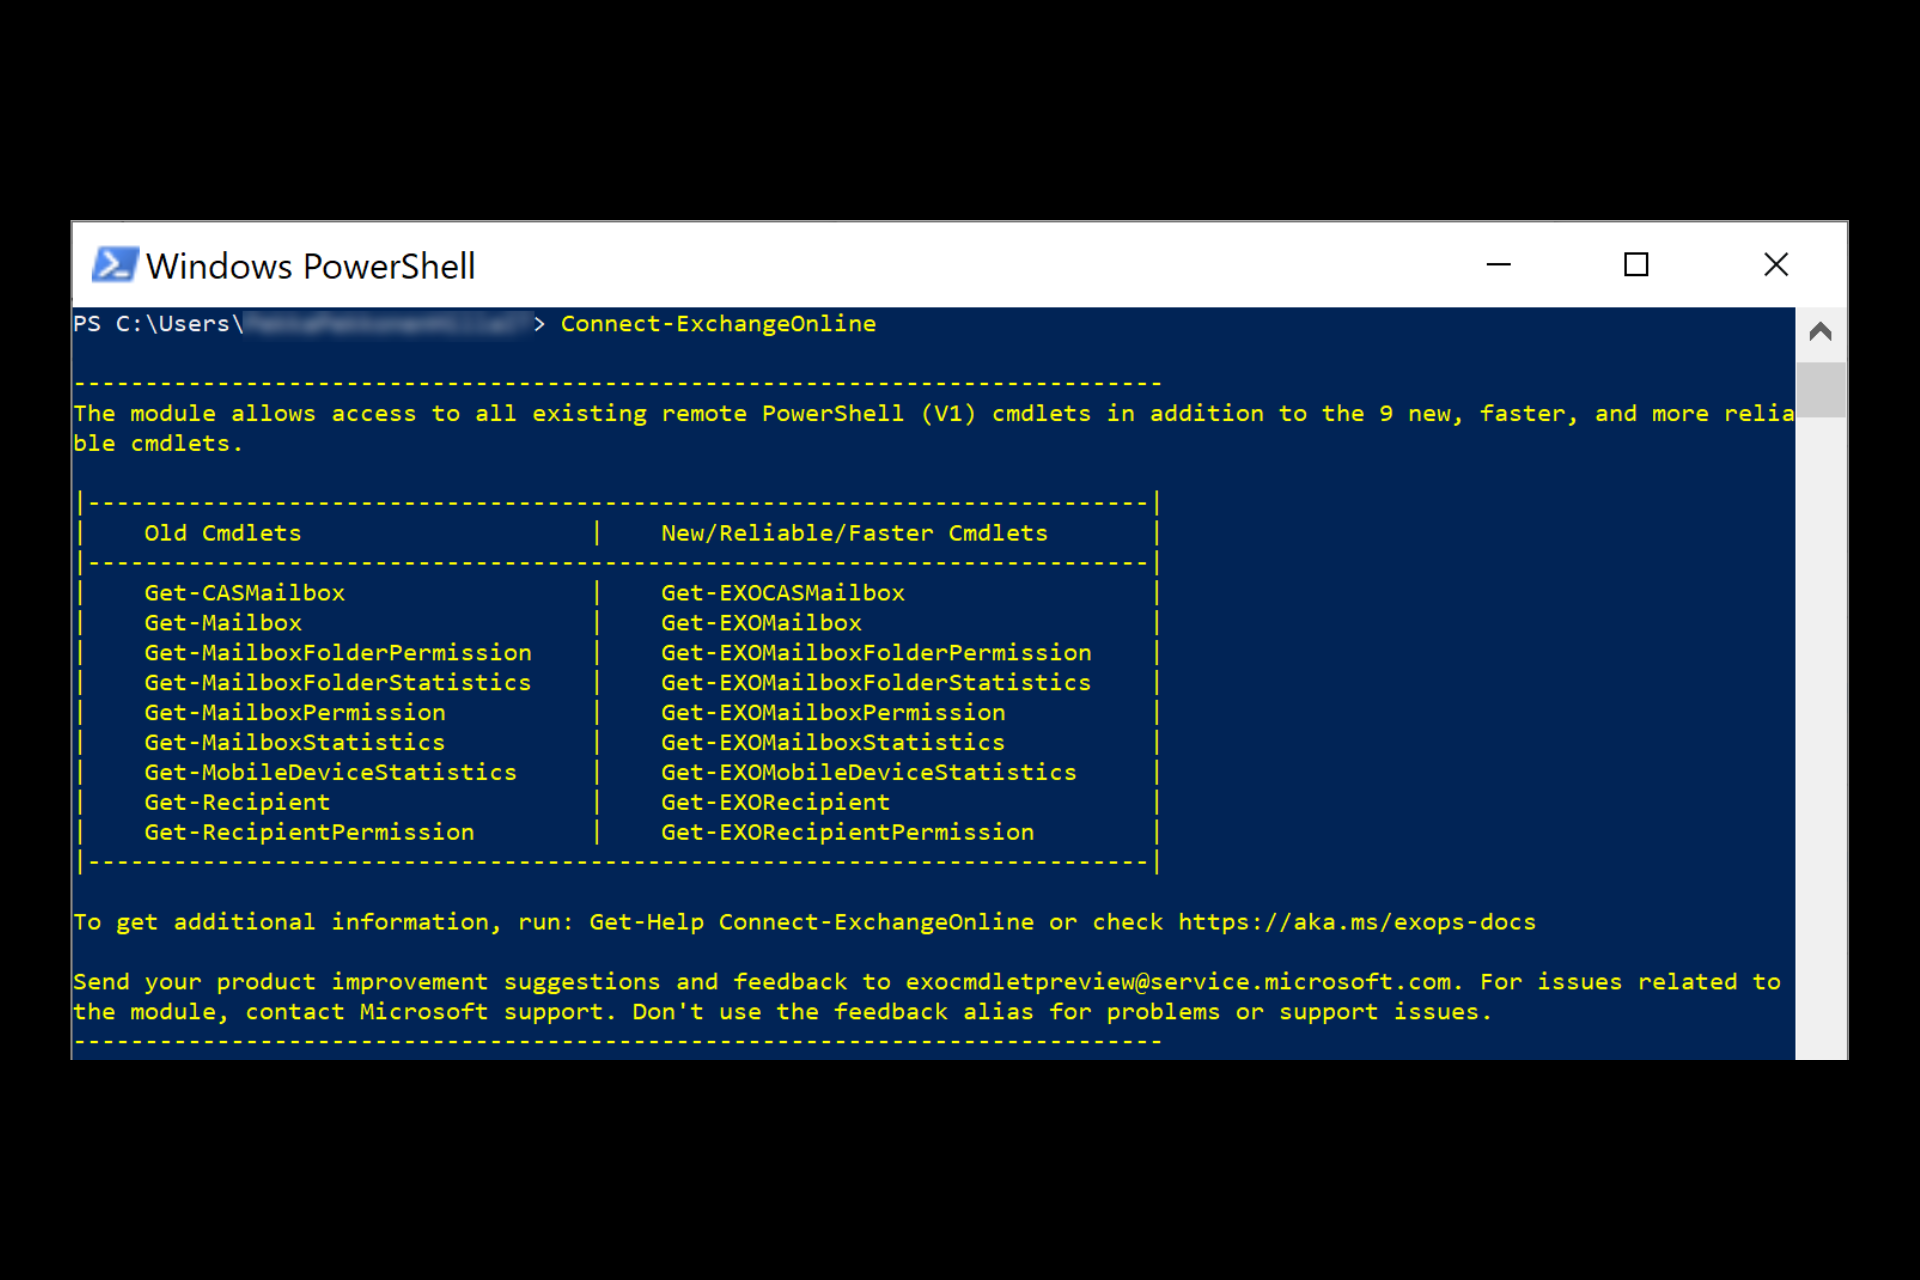
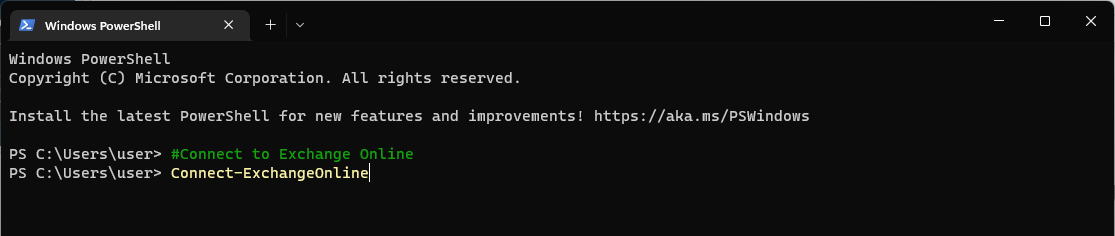
- Now to connect your Microsoft 365 Exchange Online with the Connect-ExchangeOnline cmdlet, type the following commands and press Enter after every command:
#Connect to Exchange OnlineConnect-ExchangeOnline
- Enter the credentials on the authentication pop-up window and establish the connectivity.
2.3 Disconnect the Exchange Online PowerShell session
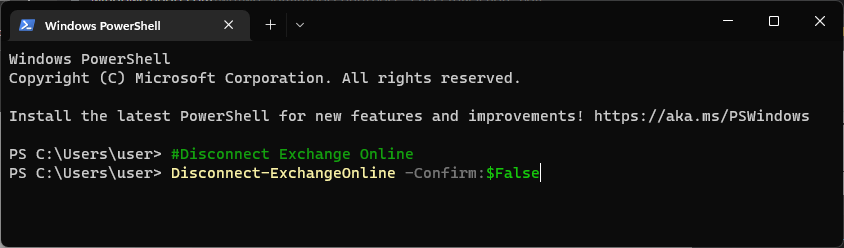
- Press the Windows key, type PowerShell, and click Run as administrator.
- Copy and paste the following commands and press Enter after every command:
#Disconnect Exchange OnlineDisconnect-ExchangeOnline -Confirm:$False
So, these are the simplest ways to connect to Exchange Online in Powershell. Try any of them, create a remote session, provide a connection setting, or import PowerShell cmdlets smoothly.
Please let us know in the comments section below if you have any questions or concerns.
Still experiencing issues?
SPONSORED
If the above suggestions have not solved your problem, your computer may experience more severe Windows troubles. We suggest choosing an all-in-one solution like Fortect to fix problems efficiently. After installation, just click the View&Fix button and then press Start Repair.