How to Remove Empty Rows in Excel [Mass Delete]
Use the filter or sort options in the Data tab to ease the process
- It can be exhausting and time-consuming to remove empty rows in Excel from a large dataset.
- You can quickly delete blank rows in sheets by using the Sort & Filter feature.
- Deleting blank rows after data will also help reduce your spreadsheet's size.
Some of our readers have recently requested to know how to remove empty rows in Excel most especially while working on a large dataset. Sometimes empty rows are generated due to glitches in the Excel software or while sharing the file.
Having to remove empty rows one after the other can be quite exhausting and time-consuming. Hence, we have gathered simple methods to fast track the process.
Can I delete empty rows in Excel?
Yes, it is possible to delete empty rows in Excel. Microsoft Excel provides various methods to do that, allowing users to choose the one that best suits their needs.
Deleting them can be helpful in cleaning up your data and organizing it more efficiently.
How do I delete blank rows in sheets?
Before attempting any of the advanced methods on how to delete blank rows in sheets, you should take note of the following instructions:
- Create a backup of your spreadsheet before removing blank rows.
- Make sure to review your selection before confirming the deletion.
Not to worry, below are safe and simple ways to delete blank rows in sheets.
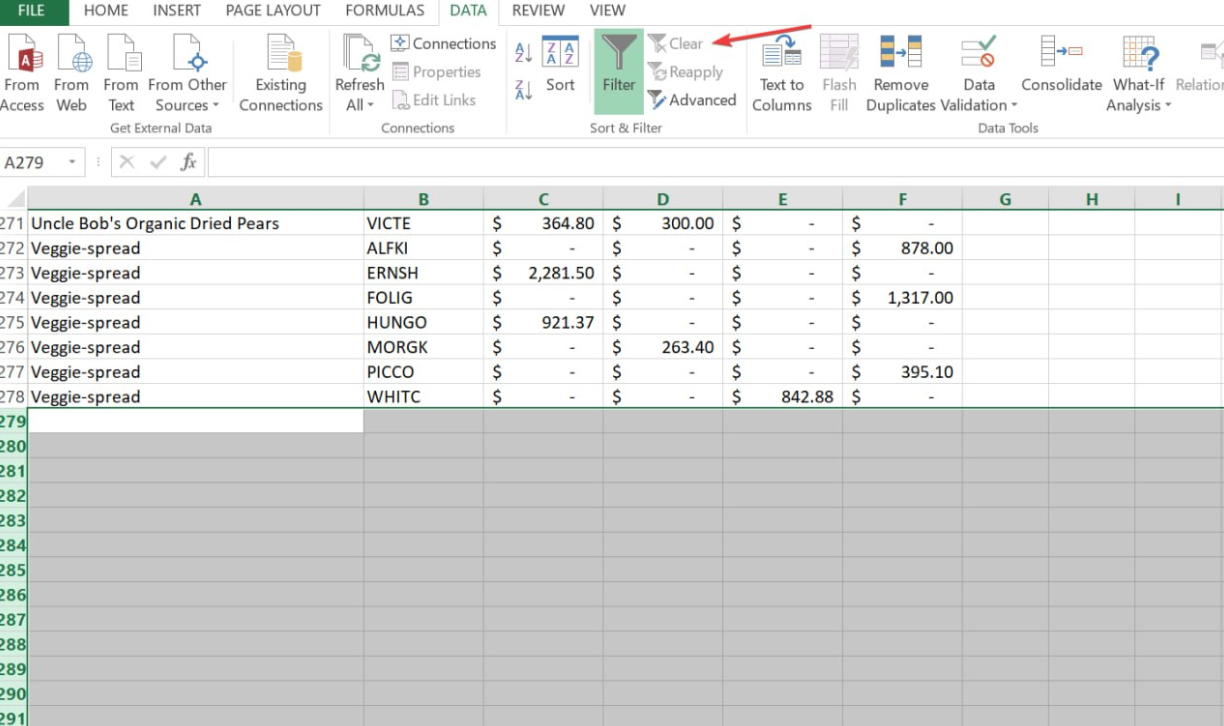
1. Remove blank rows in Excel using the Filter tool
- Launch Excel and create a data sheet.
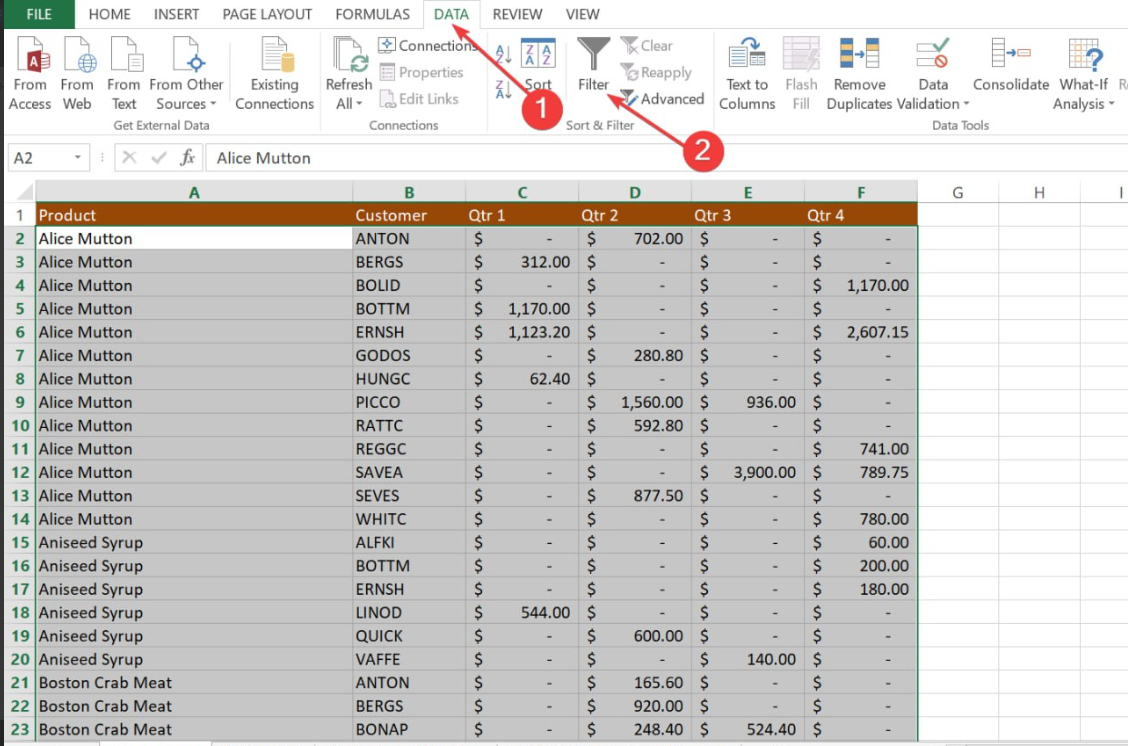
- Press Ctrl + Home and then Ctrl + Shift + End to select the whole table, from the first to the last row.
- Navigate to the Data tab and click the Filter button.

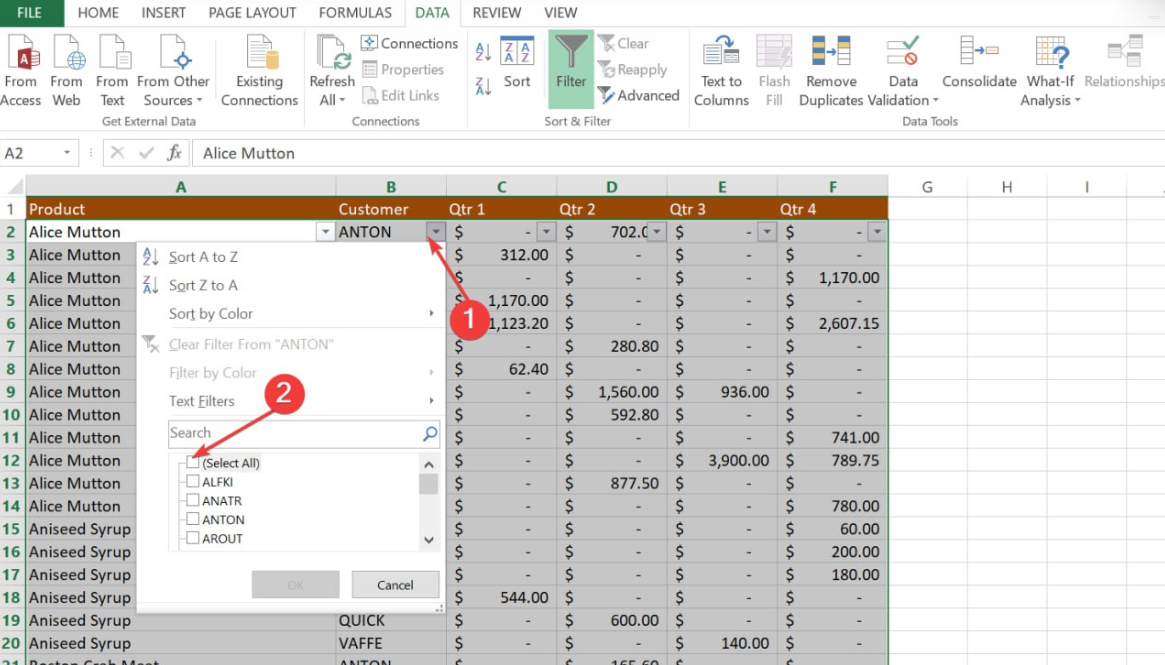
- Next, click on any Autofilter drop-down arrow in the column header, then uncheck the Select All checkbox. Scroll down to the end of the list and check the Blanks checkbox at the bottom.

- Click OK.
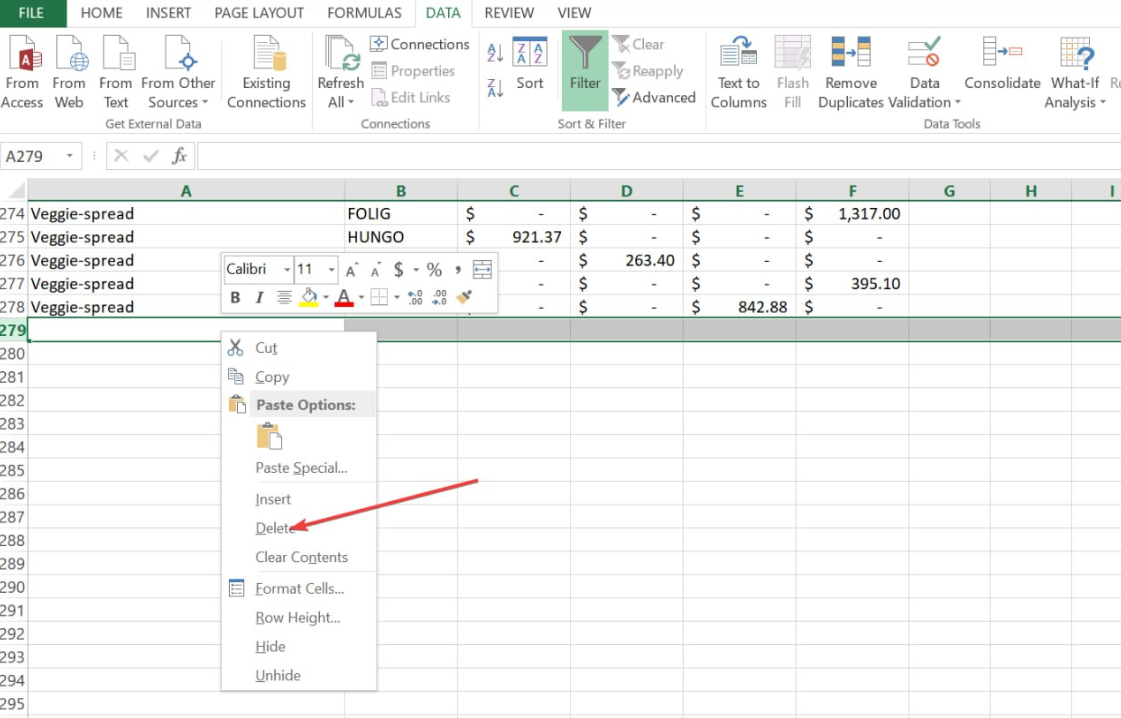
- Now, select all the filtered rows by pressing Ctrl + Home, press the down-arrow key to go to the first data row, then press Ctrl + Shift + End.
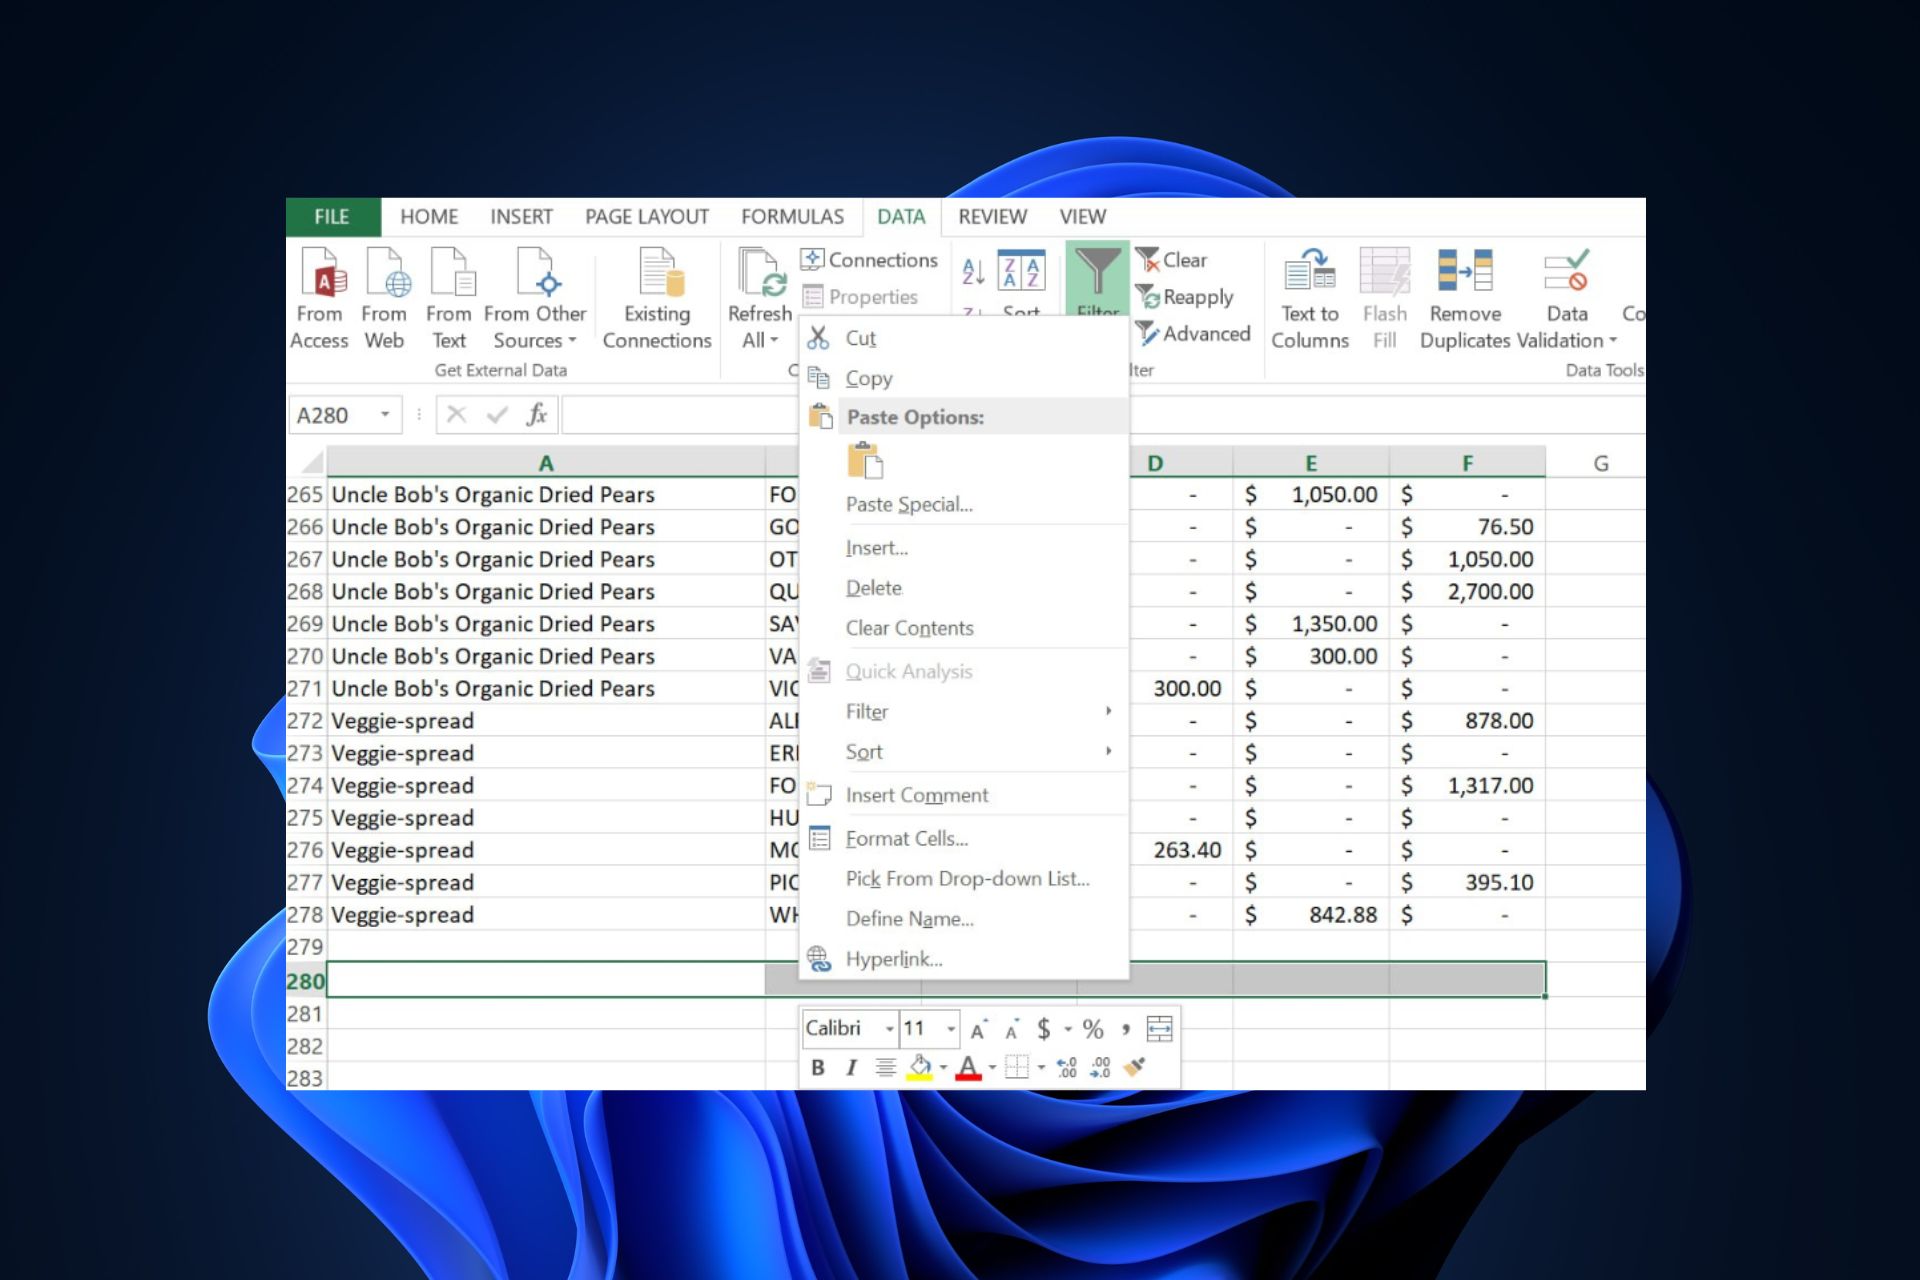
- Right-click on any selected cell and choose the Delete option.

- Finally, go to the Data tab and press the Clear button.

If the blank rows are scattered in your sheet, using the Excel filter tool can help you identify whether a row is empty. Using this method is relatively safe, simple, and fast, it only requires more steps.
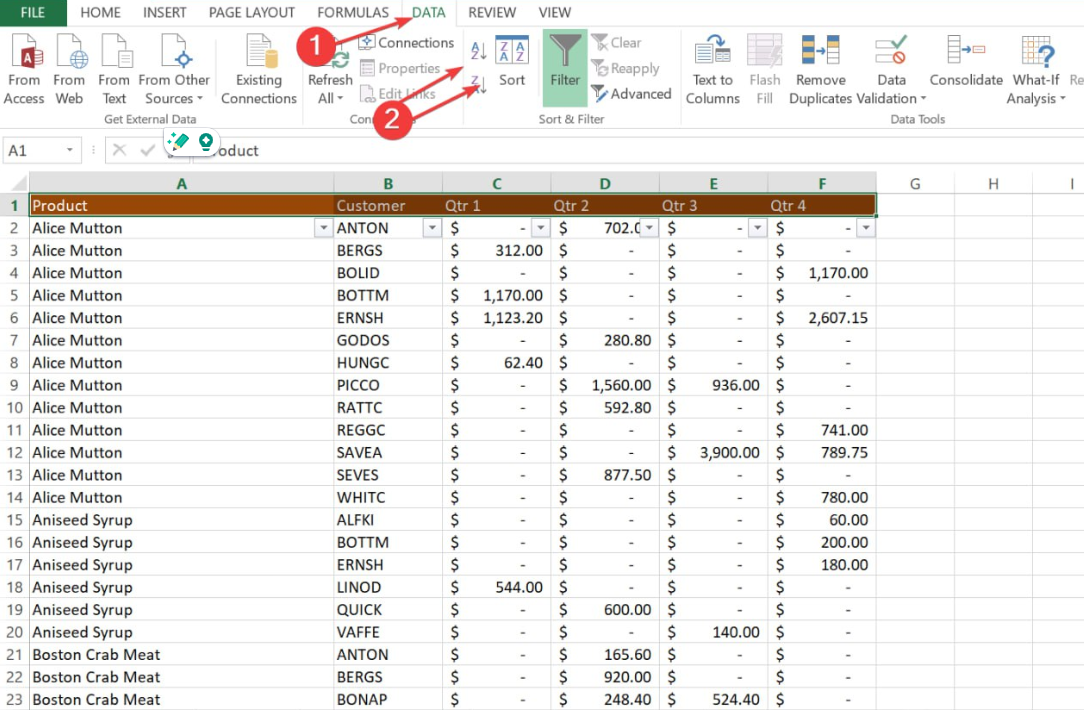
2. Use the Sort feature in Excel to remove blank rows
- Select the range of data with the empty rows.
- Navigate to the Data tab in the Excel ribbon.
- In the Sort & Filter group, click the Sort A to Z or Sort Z to A button. Either way, it will place the blank rows at the bottom of the selected range.

- Now, Delete the empty rows using the method mentioned above.
Expert tip:
SPONSORED
Some PC issues are hard to tackle, especially when it comes to missing or corrupted system files and repositories of your Windows.
Be sure to use a dedicated tool, such as Fortect, which will scan and replace your broken files with their fresh versions from its repository.
The Excel Sort feature functions relatively like the filter tool. The blank range of data will be placed below the selected range, with this, you should be able to delete the empty rows before reverting the arrangement.
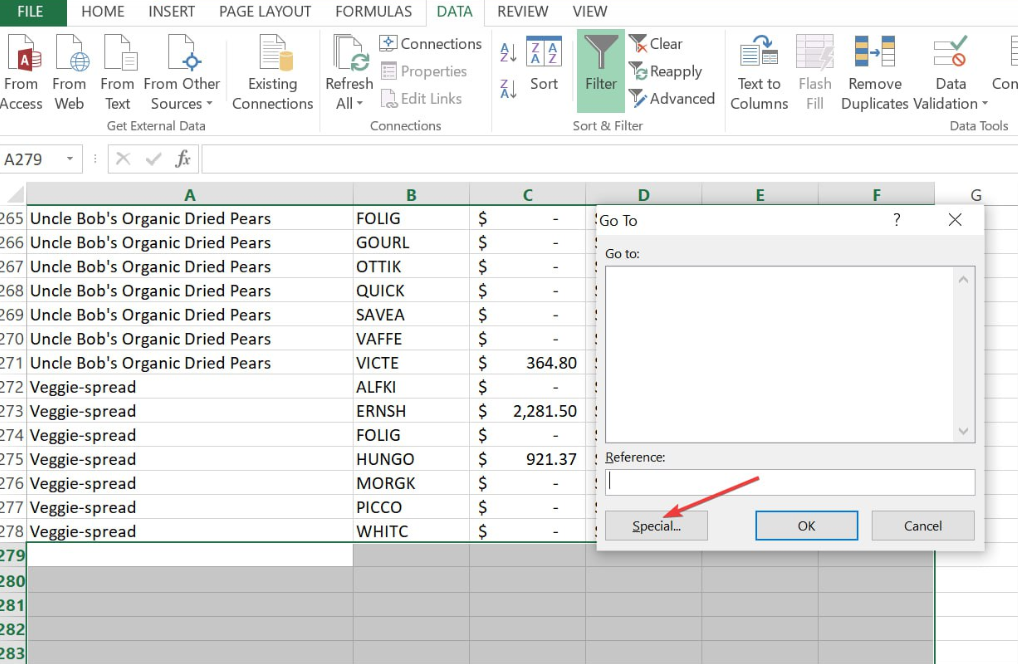
3. Use the Go to Special
- Press the Ctrl + Shift + End to select the whole table.
- Then press Ctrl + G to open the Go To dialog box appears.
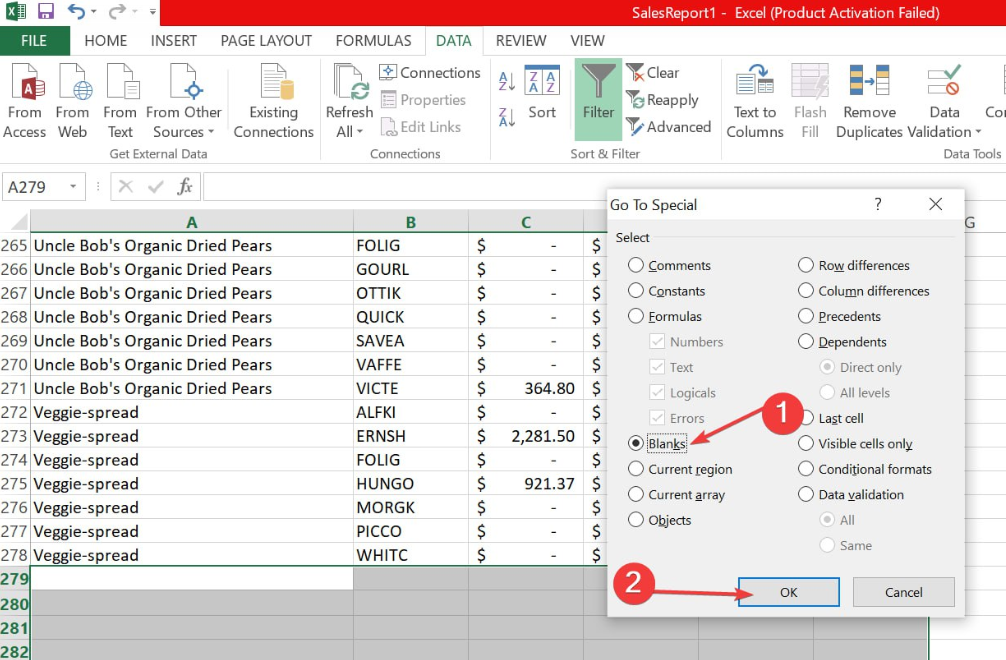
- Click Special button to display the Go To Special dialog box.

- Select Blanks in the box and click OK. Excel will select all of the blank cells within the selected range.

- Right-click one of the cells and click Delete.

- Then, select Entire Row, and click OK.
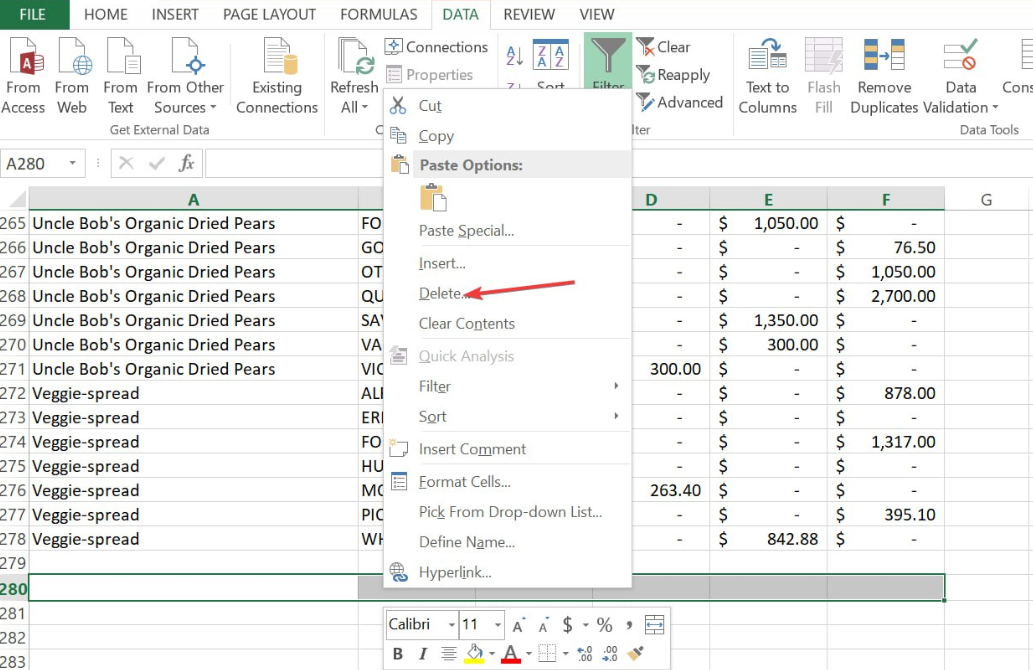
4. Use special keys to delete blank rows
- Left-click on the number (e.g. 58) of the last row (the first empty row) after your data.

- Press the Ctrl + Shift + Down keys altogether to highlight all the rows.
- Now, right-click on any cell and click on Delete from the context menu.
- Press Ctrl + S to save your workbook.
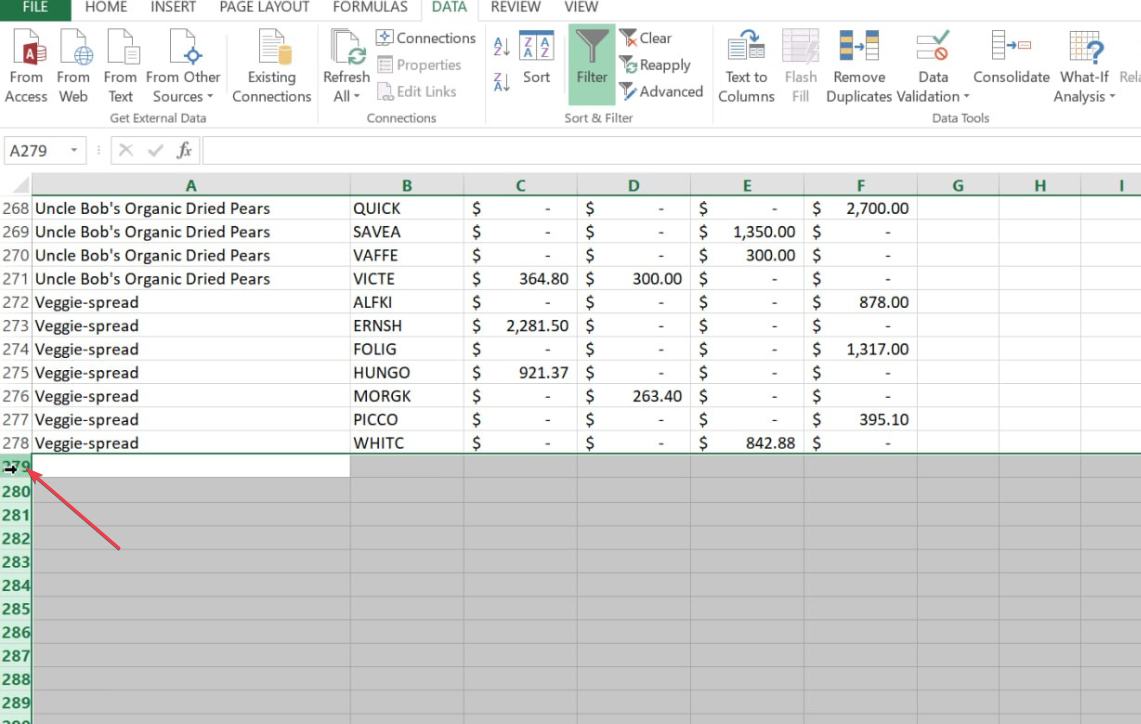
This method automatically deletes all rows and columns after your data. What’s more, this process will also help reduce the spreadsheet’s file size.
And that’s it on how to delete blank rows in sheets. Hopefully, one of the methods provided in this guide has met your needs.
Further, utilizing the method in this guide will delete the entire rows in Excel if that’s what you would like to tryout.
In case your Excel app is not opening, you can explore our detailed guide to learn how to fix the issue.
We have also provided proven fixes to troubleshoot the Excel can’t insert new cells error for our readers. You can check it out too.
If you have any questions or suggestions, do not hesitate to use the comments section below.
Still experiencing issues?
SPONSORED
If the above suggestions have not solved your problem, your computer may experience more severe Windows troubles. We suggest choosing an all-in-one solution like Fortect to fix problems efficiently. After installation, just click the View&Fix button and then press Start Repair.