Epson Scan 2 not Showing Transparency? Here’s What to do
You can fix this issue by reinstalling your scanner
- If the Epson Scan 2 software is not showing Transparency, it might be because the software is outdated.
- You can fix this quickly by relaunching the software and restarting your scanner.
- Another surefire solution is to update your PC.
Epson 2 scanners are quite popular thanks to their series of features. However, even they can encounter issues, as users complain that the Epson Scan 2 software is not showing the Transparency Unit option.
This takes away an important tool functionality and limits its use to users. This guide will show you quick and effective ways to get the feature back.
Why is Epson Scan 2 not showing transparency?
Listed below are some of the prominent reasons the Epson Scan 2 software is not showing the Transparency Unit:
- Outdated PC: Among the leading causes of this issue is an outdated operating system. According to users, the Transparency unit showed up a few minutes after updating their PC.
- Issues with Epson Scan 2 software: At times, this problem might occur due to issues with Epson Scan 2. This might be because it is outdated or it ran into minor issues. You can fix this by updating the software.
How can I fix Epson Scan 2 if it is not showing transparency?
1. Restart the software
- Close the Epson Scan 2 app.
- Turn off your scanner and unplug its USB cable.
- Finally, restart your PC and the software and check if Transparency is back.

If Epson Scan 2 is not showing the Transparency unit, the first thing to do is to restart the software. While this might look simple, it has fixed many users’ issues.
2. Update PC
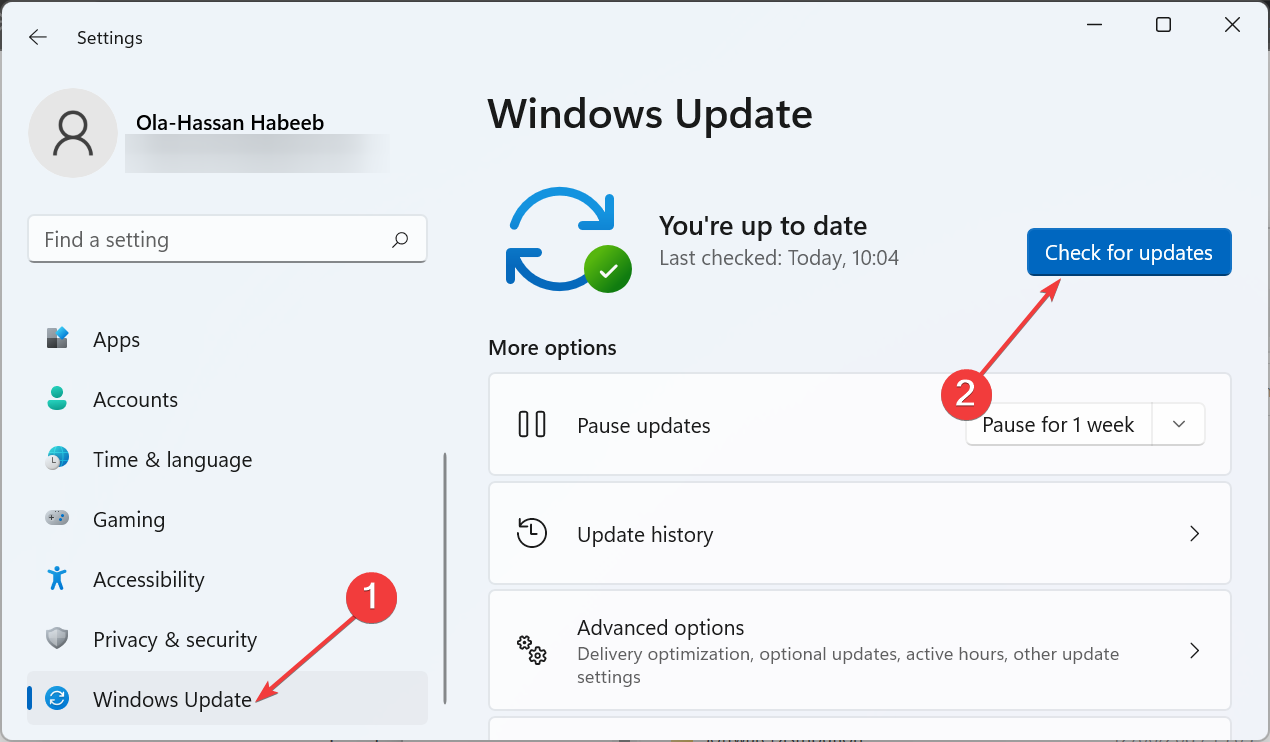
- Press the Windows key + I to open the Settings app and click Windows Update in the left pane.
- Click the Check for updates button.

- Now, download and install all available updates.
An outdated operating system can cause different issues, which might be why Epson Scan 2 is not showing Transparency. The quickest way to restore normalcy here is to update and restart your PC.
3. Update Espon Scan 2
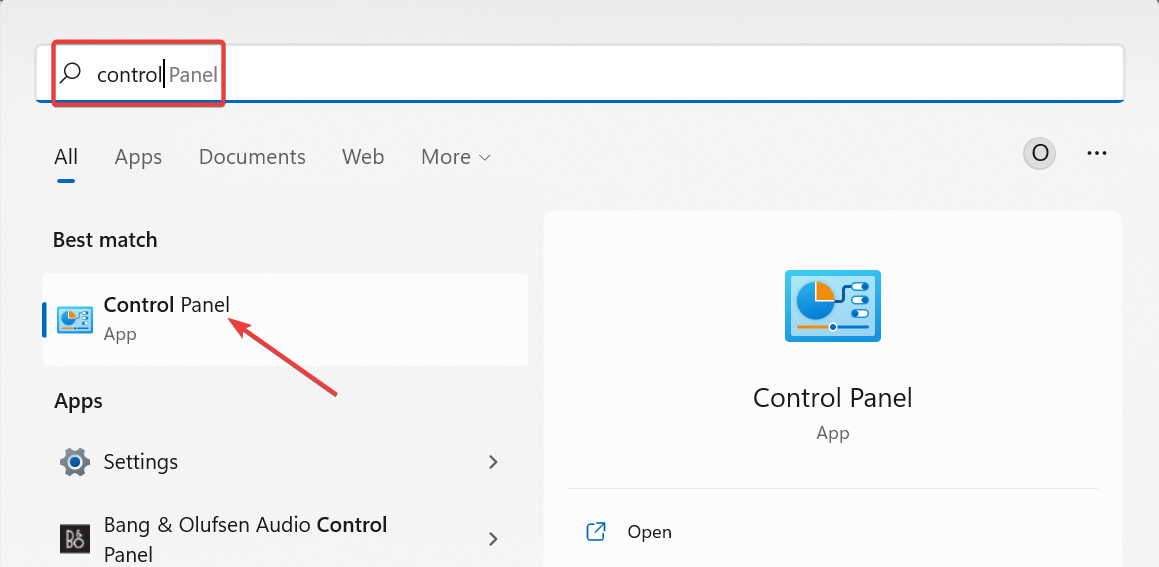
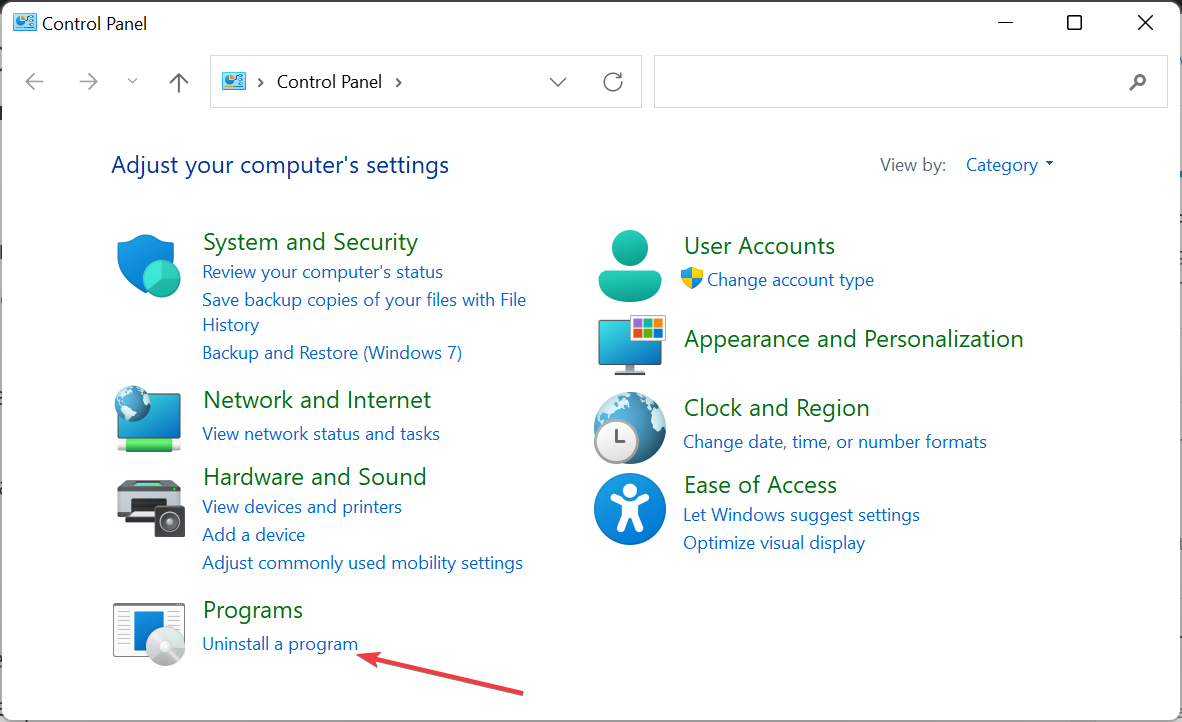
- Press the Windows key + S, type control, and select Control Panel.

- Click Uninstall a program under the Programs option.

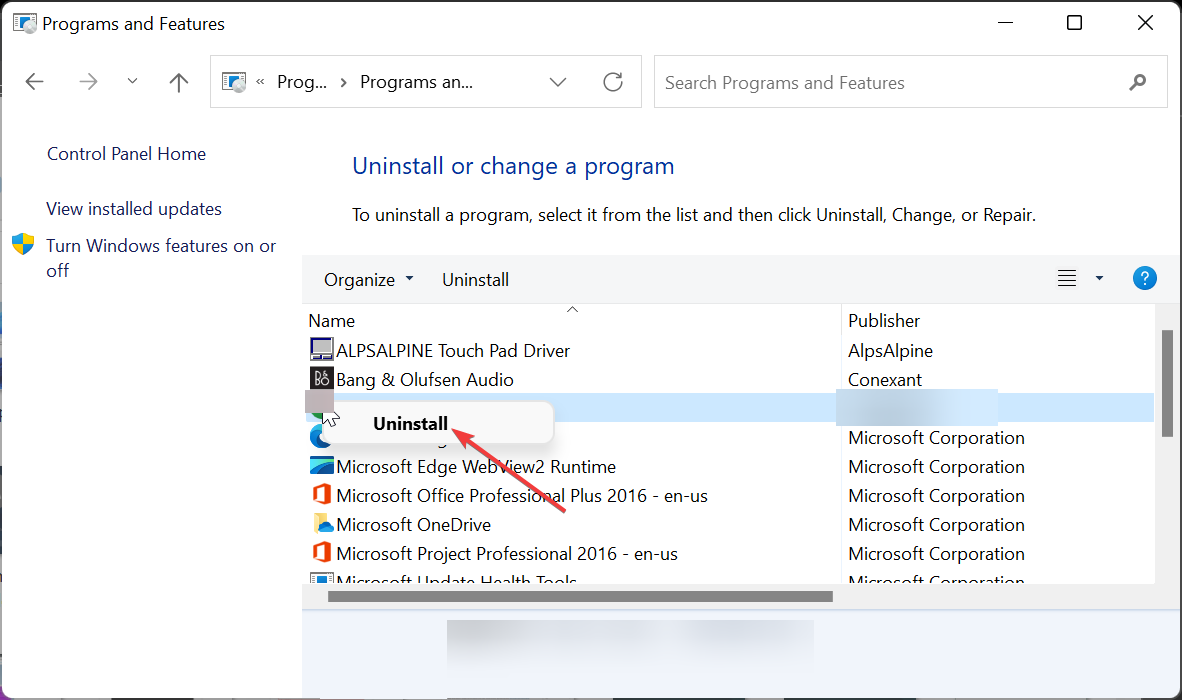
- Now, right-click the Epson Scan 2 software and select Uninstall.

- Follow the onscreen instructions to complete the removal process.
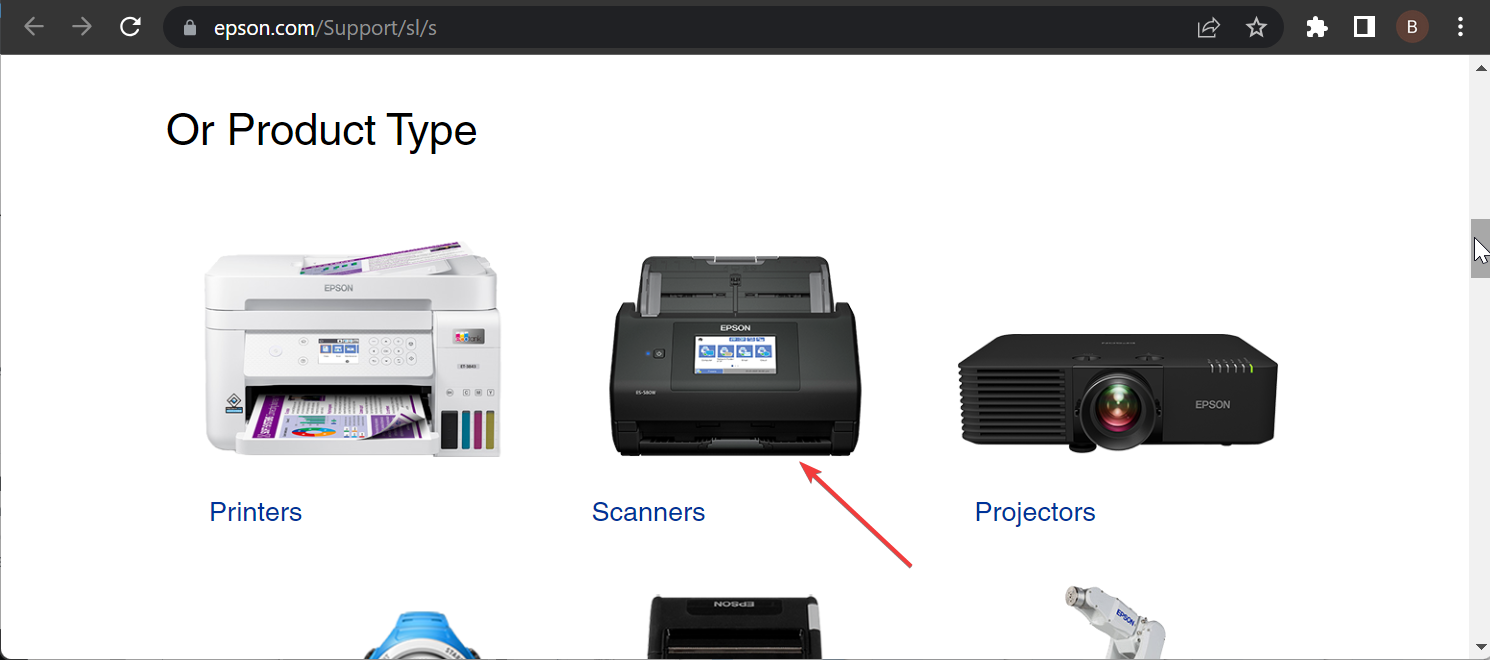
- Visit the official Epson scanner support page.
- Select Scanners from the list of devices there.

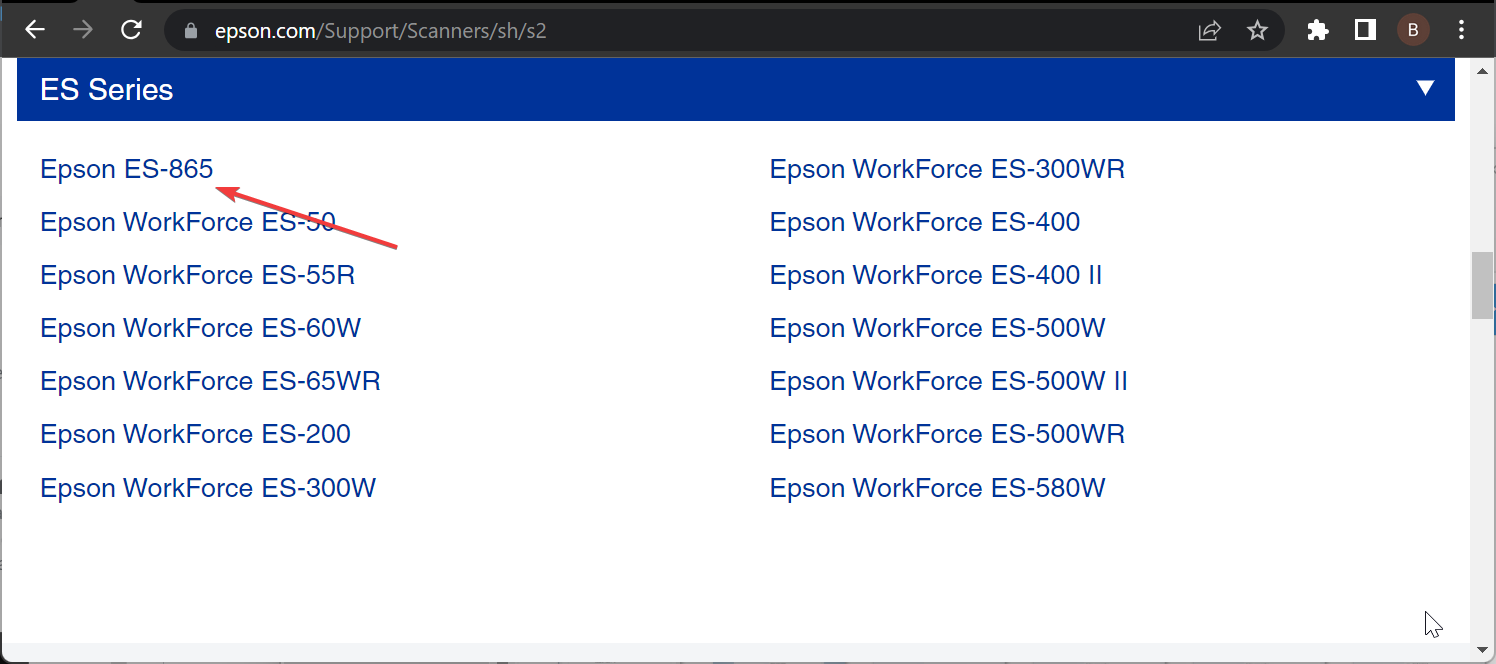
- Select your scanner type from the list of devices provided.
- Next, select your product.

- The site should detect your OS automatically. If it does not, click the drop-down menu and select it from there.
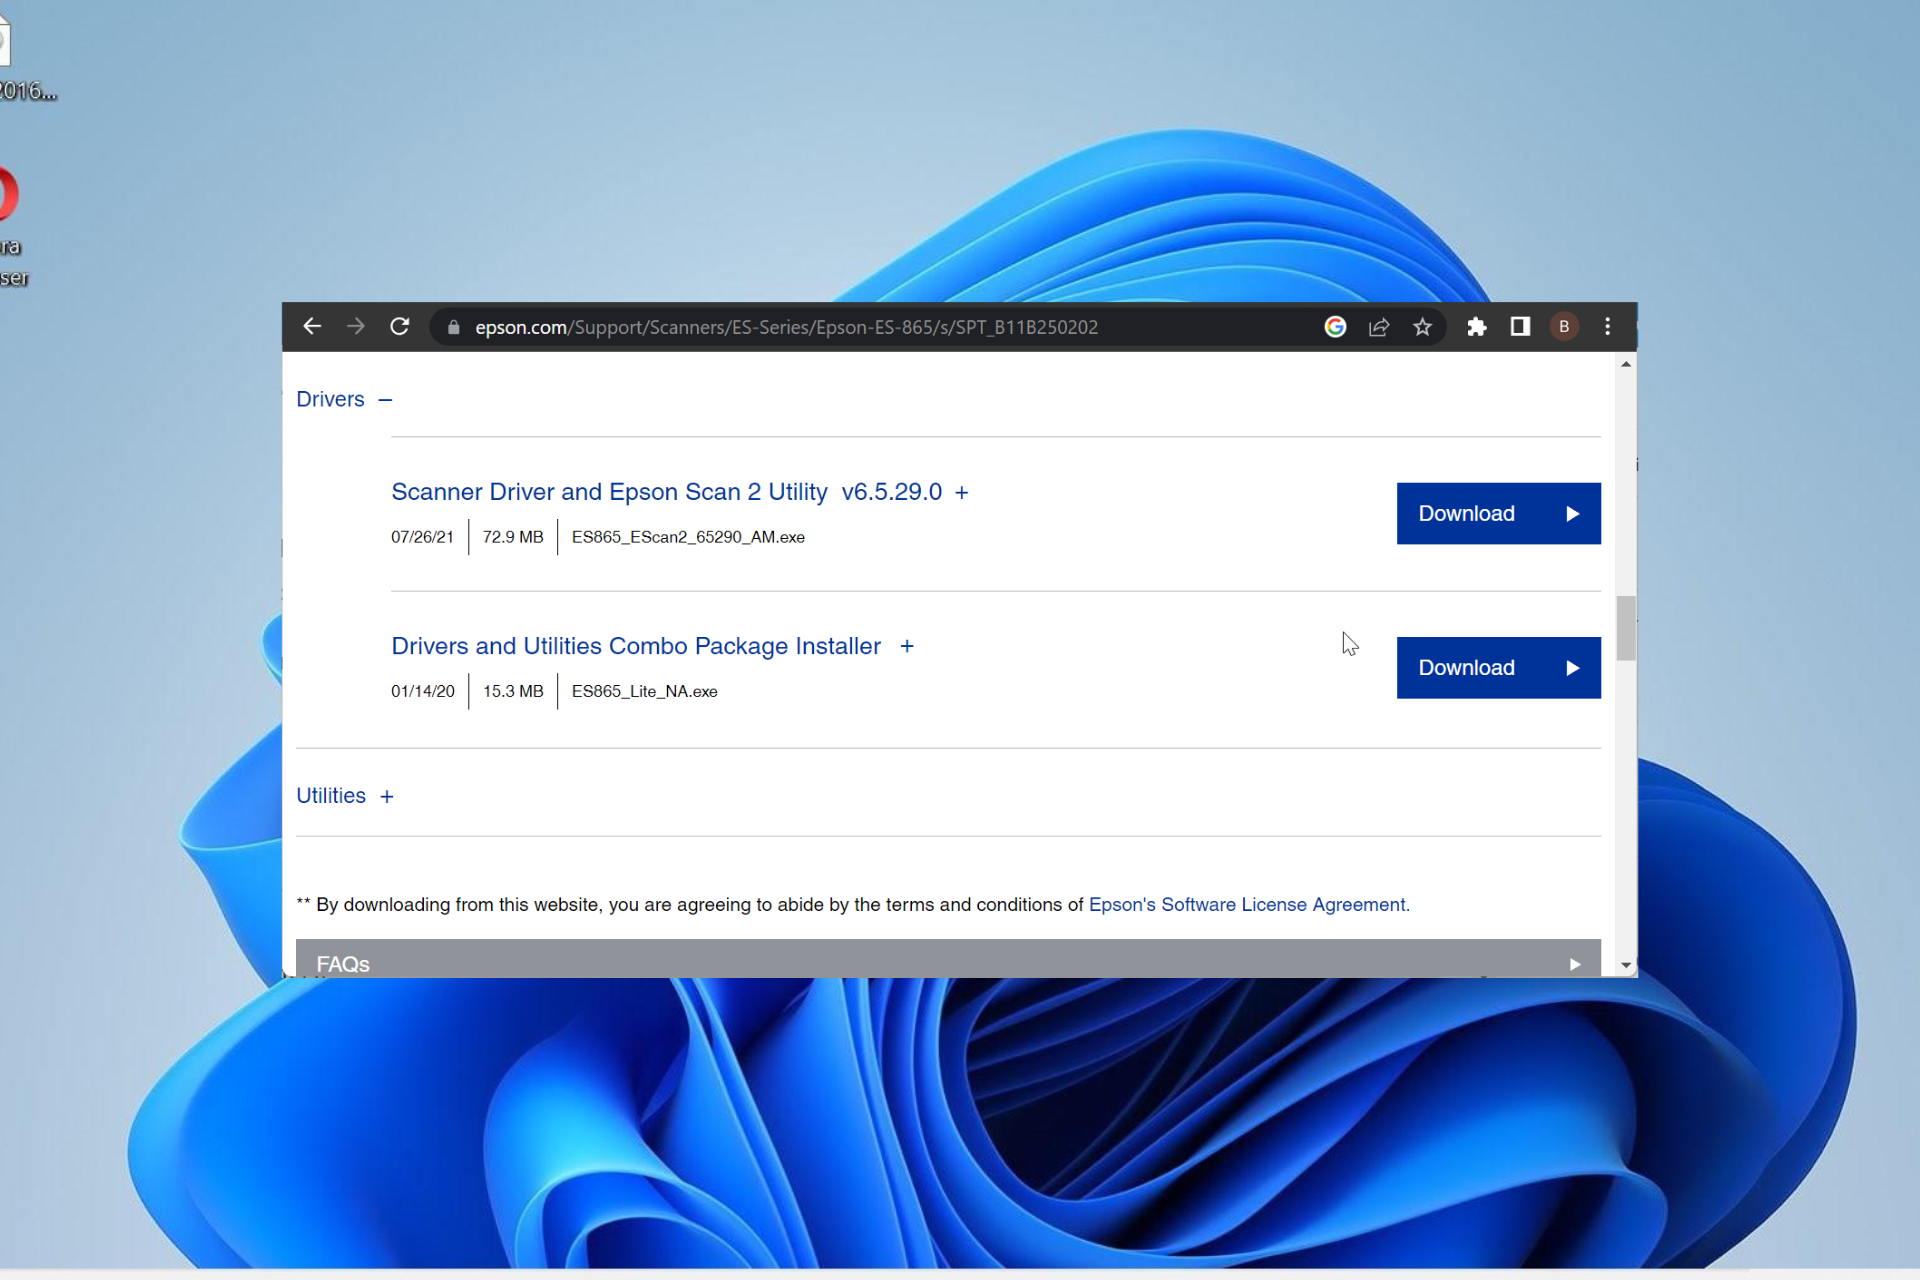
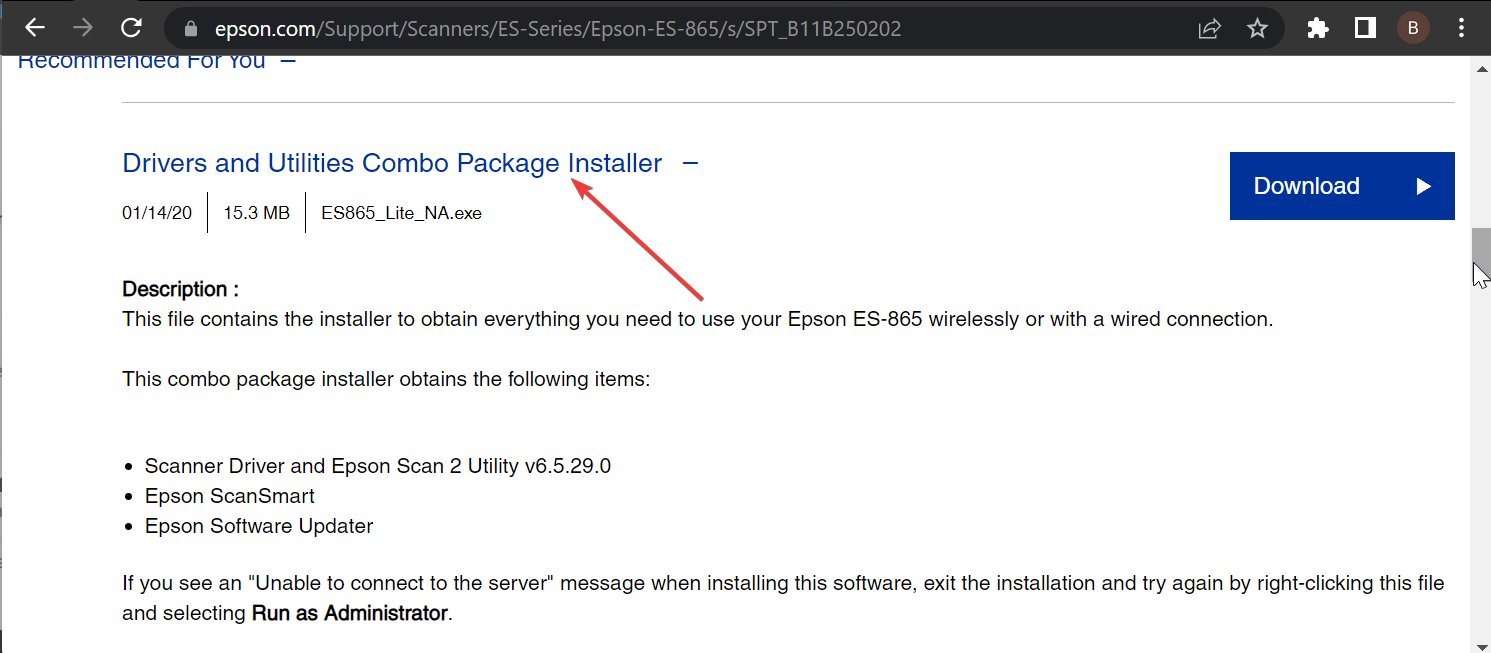
- Now, select the Download Drivers and Utilities Combo Package Installer option.

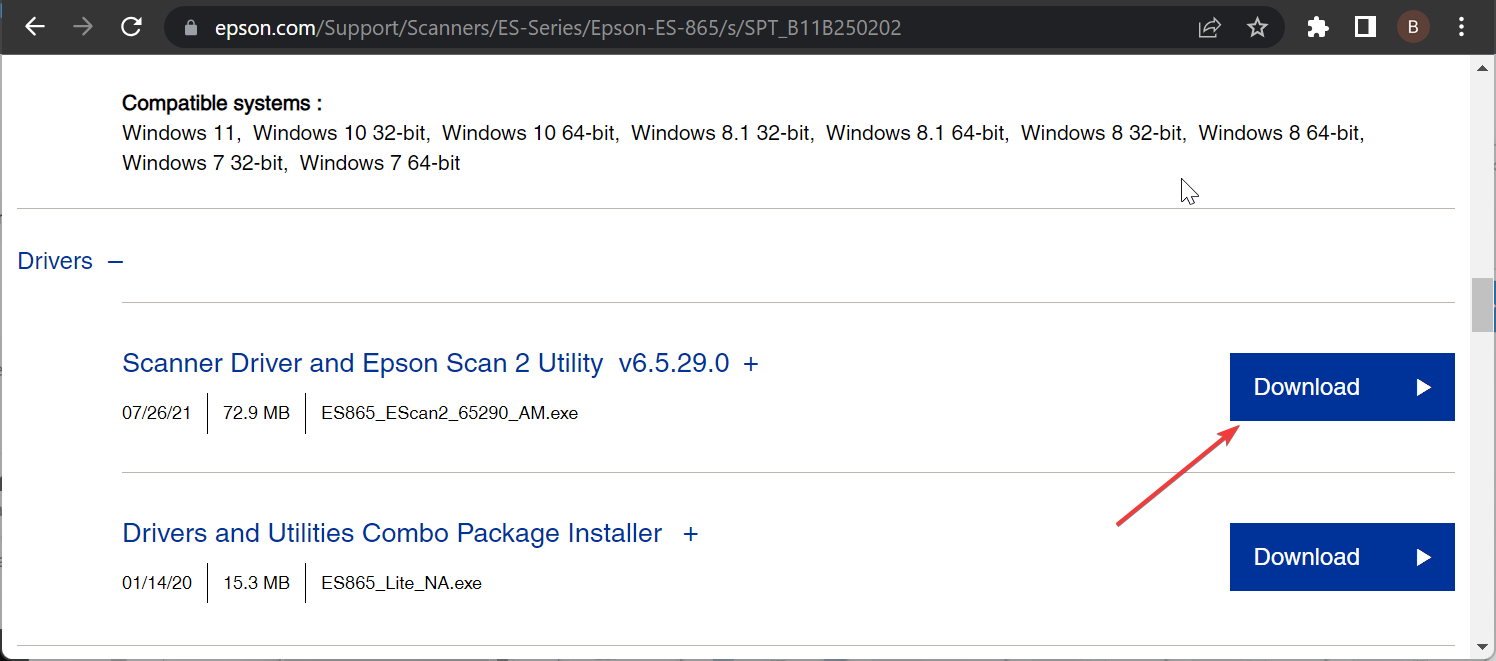
- Next, choose the Drivers option under it.
- Click the Download button before Scanner Driver and Epson Scan 2 Utility and wait for the download process to complete.

- Double-click the downloaded file to run it and click Accept to agree to the license agreement.
- Finally, click the Install button and wait for the installation process to complete.
If the Epson Scan 2 software is outdated, it might keep showing the Glass unit instead of Transparency. To fix this, you need to uninstall the outdated software and install the latest version from the official website.
4. Delete and re-add the scanner
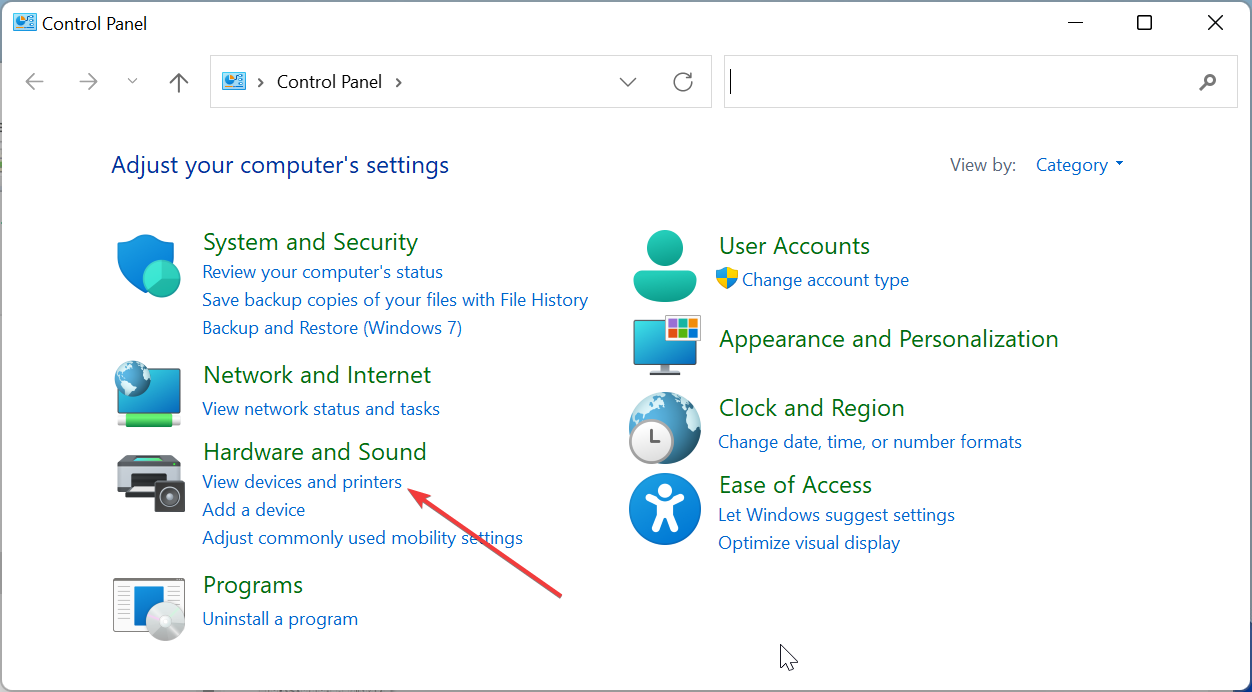
- Press the Windows key, type control, and select the Control Panel option.
- Click View devices and printers under Hardware and Sound.

- Now, right-click your scanner.
- Select the Remove device option and follow the onscreen instructions to complete the process.
- Finally, connect the scanner again and reinstall it.
Expert tip:
SPONSORED
Some PC issues are hard to tackle, especially when it comes to missing or corrupted system files and repositories of your Windows.
Be sure to use a dedicated tool, such as Fortect, which will scan and replace your broken files with their fresh versions from its repository.
In some cases, Epson Scan 2 might not be showing the Transparency Unit because of issues with your scanner. Simply delete and add the scanner again, and the problem should be solved.
5. Contact Epson support
If you still can’t get Epson Scan 2 to show to the Transparency Unit after applying the solutions above, you need to contact Epson support. The problem might be from their end or due to a recent update released.
The technical support team should have an answer to your questions and possibly help you fix the software.
The Transparency unit of the Epson Scan 2 software is an important feature for many users. So, if it is not showing up, it might render the scanner useless. But with the fixes in this guise, you should be able to get the feature back.
In the same vein, if you are dealing with issues like Epson Scan 2 error E425-B101, check our detailed guide to fix it.
Were you able to fix this issue? Do let us know in the comments below.
Still experiencing issues?
SPONSORED
If the above suggestions have not solved your problem, your computer may experience more severe Windows troubles. We suggest choosing an all-in-one solution like Fortect to fix problems efficiently. After installation, just click the View&Fix button and then press Start Repair.